#japanesecalligraphy
#shodo #書道
#shoyu #書遊

Share On|
  • 日本語
  • English
  • How to Extend the Life of Ink Sticks

    How to use, Calligraphy Ink
    As you continue to grind solid ink sticks daily, they gradually diminish in size, making them harder to hold in your hand. When the ink stick becomes shorter, there are two methods to continue using it: using an ink stick holder to grind it or connecting it to another ink stick to grind. Ink sticks are meticulously handcrafted by artisans. Even as they diminish in size, it’s important to use them until the very end. Now, let’s introduce a recommended method for extending the life of ink sticks, which is surprisingly simple. If you’re struggling with small or broken ink sticks, give this method a try.

    Connecting Ink Sticks

    While there are adhesives available on the market, some may feel hesitant about using substances other than ink to connect ink sticks. However, ink sticks can be connected without using adhesive.
     
    Ink sticks are made from gelatin, soot, and fragrances. Gelatin, one of the ingredients, serves as a natural adhesive, solidifying the ink. Therefore, by applying the ink stick that has been ground to a thick, sticky consistency to the ink sticks you want to connect, you can seamlessly extend the life of the ink sticks without altering their quality or color.
     

    Procedure:

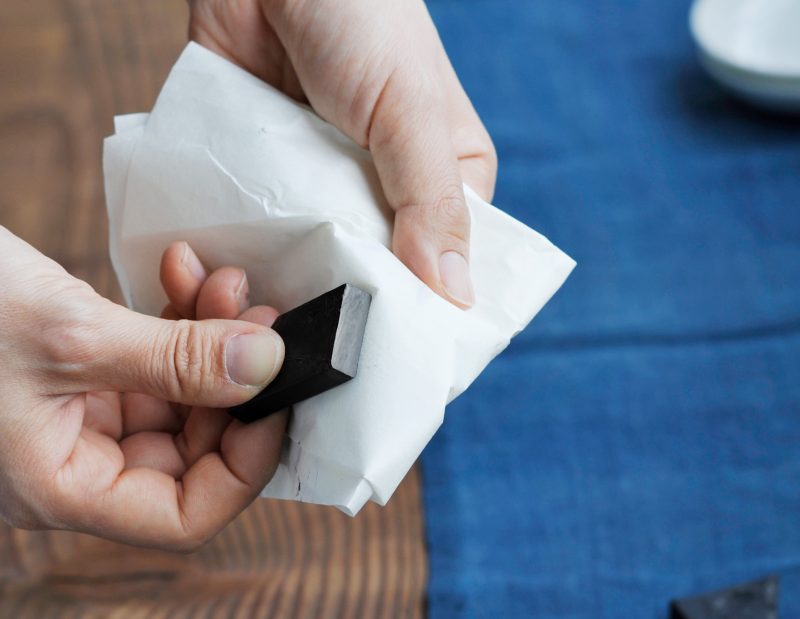
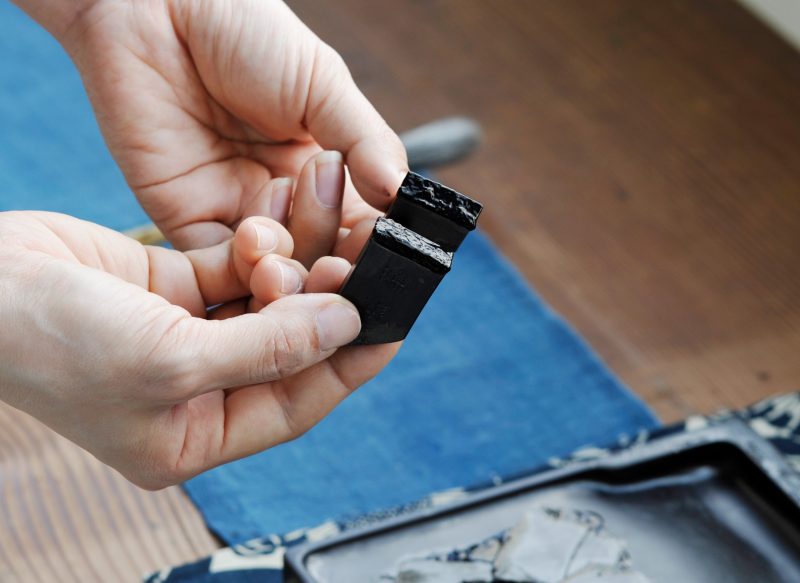
    ①Prepare the small or broken ink stick. It’s recommended to soak the bonding surfaces in lukewarm water for about 3 to 5 minutes beforehand.
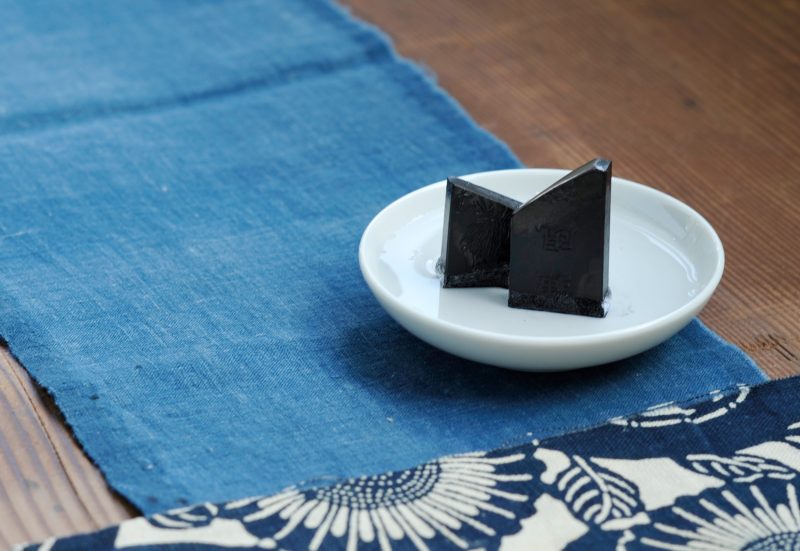
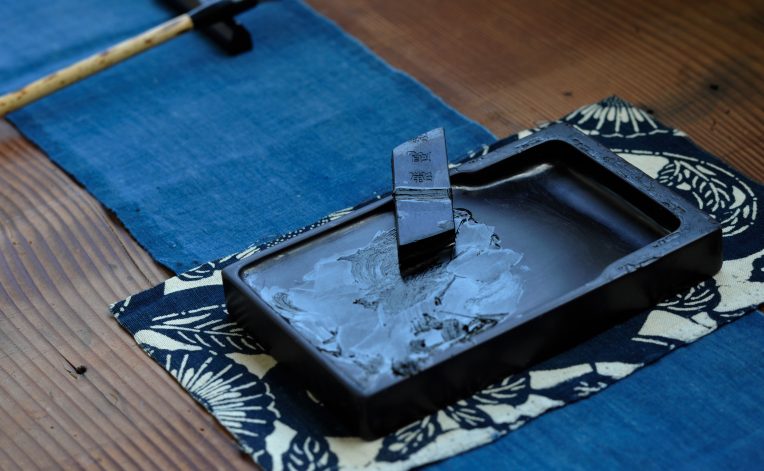
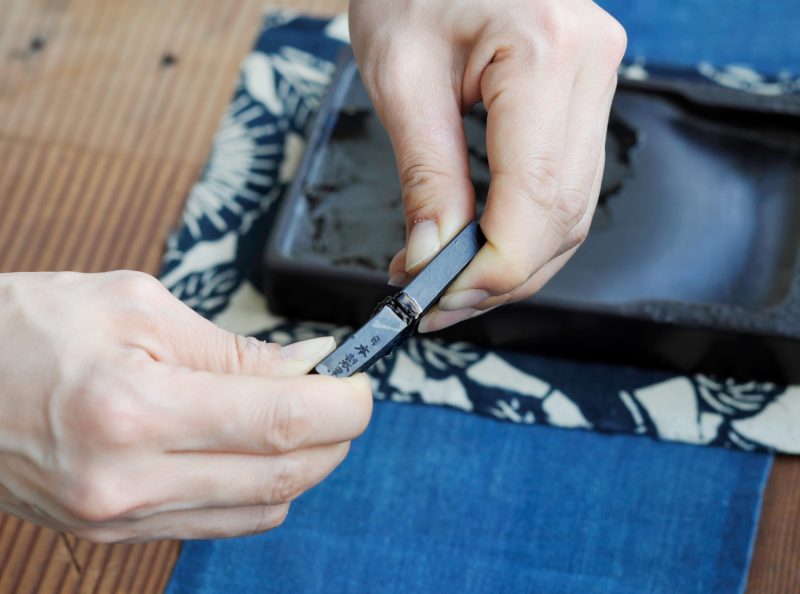
    ②Grind both ink sticks until their grinding surfaces are flat. This applies even if the ink stick is broken, although it may require some patience to flatten uneven surfaces.
    ③Create a concentrated ink mixture that will serve as the adhesive. Prepare a small amount of ink that you’ve ground in step 2, and then create an extremely thick ink solution with the ink stick you want to connect. The concentration of the ink you grind here will determine the adhesive strength, so grind it as thick as possible until it becomes gooey or sticky.
     
    Beginning of Grinding

    Gooey State

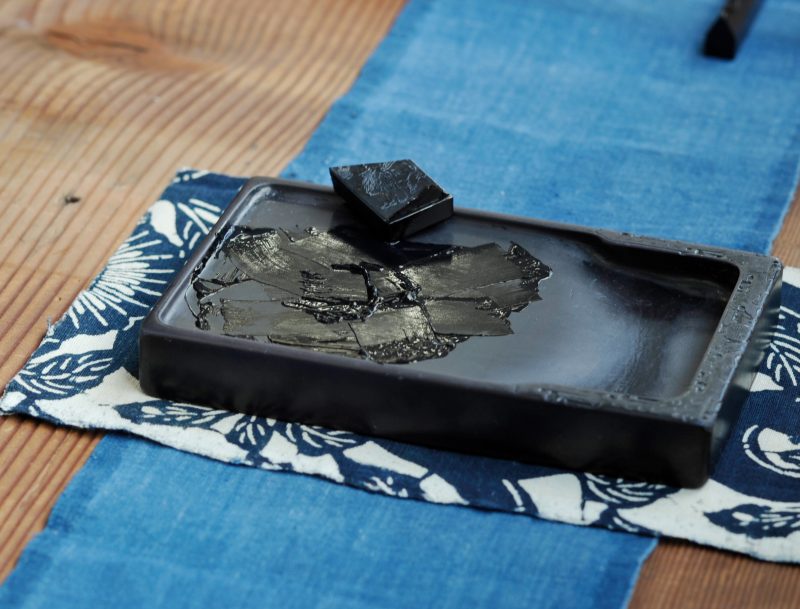
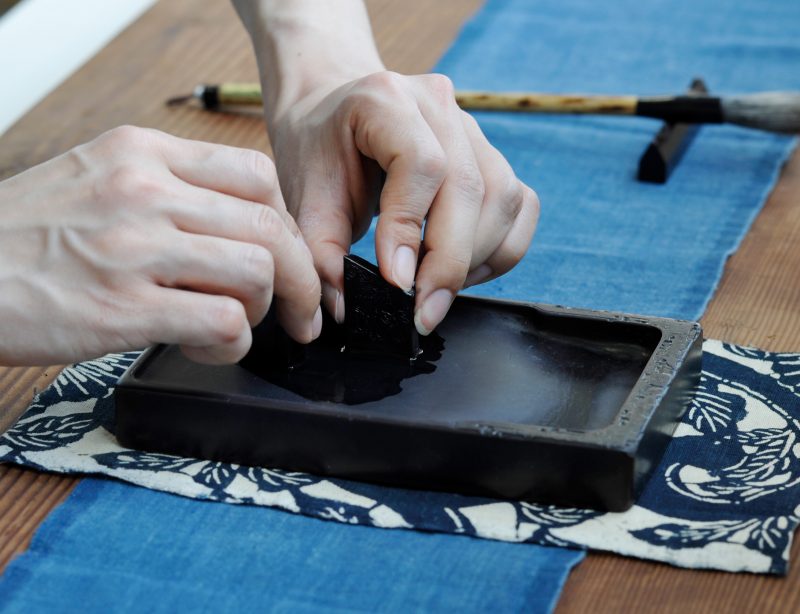
    ④Dip the thick, gooey ink mixture you’ve ground into the flat grinding surface of the ink stick you prepared in step 2. You don’t need to apply too much, but make sure to evenly coat the grinding surface.

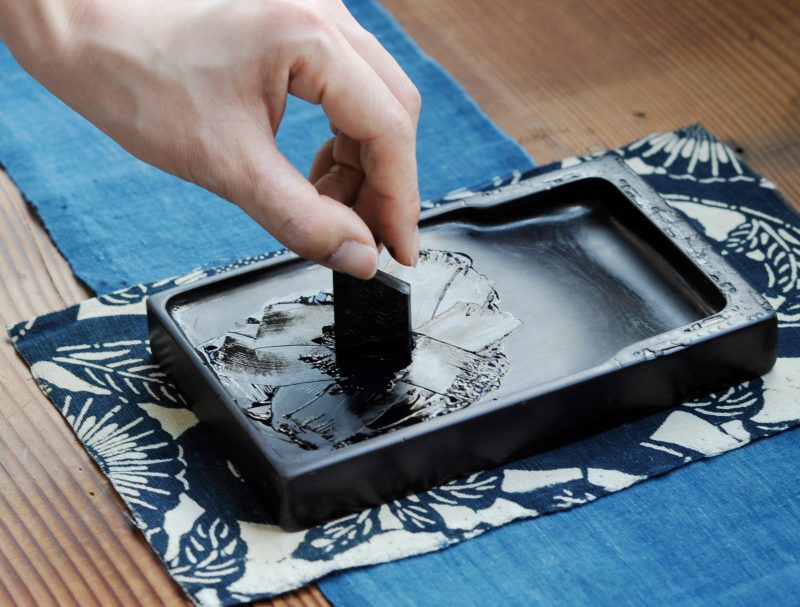
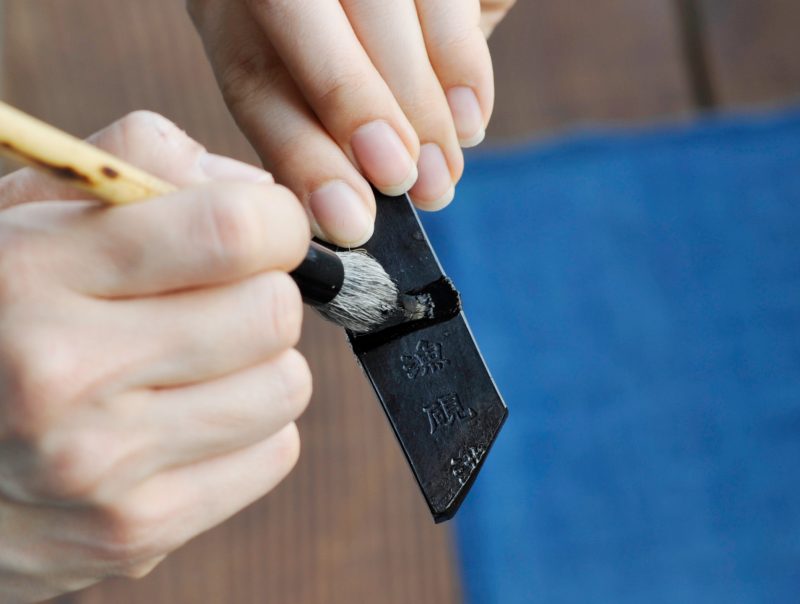
    ⑤Press the bonding surfaces together to connect them. Be careful to align them properly, and press both ink sticks firmly together with both hands. Apply pressure for about a minute if possible. As the adhesive ink dries, it will shrink slightly, so it’s okay if some ink oozes out from the bonded area. After pressing, use a brush or your finger to spread the gooey ink you used for bonding around the bonded area.

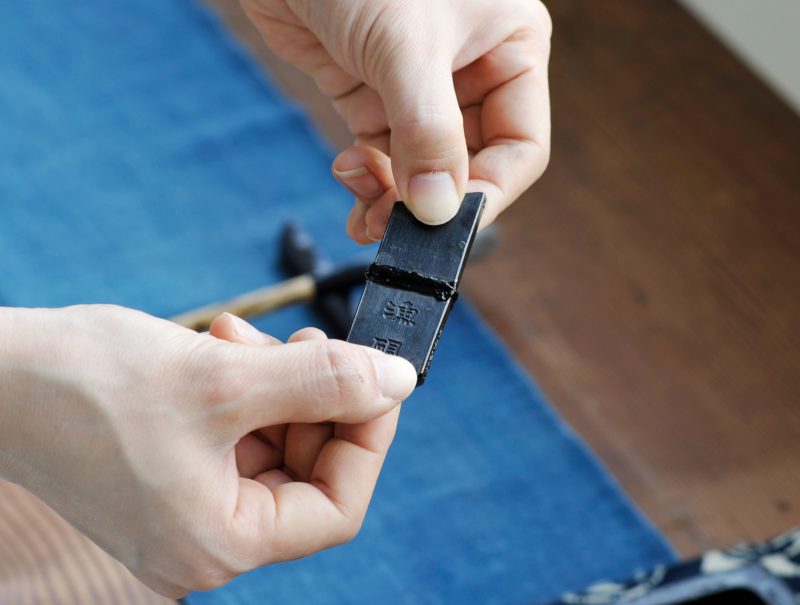
    ⑥Allow the bonded area to dry naturally until it’s completely dry. Even for small items, it may take several days to dry completely, so let it dry for at least 3 days.

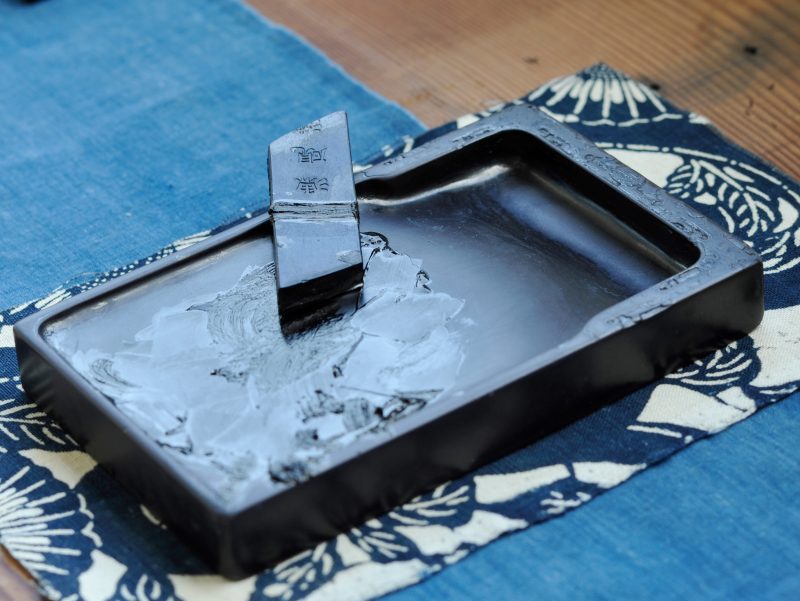
    With this, the ink stick extension is complete. Please continue to attach your small ink sticks together and make sure to use them carefully until the very end.


    Using Ink Adhesive

    When you’re busy and don’t have time, another option is to use ink-specific adhesive to connect ink sticks. Convenient ink adhesives are also available for purchase, so choose according to your needs.

    記事 関連商品

    Recommend Item

    関連記事

    Related Article List