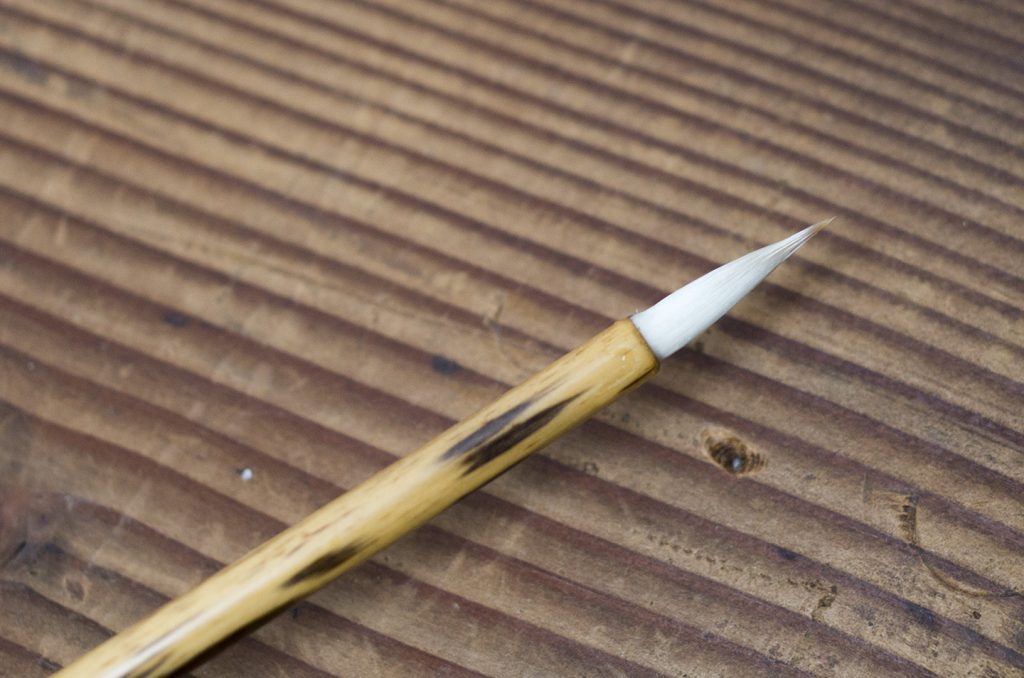
As you continue to grind solid ink sticks daily, they gradually diminish in size, making them harder to hold in your hand. When the ink stick becomes shorter, there are two methods to continue using it: using an ink stick holder to grind it or connecting it to another ink stick to grind. Ink sticks are meticulously handcrafted by artisans. Even as they diminish in size, it’s important to use them until the very end. Now, let’s introduce a recommended method for extending the life of ink sticks, which is surprisingly simple. If you’re struggling with small or broken ink sticks, give this method a try.
Connecting Ink Sticks
While there are adhesives available on the market, some may feel hesitant about using substances other than ink to connect ink sticks. However, ink sticks can be connected without using adhesive.
Ink sticks are made from gelatin, soot, and fragrances. Gelatin, one of the ingredients, serves as a natural adhesive, solidifying the ink. Therefore, by applying the ink stick that has been ground to a thick, sticky consistency to the ink sticks you want to connect, you can seamlessly extend the life of the ink sticks without altering their quality or color.
Procedure:
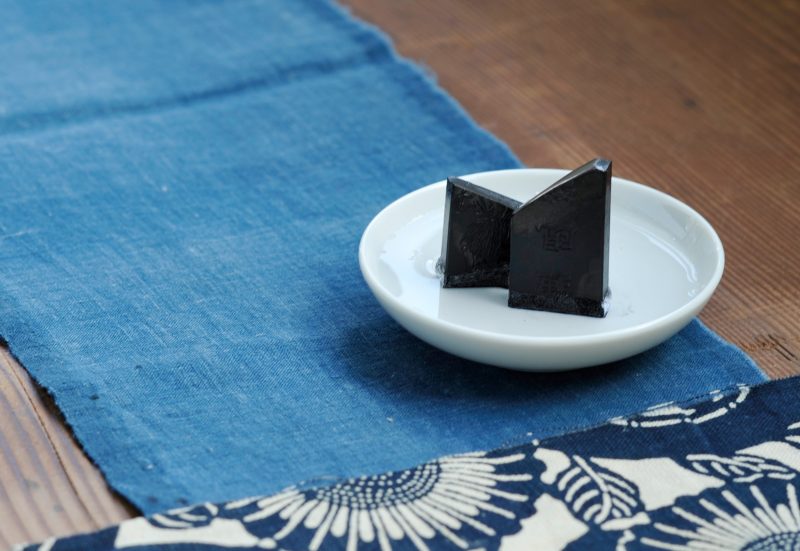
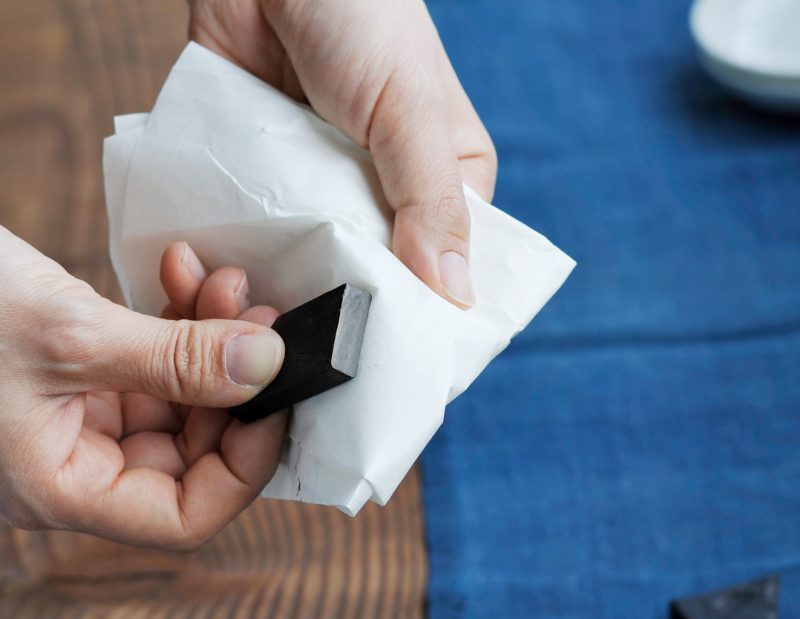
①Prepare the small or broken ink stick. It’s recommended to soak the bonding surfaces in lukewarm water for about 3 to 5 minutes beforehand.
②Grind both ink sticks until their grinding surfaces are flat. This applies even if the ink stick is broken, although it may require some patience to flatten uneven surfaces.
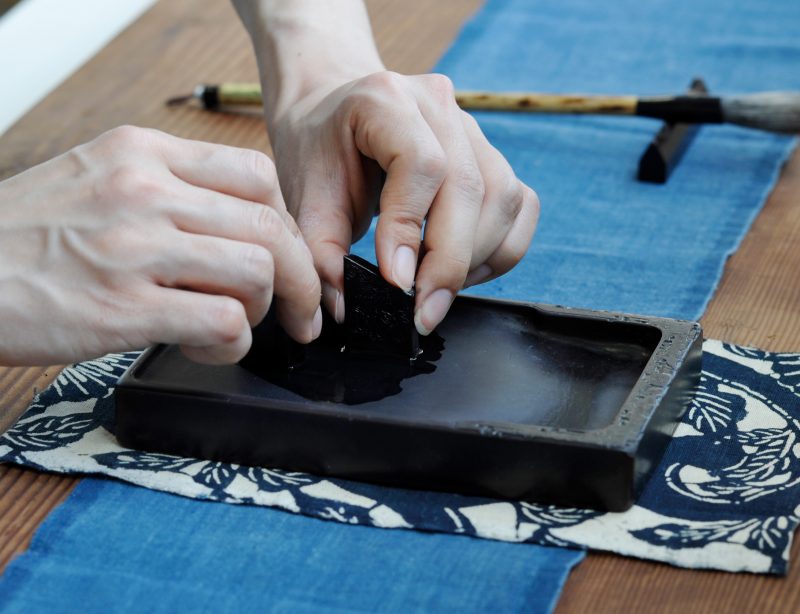
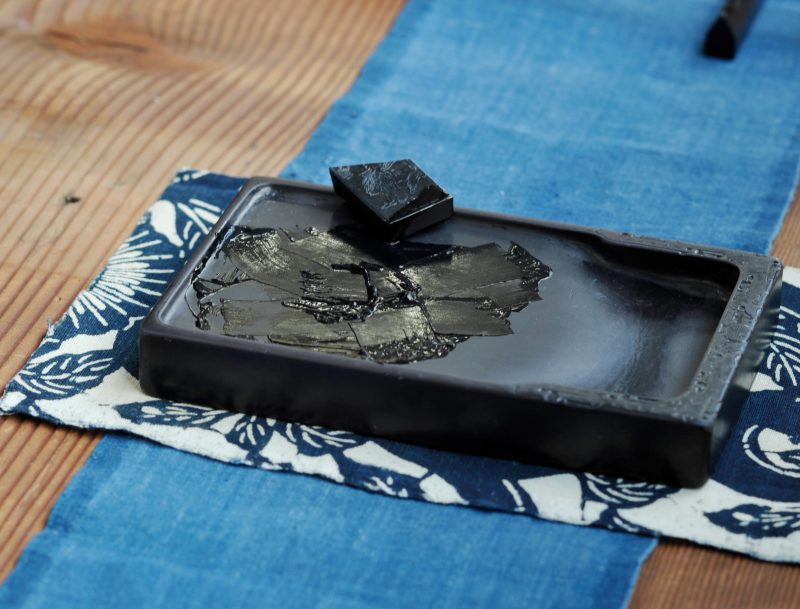
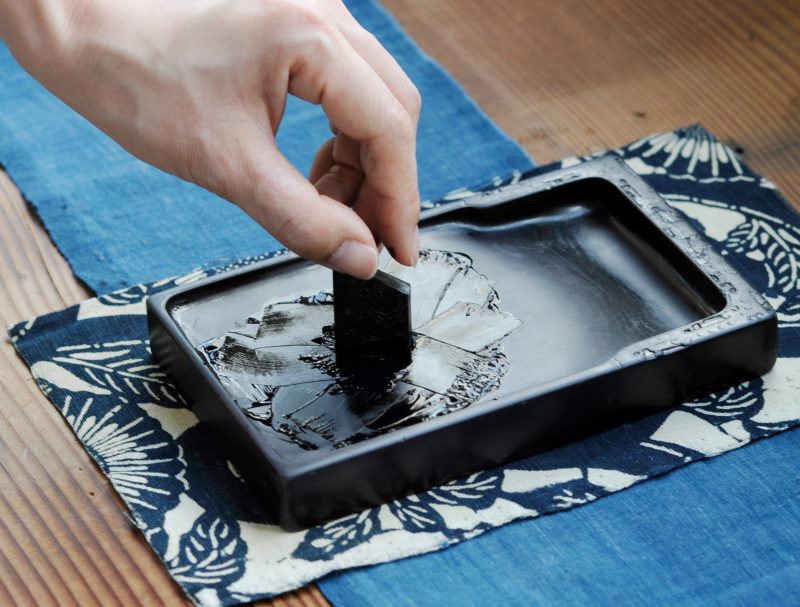
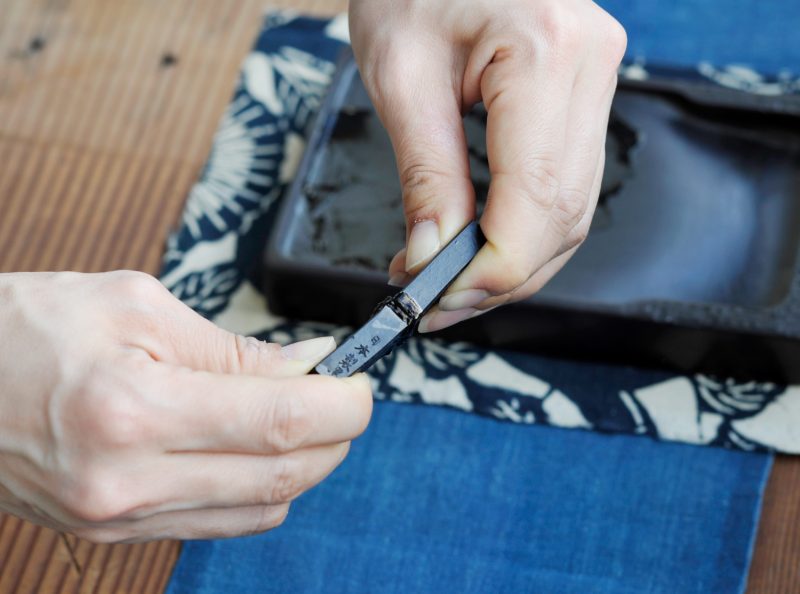
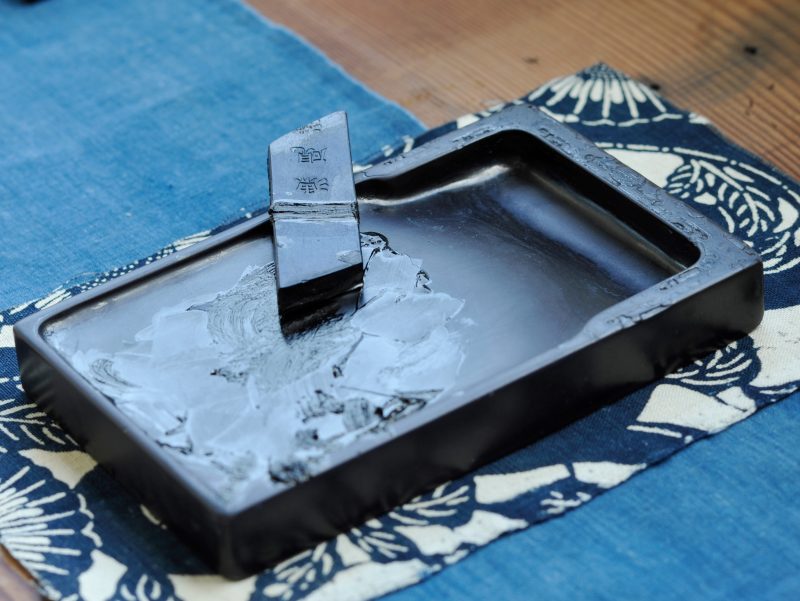
③Create a concentrated ink mixture that will serve as the adhesive. Prepare a small amount of ink that you’ve ground in step 2, and then create an extremely thick ink solution with the ink stick you want to connect. The concentration of the ink you grind here will determine the adhesive strength, so grind it as thick as possible until it becomes gooey or sticky.
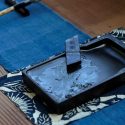
〈Beginning of Grinding〉 〈Gooey State〉
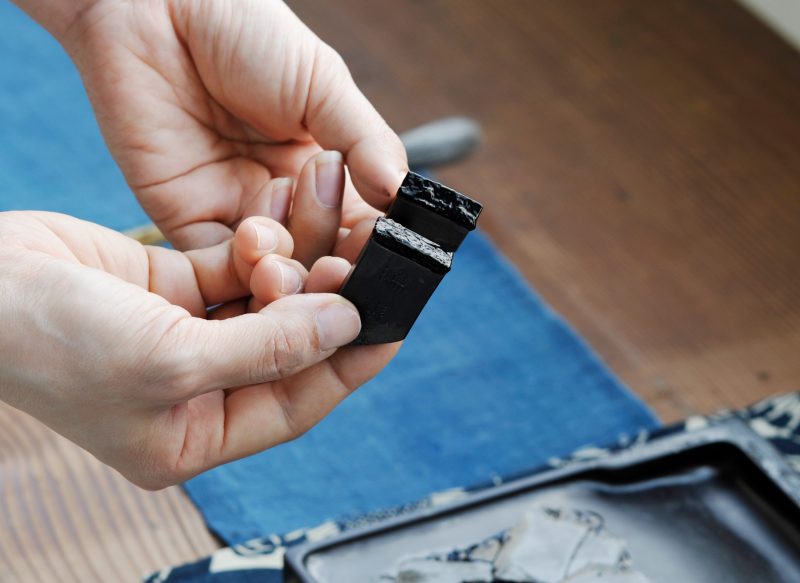
④Dip the thick, gooey ink mixture you’ve ground into the flat grinding surface of the ink stick you prepared in step 2. You don’t need to apply too much, but make sure to evenly coat the grinding surface.
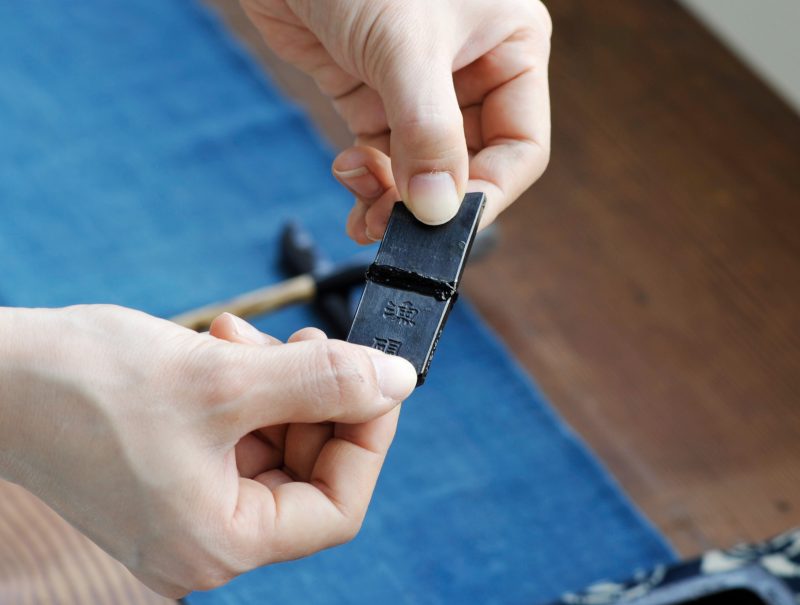
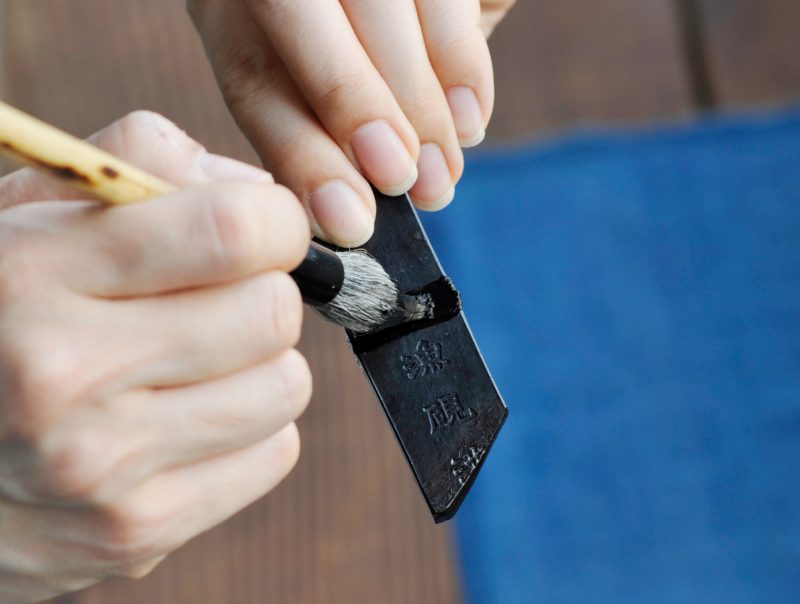
⑤Press the bonding surfaces together to connect them. Be careful to align them properly, and press both ink sticks firmly together with both hands. Apply pressure for about a minute if possible. As the adhesive ink dries, it will shrink slightly, so it’s okay if some ink oozes out from the bonded area. After pressing, use a brush or your finger to spread the gooey ink you used for bonding around the bonded area.
⑥Allow the bonded area to dry naturally until it’s completely dry. Even for small items, it may take several days to dry completely, so let it dry for at least 3 days.
With this, the ink stick extension is complete. Please continue to attach your small ink sticks together and make sure to use them carefully until the very end.
Using Ink Adhesive
When you’re busy and don’t have time, another option is to use ink-specific adhesive to connect ink sticks. Convenient ink adhesives are also available for purchase, so choose according to your needs.
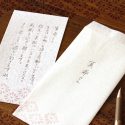
A letter set that exudes an adult-like sophistication has arrived.
It features the serene and mature ambiance of Mino Washi paper. This series uses the traditional technique of “rakusui-shi,” where water patterns are applied to freshly made washi paper by showering it with water. The characteristic feature is the translucent appearance of the patterns. This letter series is adorned with patterns of subdued colors, considered auspicious, printed on the bottom surface, combining cuteness with an adult-like atmosphere. It’s a versatile letter set suitable for formal occasions and casual correspondence with friends alike. The paper comes in pure white and cream colors, with stationery, envelopes, and single sheets available. Please use them according to the occasion.
There are a total of six auspicious patterns, popular among both men and women. The charming and beloved “nanahou” pattern… symbolizing harmony in the home and prosperity for descendants. The refreshing “aouminami” pattern… symbolizing eternal prosperity. The universally appealing “asanoha” pattern… symbolizing growth and warding off evil. The serene and charming “kikubishi” pattern… symbolizing eternal youth, longevity, warding off evil spirits, prosperity for descendants, and good health. Recommended for men, the youthful “wakamatsubishi” pattern… symbolizing longevity, prosperity for descendants, and good health. The stylish “kikkou” pattern… symbolizing longevity.
Adding a brief note on a letterhead, along with gifts or money, can convey your feelings to the recipient. It’s not only suitable for letters but also recommended for messages on work documents. Since the patterns are considered auspicious, they are perfect for writing congratulatory letters. Additionally, it’s recommended for men to use and to send to superiors.
These letter sets can be used with fountain pens, brush pens, or traditional brushes.
If you would like to view all of our products, please click here.
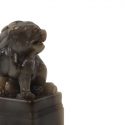
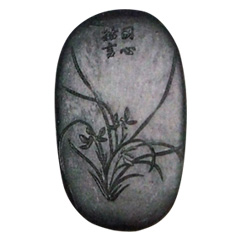
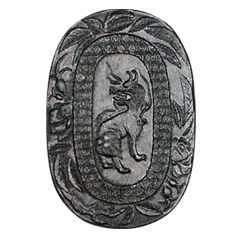
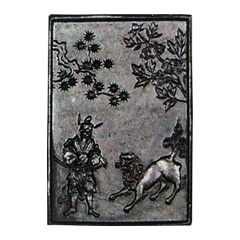
In addition to carving and touching seal materials, there is another way to enjoy them: through “appreciation.” This involves admiring the beauty of the carving on the handle string of the seal, as well as the patterns delicately carved to match the texture of the stone. In this article, we will introduce the seal material collection kept secret by Shoyu.
For those who want to enjoy appreciation! Basic Knowledge of Seal Materials 1)Types and Names of Stones Seal materials come in various types such as Jushan, Fuyuseki, and Xiaohuaishi, each named after the location where it was mined.
2)What Makes a Stone Valuable? Among them, stones with a “moist texture,” “fine grain,” and “translucency” are considered high-quality and command high prices.
3)Introduction to the Most Effective Stones Furthermore, the pinnacle of seal materials, known as the “Three Treasures of Seal Materials,” are “Tanhuang Stone,” “Chicken Blood Stone,” and “Fuyu Stone.” Tanhuang stones are prized for their patterns resembling red streaks or the cross-section of a radish, with a yellowish skin on the surface being desirable. These stones are now considered rare and are not commonly found on the market.
As Shoyu’s collection lacks documentation from ancient times, the identification of stones is not certain. However, each stone and carving in the collection is beautiful in its own right. We hope you enjoy them.
View the entire collection of appreciation seal materials here.
I’ve made a letter set using Japanese-style paper designed for writing in kana characters. These papers often feature beautiful patterns and have a calming atmosphere. If you can’t find a letter set that you like, I hope you’ll give this one a try.
■Materials Needed (Produces 4 Standard Size Envelopes and 3 Sheets of Writing Paper)
Japanese-style paper for kana writing: 2 sheets (Half-sized paper version)
Folding pattern (Please draft and create on a separate sheet as shown in the diagram below)
Simple backing paper: 1 sheet (Not necessary if using opaque paper like roll paper. Doubling up two sheets of paper is also acceptable.)
■Here’s how to make it:
Cut the half-sized paper in half. Out of the four resulting sheets, use three for writing paper and one for the envelope. (If the paper for writing is thin, you may want to reinforce it with backing paper.)
Fold along the fold lines drawn on the paper along with the folding instructions.
Apply glue to the envelope portion and seal it.
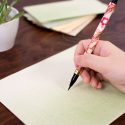
This time, I used the popular Asuka paper, which is also popular among calligraphers. It comes in 5 colors and 5 patterns, so you can make 5 different kinds of writing paper from one pack! I tried writing on it, and it was very easy to write with a ballpoint pen, brush pen, or small brush.
A traditional method of ink production passed down through generations.
There are two main types of ink: “oil smoke ink,” made from burning rapeseed oil, sesame oil, or paulownia oil, and collecting the soot, and “pine smoke ink,” made by burning pine resin. Recently, there are also inks made from mineral soot.
Among these, “oil smoke ink” is known for its fine particles, deep black color, and strong gloss, representing high-quality ink. Oil smoke ink originated during the Muromachi period at Todaiji Temple’s Nikadai Hall, where soot collected from the temple’s lamps was mixed with glue to create ink.
In our garden, we continue to preserve high-quality oil smoke ink using the secret techniques passed down through generations.
1.Soot Collection:
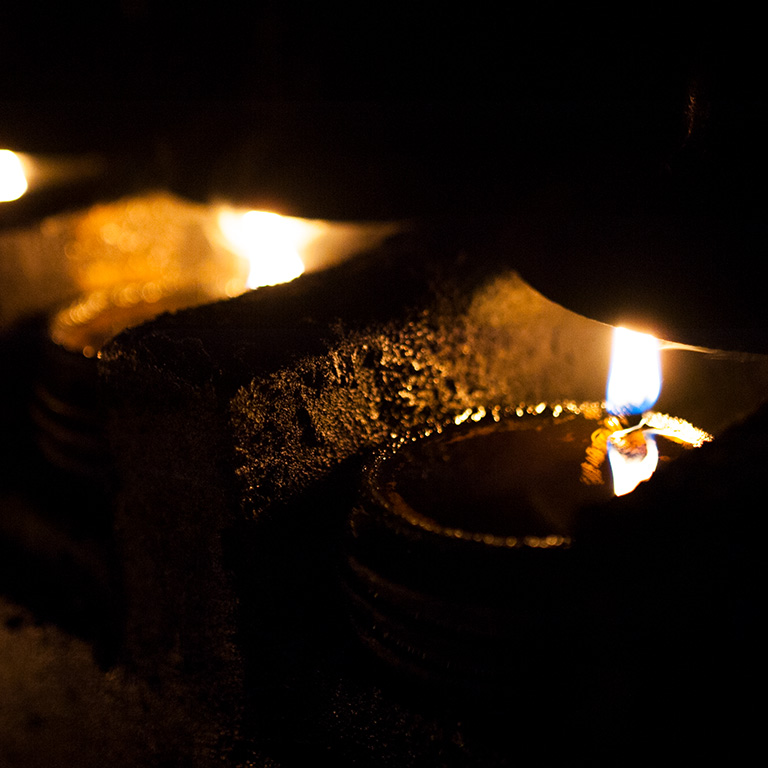
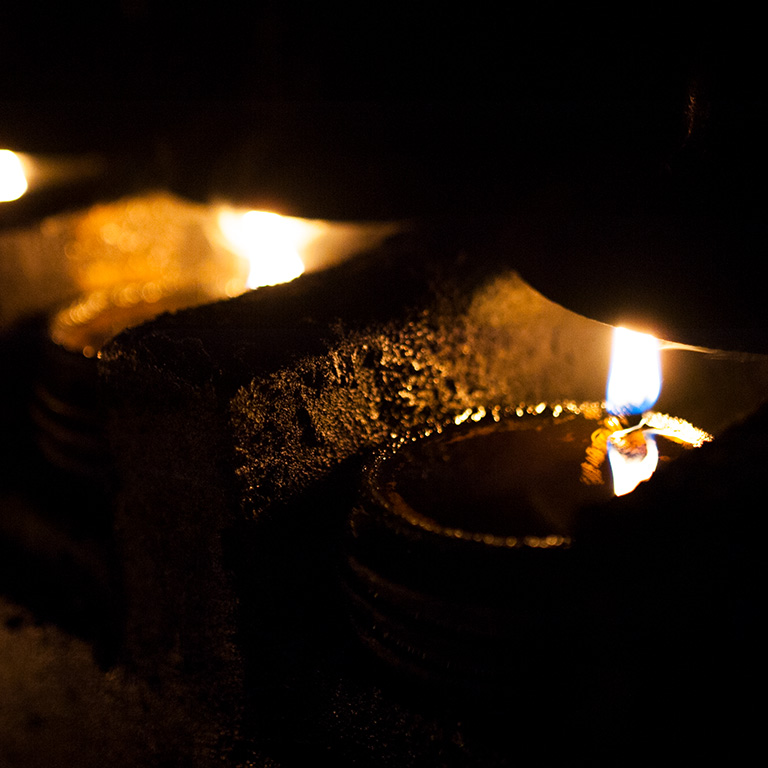
Pure vegetable oil is placed in earthenware pots, and a wick is lit to produce soot, which is then collected. To ensure even accumulation of soot, all pots are moved every 20 minutes.
2.Gelatin Dissolution:
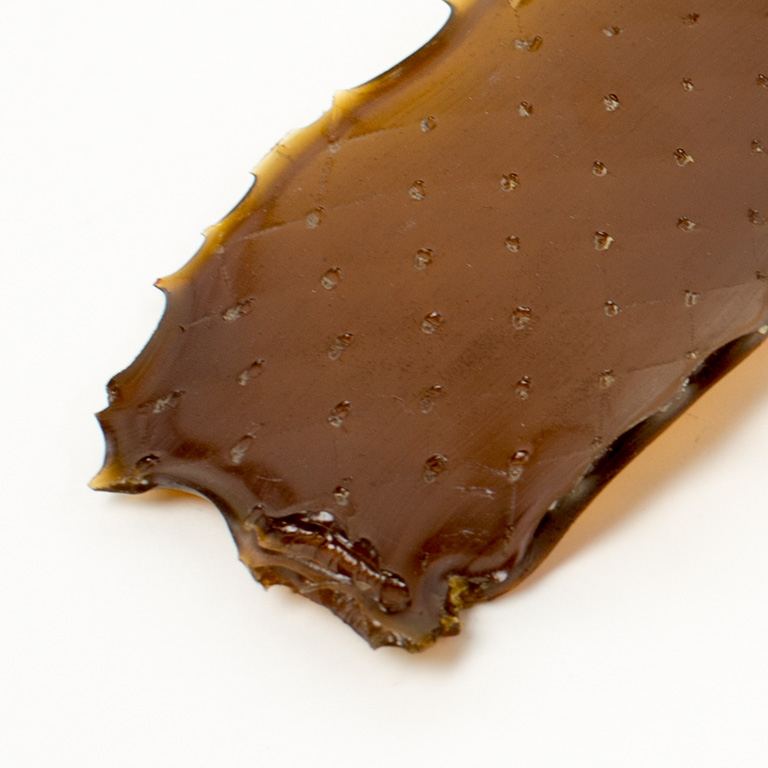
Gelatin made from animal bones or skin is placed in a double boiler and heated for an extended period to create a gelatin solution.
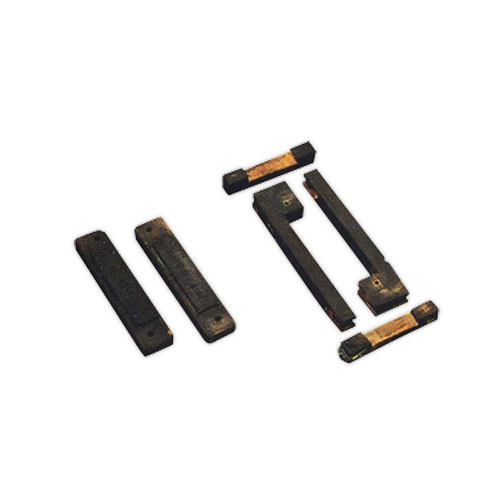
3.Wooden Molds:
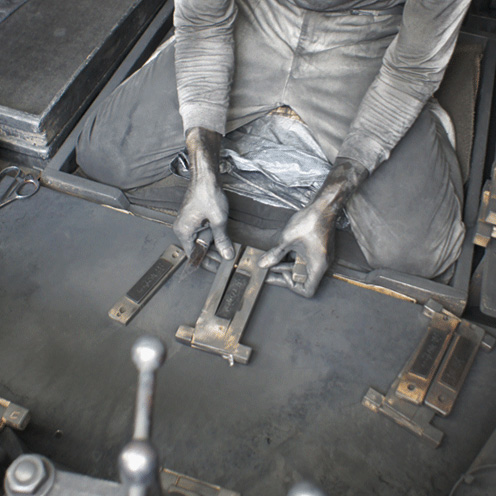
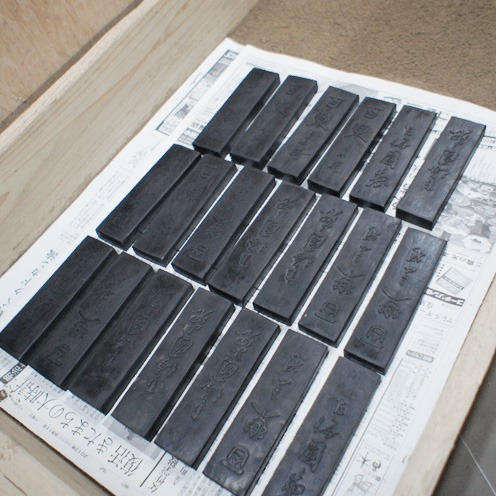
Wooden molds for ink, made from pear wood, are intricately carved with characters and patterns. Each mold holds about 15g of ink, but approximately 25g of wet ink is poured into it due to drying shrinkage.
4.Molding:
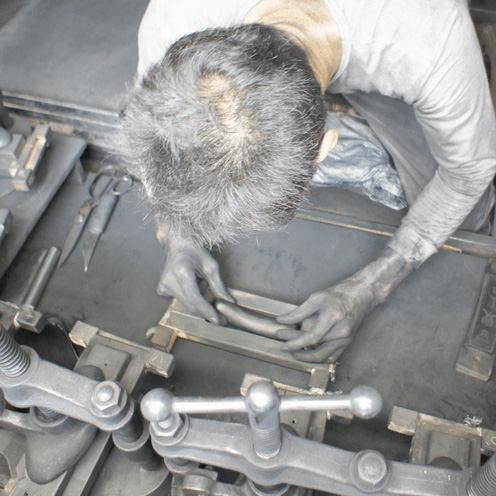
A mixture of soot, gelatin solution, and fragrance is taken out, kneaded by hand until it shines, and then carefully molded into the ink molds.
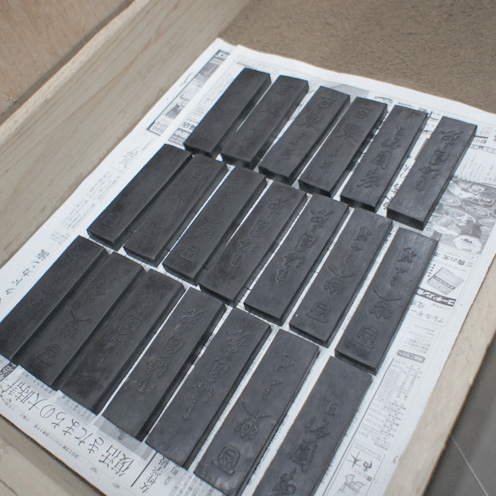
5.Ash Drying
The ink removed from the molds is buried in wood ash with high moisture content on the first day, and then gradually replaced with wood ash with less moisture from the second day onwards. This ash drying process continues for about one week for small-sized items and around 30 to 40 days for larger ones.
6.Natural Drying
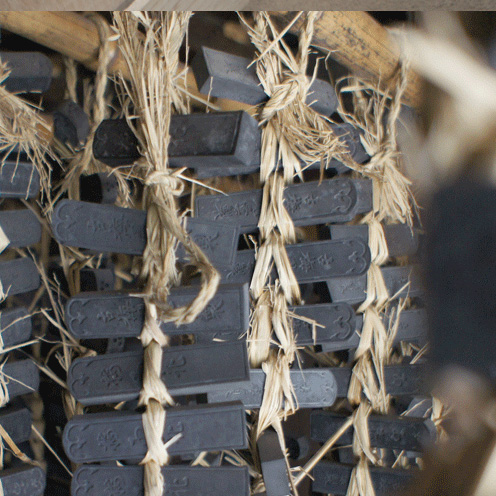
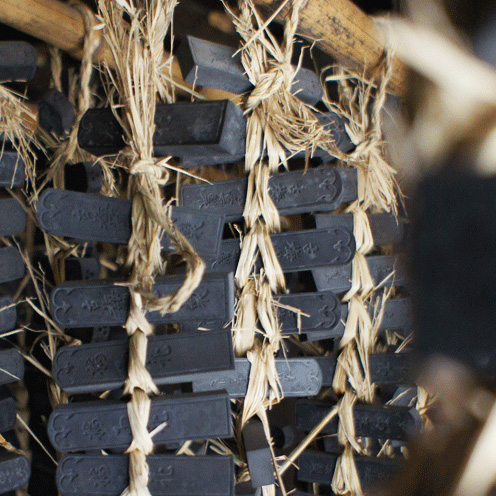
After the ash drying process, the ink (with approximately 70% of its moisture removed) is hung from the ceiling indoors by weaving it with straw for natural drying. This process usually takes about two weeks to three months.
7.Finishing and Polishing
Once the natural drying is complete, any ash or other substances adhering to the surface of the ink are washed off with water, one piece at a time. After washing, a finishing agent is applied to the surface for makeup. Additionally, depending on the product, the surface may be softened by roasting over charcoal and polished thoroughly with clam shells to bring out the gloss.
8.Coloring Finishing
The polished ink is left to air dry for about three days to a week (to remove any moisture retained from washing), then colored using gold powder, silver powder, or other pigments.
The ink-making industry of Koubaien began in the late Muromachi period.
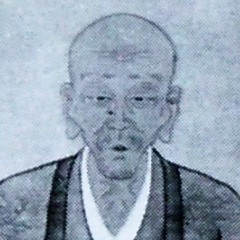
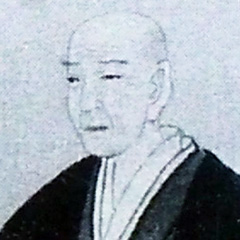
The founder, Matsui Michinori (1528-1590), received the official title of Tosa no Jo. The second generation, Michiyoshi, also received the title of Tosa no Jo, and this title was passed down through generations. The third generation, Michitoshi (1611-1697), had a preference for plum blossoms and planted many plum trees under the eaves, leading people to refer to it as Koubaien. The son of the fourth generation, Michiyoshi (1641-1711), named Motonori, had an interest in academics and studied under Ito Jinsai. According to “Shokajin Butsushi” (1792 edition), “Matsugetsu Motonori, also known as Toan. A ink artisan from Nankin. He enjoys elegance and associates with distinguished families. He compiles family ink genealogies and presents them to refined guests or exchanges them for poetry. Koubaien has been known through generations.” He was known as a merchant-scholar and a Han poet who published “Toan Shikou,” a collection of his poetry. Additionally, he devoted himself to the study and improvement of Japanese ink, a legacy continued by the sixth generation, Motayasu.
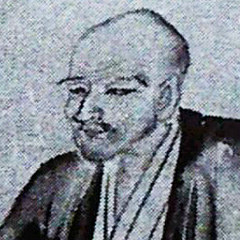
Motayasu (1689-1743) is introduced in “Kokin Bokuseki Kantei Benran” (1855 edition) as follows: “His name is Motayasu, and his pseudonym is Teibun. He is also known as Gengen Sai. He is an ink artisan from Nanto. He is commonly referred to as Iwai no Jo. He inherited his father Toan’s scholarly pursuits and was skilled in poetry. Motayasu succeeded his father’s Miniku and once communicated with Tang to learn two techniques of ink production from that country. He refined his ink according to these methods. Later, during the Genbun era, he received official permission and traveled to Nagasaki, where he observed the ink-making methods of the Qing people and refined his techniques further. Motayasu was highly skilled in calligraphy.”
Motayasu’s efforts to explore Chinese ink-making techniques are also evident in various parts of the “Ink Genealogy,” but his journey to Nagasaki in the year Genbun 4 (1739) is particularly notable. He obtained official permission and engaged in question-and-answer sessions about ink-making techniques with nine Chinese residents in Nagasaki, leaving behind a handwritten record titled “Notes on the Dialogue of Chinese Ink Production.” Additionally, there is a handwritten document titled “Enki-shiki Bokuhon Shikou,” which explores the origins of Japanese ink production. Furthermore, he compiled “Meiboku Shin-ei” (or “Koubaien Meiboku Shin-ei”), which gathers poems dedicated to “Toyoyama Kouboku” (or “Toyoyama Fragrant Ink”), and published it in the year Shotoku 2 (1712). He also collected poems contributed by Qing people and compiled them into “Daiboku Kouko Shishuu,” published in the year Kyoho 19 (1734).
These books on ink demonstrate deep appreciation for literary arts and a passionate dedication to the ink-making industry. However, the pinnacle of expertise lies in the “Ink Genealogy” and “Kobaien Ink Discussions.” The seventh generation, Motozumi, continued his father’s legacy and created “Benibana Sumi” (or “Benibana Ink”) mixed with safflower. He also inherited his father’s “Ink Genealogy” and compiled the “Second Volume.” In summary, spanning three generations from Motonori to Motayasu to Motozumi, Kobaien made significant advancements in ink-making and left valuable research achievements in the history of ink.
Successive Heads of Kobaien
Founder: Matsui Michinori (1528–1590) [Official Title: Tosa no Jo]
Having served Nakahara Tochuu, the lord of Jyuuichi Castle in Yamato Province, Michinori relocated to Nanto (Nara) in 1577 and started the ink-making business. At that time, the ink-making industry in Japan was still immature. Through studies based on texts such as the “Enki Shiki Ryo Zoumoku Shiki,” “Li Family Ink Making Method,” and “Kukai Nitai Bou Oil Smoke Making Method,” he developed methods for producing high-quality ink. In 1603, he presented high-quality ink to the Imperial Court, for which he was granted the title “Tosa no Jo” in recognition of his achievements. He was commonly known as Matasaburou.
Second Generation: Matsui Michiyoshi (1578–1661) [Official Title: Tosa no Jo]
There was an old plum tree in the corner of his home garden, which received praise from visiting literati and ink connoisseurs. Thus, the garden name “Kobaien” was born, inspired by the old plum tree. The inscription on a paulownia box reads “Kobaien, crafted by the first patriarch,” suggesting that the second patriarch, Michiyoshi, created the garden name “Kobaien.”
Third Generation: Matsui Michitoshi (1611–1697) [Official Title: Izumi no Jo]
He received appointments from the Tokugawa Shogunate, stationed in Edo, and undertook missions at daimyo residences.
Fourth Generation: Matsui Michiyoshi (1640–1711) [Official Title: Tosa no Jo]
Fifth Generation: Matsui Motonori (1660–1719) [Official Title: Echigo no Jo]
He studied under the Confucian scholar Itou Jinsai, adopting the pseudonym “Toan.”
Sixth Generation: Matsui Motayasu (1689–1743) [Official Title: Izumi no Jo]
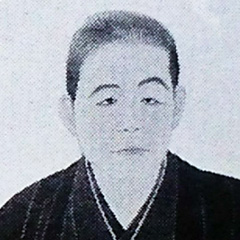
Sixth Generation: Matsui Motayasu (1689–1743) [Official Title: Izumi no Jo] Also known as Genjou-sai Teibun. In 1739, he obtained permission from the shogunate and formed friendships with Chinese ink artisans such as Cheng Tengmu and Wang Junkai in Nagasaki, facilitating technical exchanges between the two countries. Subsequently, he authored works such as “Kobaien Mokufu Shikou” (Records of Kobaien’s Ink Genealogy, Four Volumes),
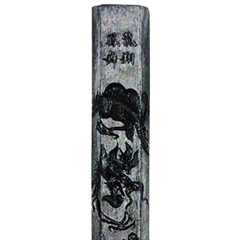
“Kobaien Mokudan” (Discussions on Kobaien’s Ink), and “Bokuwashi,” among others. The woodblock diagrams in the four volumes of “Kobaien Mokufu” include examples still produced today, such as “Hakkaku Rojomatsu” (Octagonal Old Pine), “Shakyou Sumi” (Sutra Ink), “Gyokuran” (Jade Orchid), and “Daizai Hotei” (Greatly Blessed Hotei). The ink created by Motayasu, the pioneer of Kobaien’s revival, sought to improve Japanese ink-making. In 1739, with official approval, he exchanged ink-making techniques with Chinese ink artisans in Nagasaki, producing high-quality ink representative of that era.
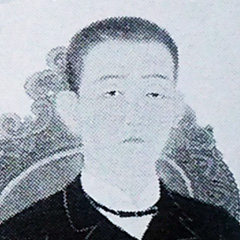
Seventh Generation: Matsui Motoi (1716–1782) [Official Title: Izumi no Jo]
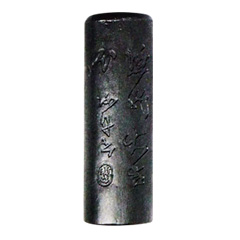
Upon the orders of his father, Motayasu, he experimented with safflower ink, successfully completing the “Kobaien Ink Genealogy, Volume Two,” and authored it. Thereafter, the term “ink = Kubaien” became synonymous, gaining widespread popularity. The “Ink Genealogy, Volume Two” includes ink varieties such as “Gochi,” “Chikurin Shichiken,” “Shinsen,” “Benibana,” “Inchu Hassen,” and “Gen no Mata Gen,” which are still produced today.
He authored the “Kobaien Ink Genealogy, Volume Two” and created a renowned ink called “Benibana Ink” for calligraphy. He also created ink for painting through interactions with Chinese artisans, contributing to the era’s prestigious ink varieties.
Eighth Generation: Matsui Mototaka (1756–1817) [Official Title: Izumi no Jo]
Bestowed with the official title “Izumi no Jo,” he continued the family’s ink business under the peaceful and prosperous atmosphere of his era.
Among the renowned inks of his time, he crafted signature inks within his collection of ink molds.
Ninth Generation: Matsui Motozuru (1799–1857) [Official Title: Izumi no Jo]
Granted the official title “Izumi no Jo,” he continued the family’s ink business under the peaceful and prosperous atmosphere of his era.
Tenth Generation: Matsui Motonaga (1828–1865) [Official Title: Tosa no Jo]
During the Meiji Restoration, he relinquished his official title and became “Purveyor to the Imperial Household Agency.” He renounced the title of Tosa no Jo during the Meiji Restoration.
Representative signature inks that proudly became the purveyor to the Imperial Household Agency.
Eleventh Generation: Matsui Motoyasu (1862–1931)
He served as the honorary mayor of Nara City and in the fourth year of the Taisho era, he reorganized the business into a corporate structure.
During the Meiji Restoration, he quickly dispatched diplomatic envoys nationwide in the industry, expanding the market with signature inks.
Twelfth Generation: Matsui Teitaro (1884–1952)
He served as a member of the House of Peers and as the honorary mayor of Nara City. He contributed to the ink-making industry.
Koubaien, the master of Nara ink, delves into the essence of ink-making.
The name “sumi” is said to have originated from the word “stain” and has been passed down through the ages. Ink is a wonderful writing tool that lasts for years without fading or being eaten by insects.
Nara ink, dating back to the first year of Daitoku (806 AD), began when Kukai brought back ink-making techniques from Tang China along with brushes. He collected soot accumulated on the ceiling of the Mibutsudo Hall at Kofukuji Temple, mixed it with animal glue, and thus began the production. Even today, Nara ink accounts for over 90% of the national production.
全国で古梅園だけの墨造り製法
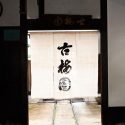
Koubaien, the only ink manufacturer in the country with its own ink-making method, has proudly flown its signboard since the Azuchi-Momoyama period, continuing to uphold traditional techniques in Nara City.
Koubaien is the only establishment in the country that manufactures ink from “collecting soot.” It is truly a one-of-a-kind presence.
The ink-making process, starting from “collecting soot,” involves lighting pure vegetable oil soaked in rushes on a wick, covering it with earthenware, and collecting the soot smoke that adheres to the earthenware.
To ensure that the soot adheres evenly, all 200 earthenware vessels are rotated every 20 minutes, and the soot collected on the underside of the lid is gathered with chicken feathers…
Oil-smoke ink extracted from two hundred flames
Even after tirelessly repeating the exhausting task for 8 hours, the amount collected does not exceed 1 kg. The outer walls of the smoke-extracting chamber are stained pitch black from the soot particles, turning the white walls completely black. Entering inside, one is enveloped in the heat from countless flames, leaving a fantastical and sacred impression.
Premium quality glue with transparency
Ink is made by adding soot, glue, and fragrances. Glue, derived from animal bones or skins such as those of cows, is placed in double boilers, where it undergoes a long process of water bath heating to create a solution. Ink-making can only be done during the period of low temperatures from autumn to spring, to prevent the glue from spoiling. Anticipating a pungent smell… yet surprisingly, the smell is minimal, refined, with very few impurities, showcasing the unique transparency and elasticity of high-quality glue.
Employees unanimously affirm, “We use premium quality glue.” Witnessing the addition of soothing fragrances such as plum to the prepared soot and glue, the stage is set for the “ink master” to make their appearance. Finally, the crucial “mixing” process begins, determining the fate of the ink.
Ink mixing with skilled technique
The mochi-like raw ink is evenly kneaded with the feet until the ink balls shine, and then further refined by hand.
The “mixing” process significantly influences the quality of the ink.
Just before being placed into molds, the ink balls are shaped into cylindrical forms by the ink master’s hands. If the rolling during mixing deviates even slightly, it can cause warping or cracking in the ink after drying.
It’s surprising that the moment to stop mixing is indicated by the ink balls themselves. The finely tuned senses unique to skilled artisans enable them to discern the perfect moment without error.
Skilled technique of “molding” with controlled moisture level
The unit of weight for ink is called “cho.” (1 cho = 15g)
Taking into account the drying of moisture, approximately 22.5g of ink is put into the molds for 1 cho.
The slight difference is determined by the intuition of craftsmen who have calculated the temperature and humidity. The ink master’s intuition never fails.
Careful drying using ash
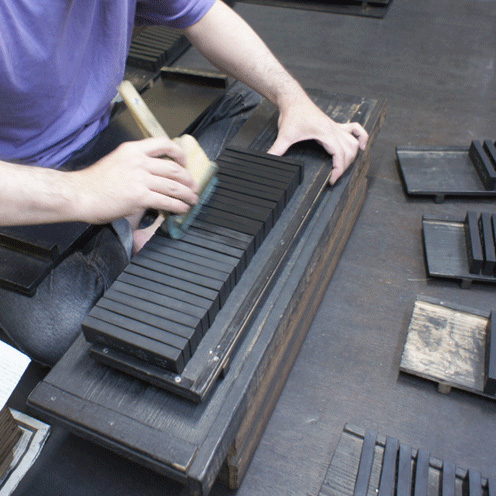
The freshly molded ink, after completion of molding, is placed into wooden molds made of pear wood and secured with clamps.
The ink taken out from the wooden molds is soft, resembling “yokan” (a type of Japanese sweet bean jelly).
This ink undergoes “ash drying,” where the ash drying artisans come into play.
The ink taken out from the wooden molds is slowly dried while buried in the ash surrounding the ash drying room, arranged around wooden boxes.
Drying process with attention to moisture level
On the first day of drying, the ink is buried in ash with higher moisture content, and from the second day onwards, it is gradually transferred to ash with lower moisture content.
This ash drying process continues for about one week for small-sized ink and 30 to 40 days for large-sized ink.
Completion of the Supreme Ink by the Master Ink Maker
After the ash drying process, the ink, with about 70% of its moisture removed, is further processed by weaving it with straw and hanging it from the ceiling indoors for natural drying. The drying period typically takes about two weeks to three months. Once the natural drying is completed, each ink piece is meticulously washed with water to remove any ash or other impurities adhering to the surface. Then, a secret finishing agent is applied to the surface for cosmetic purposes.
Some products undergo an additional process where the ink’s surface is roasted over charcoal to soften it and polished with clam shells until it shines. Every step of the process involves painstaking work.
Koubaien’s Ink Supported by Many Writers
The completed ink, after going through these processes, becomes a high-priced item when displayed in stores. However, the ink crafted through such intricate processes never fails to meet the expectations of artists. Products made with pride begin with the preparation of water for polishing the ink, paying attention to temperature and humidity, how to grind the ink, how to match the inkstone, selecting the paper…
Amidst the increasing popularity of “ink solutions,” there is still a strong trust from artists who have an unwavering love for genuine ink, believing that their artwork must be created with ink. Koubaien, persistently adhering to the techniques and methods developed over many years, embodies the essence of “PRIDE” through its unwavering commitment to meticulous craftsmanship.
One method involves stiffening a frayed brush with specialized glue.
Taking care of and storing brushes is an essential task. While various methods exist for stiffening brushes after use without washing the base, using “specialized glue” as professionals do can restore the brush closer to its original condition.
Why Specialized Glue for Stiffening Brushes is Recommended by Experts
The advantage of this specialized glue is that it does not damage the brush. Using resin-based ink or similar substances to stiffen brushes can lead to damage, but using this “specialized glue” can preserve the bristles and extend the brush’s lifespan. Another point is the protection it offers for long-term storage of brushes. It can prevent issues such as insect damage and bristle splitting, even for large brushes stored for extended periods. Now, let’s introduce how to use it.
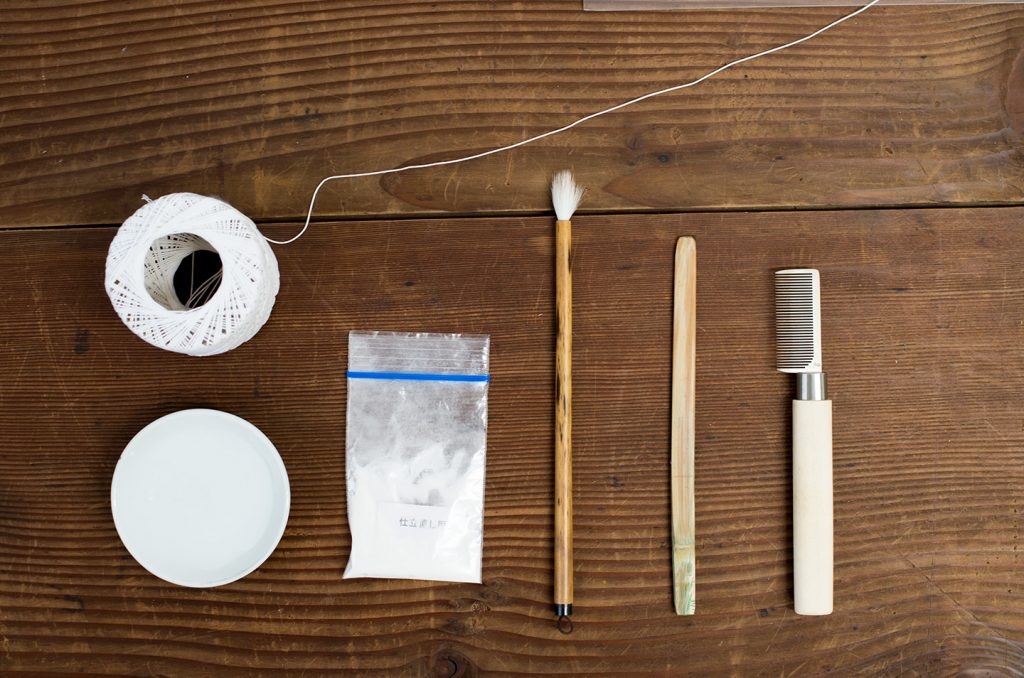
■準Items to Prepare
Specialized glue
・Water
・A flat board for mixing the glue
・A spatula
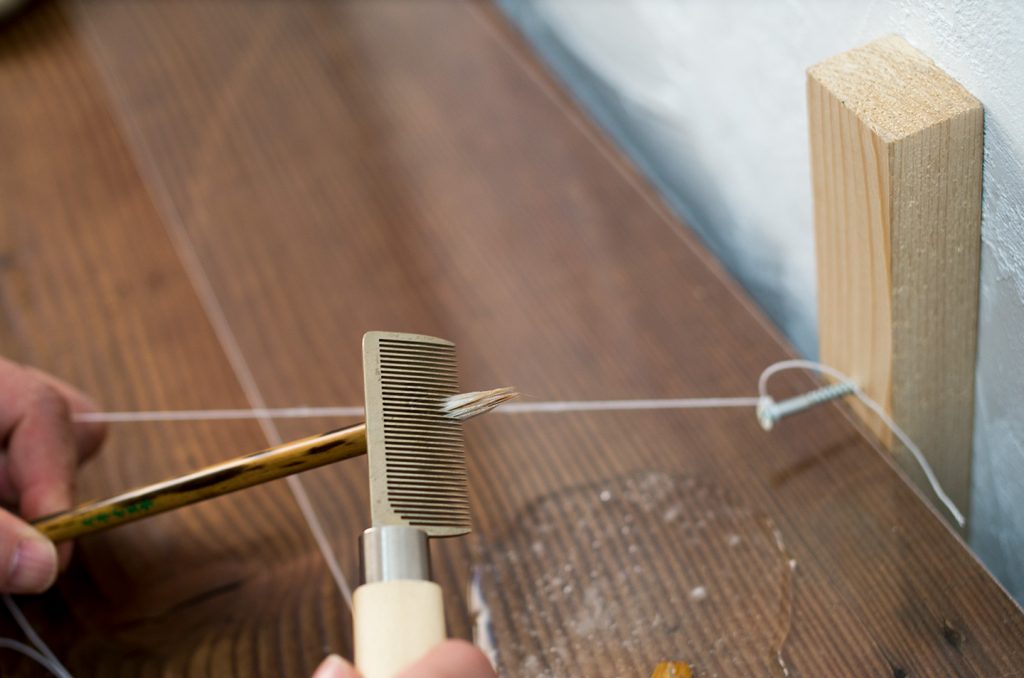
・A brush comb
・String (one end of the string should be fixed to a wall or stand)
*Please ensure that the brush to be stiffened is thoroughly washed and free from ink.
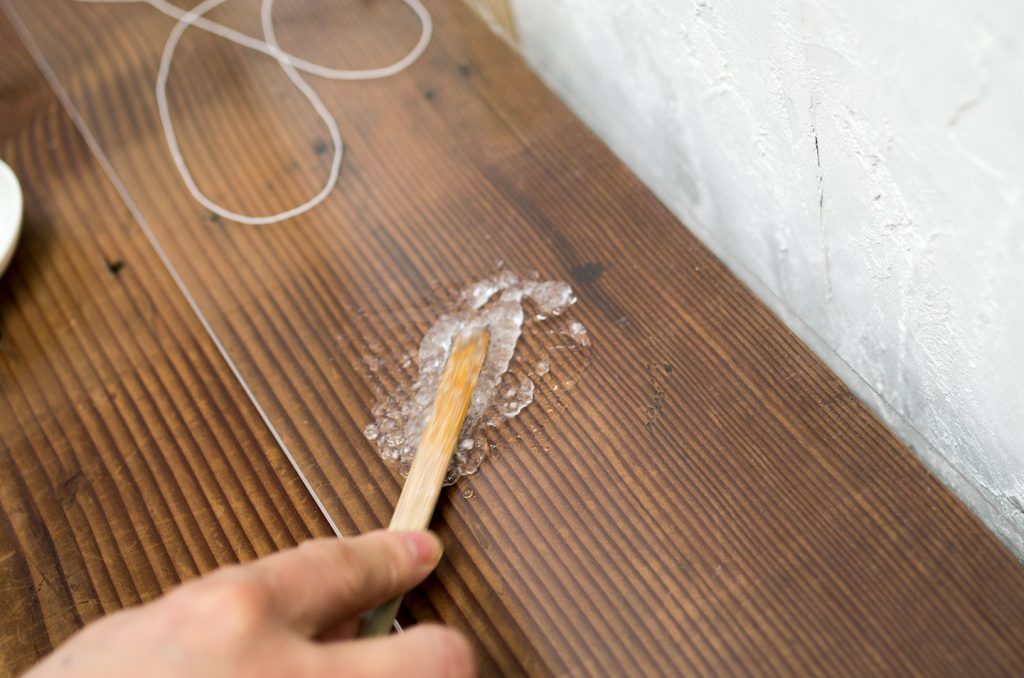
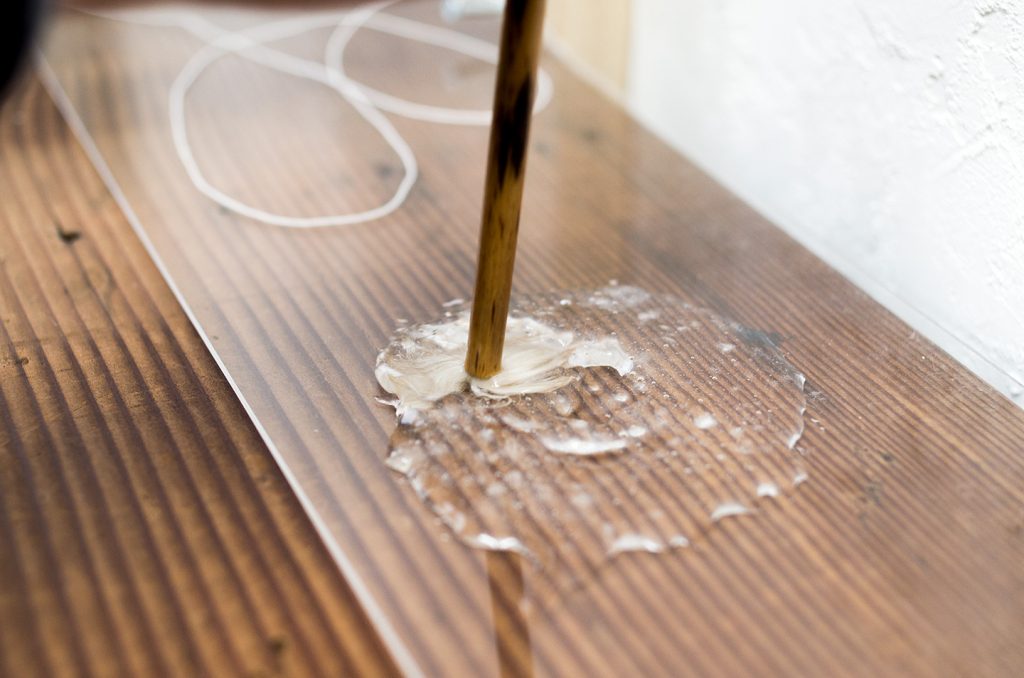
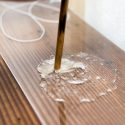
1.Place about a spoonful of glue on a flat surface, such as a glass plate. This amount should suffice for about ten small brushes. Add water in appropriate amounts until the glue becomes pasty, mixing as you go. It’s necessary to press down as you mix, so ensure you’re working on a flat surface.
2.Rotate the brush to open up the bristles and spread the glue throughout the entire brush, making sure the glue penetrates the center part of the brush thoroughly.
3.Remove any excess glue with a spatula, comb the bristles to arrange them neatly, and press down any stray hairs.
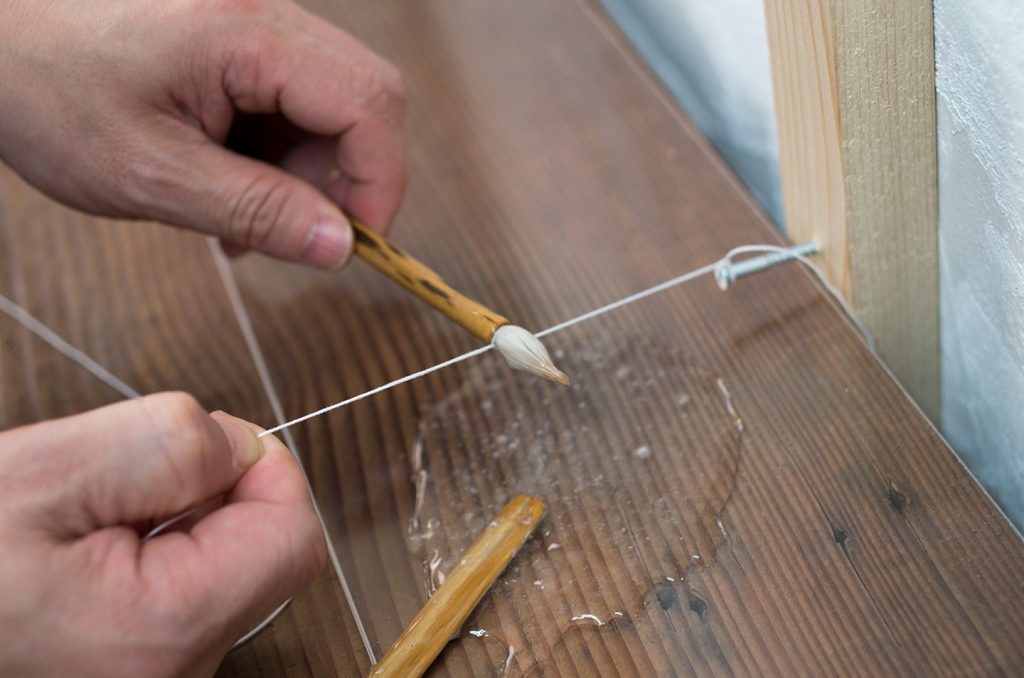
4.Use string to wring out any extra glue. Wrap the string once from the bottom up around the base of the brush tip. Hold the end of the string lightly with your right hand. Pulling the string too tightly will prevent the brush from rotating smoothly. While holding the brush between your thumb and index finger, rotate it in the counter-clockwise direction to wring out the excess glue. (Make sure the string stays straight towards you, and try to keep the brush handle as parallel to the string as possible for best results.)
5.Rotate the brush in a clockwise direction, and straighten any twists or bends with your fingertips. Be careful not to pinch too hard, or the bristles will not form a fine point. Dry the brush away from direct sunlight. A large brush may take about four days to dry, while a small brush may take about three days.
The step involving wringing out the glue with string may be a bit challenging, but once you get the hang of it, you can easily maintain your brushes at home. Please give it a try.









 ■準Items to Prepare