Category: How to use

  • How to Extend the Life of Ink Sticks

    How to Extend the Life of Ink Sticks

    As you continue to grind solid ink sticks daily, they gradually diminish in size, making them harder to hold in your hand. When the ink stick becomes shorter, there are two methods to continue using it: using an ink stick holder to grind it or connecting it to another ink stick to grind. Ink sticks are meticulously handcrafted by artisans. Even as they diminish in size, it’s important to use them until the very end. Now, let’s introduce a recommended method for extending the life of ink sticks, which is surprisingly simple. If you’re struggling with small or broken ink sticks, give this method a try.

    Connecting Ink Sticks

    While there are adhesives available on the market, some may feel hesitant about using substances other than ink to connect ink sticks. However, ink sticks can be connected without using adhesive.
     
    Ink sticks are made from gelatin, soot, and fragrances. Gelatin, one of the ingredients, serves as a natural adhesive, solidifying the ink. Therefore, by applying the ink stick that has been ground to a thick, sticky consistency to the ink sticks you want to connect, you can seamlessly extend the life of the ink sticks without altering their quality or color.
     

    Procedure:

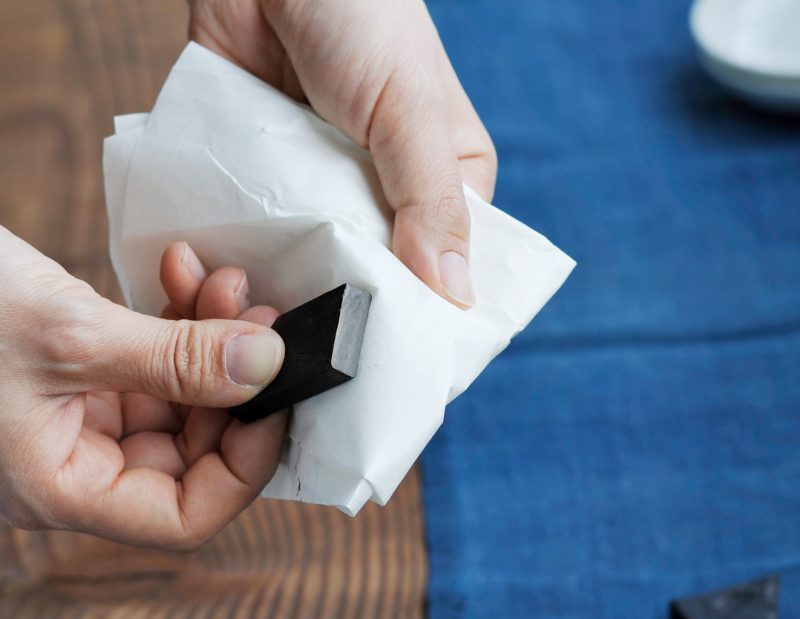
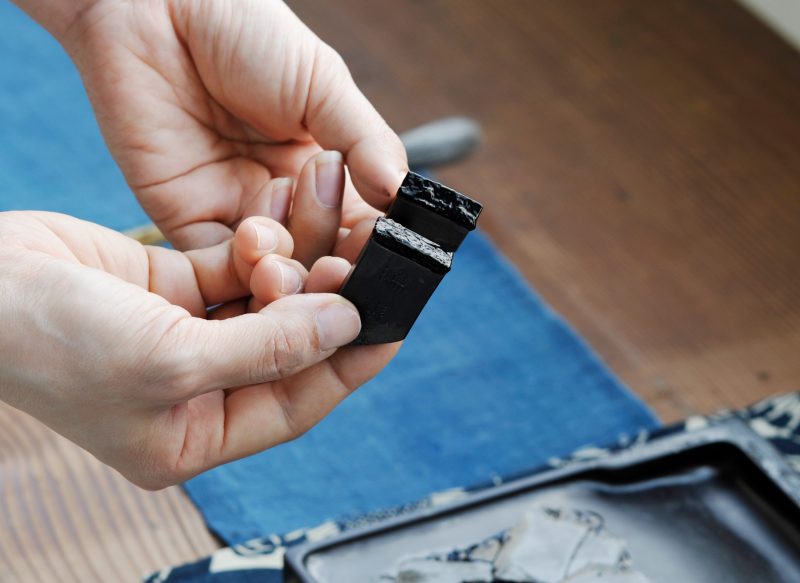
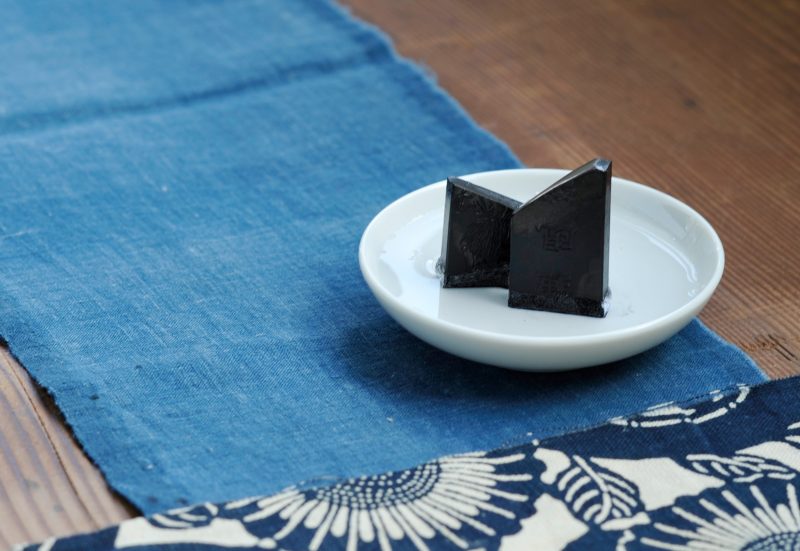
    ①Prepare the small or broken ink stick. It’s recommended to soak the bonding surfaces in lukewarm water for about 3 to 5 minutes beforehand.

    ②Grind both ink sticks until their grinding surfaces are flat. This applies even if the ink stick is broken, although it may require some patience to flatten uneven surfaces.
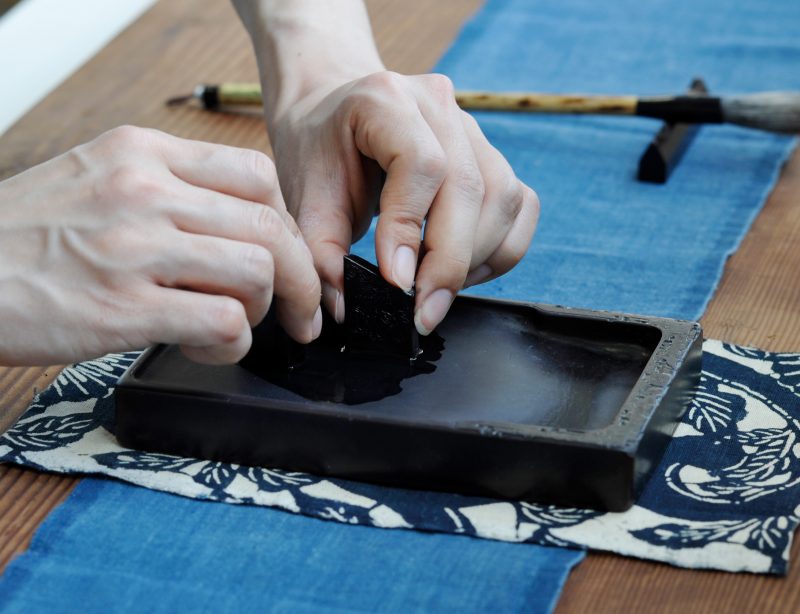
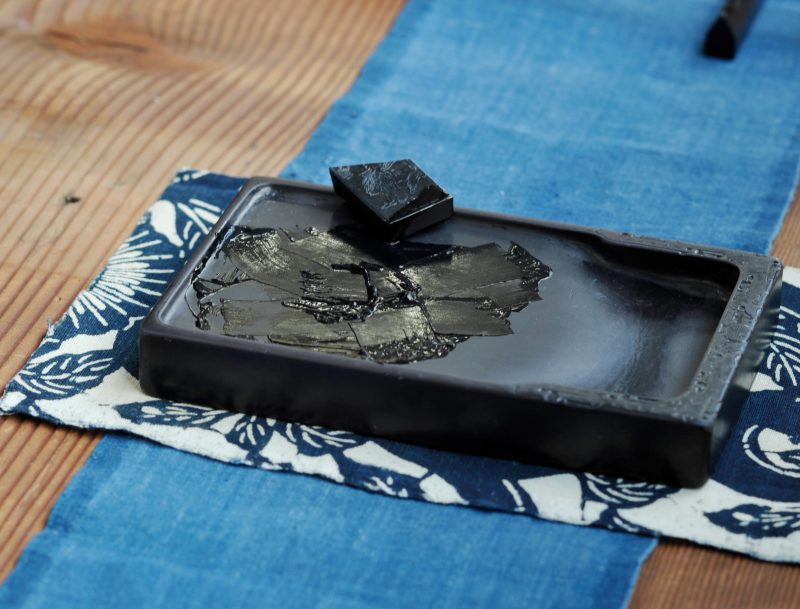
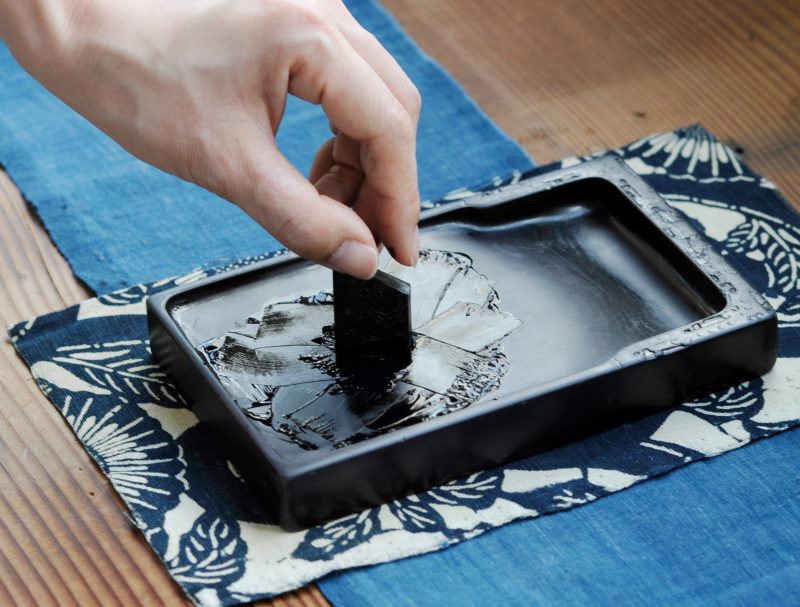
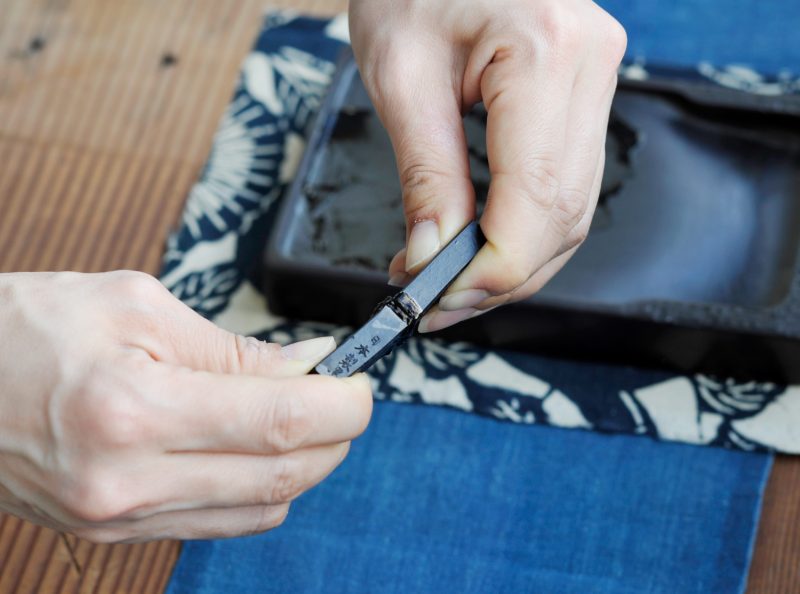
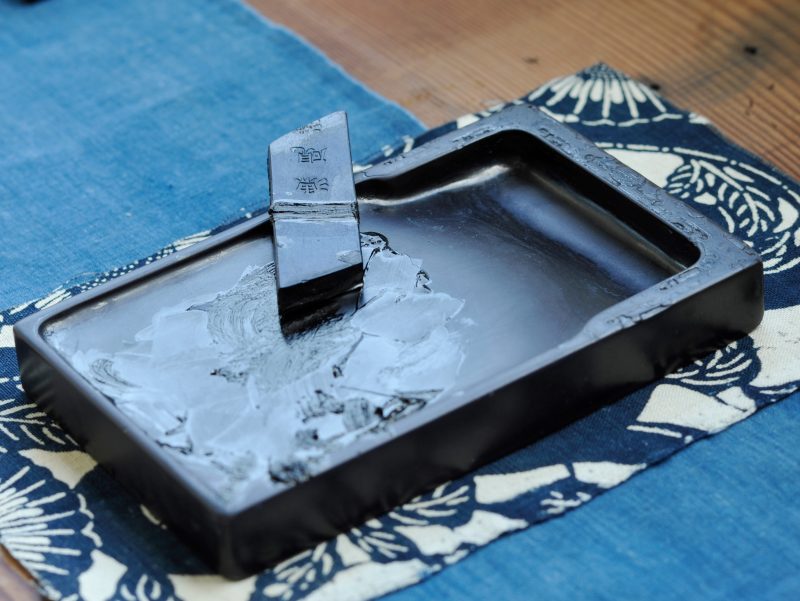
    ③Create a concentrated ink mixture that will serve as the adhesive. Prepare a small amount of ink that you’ve ground in step 2, and then create an extremely thick ink solution with the ink stick you want to connect. The concentration of the ink you grind here will determine the adhesive strength, so grind it as thick as possible until it becomes gooey or sticky.
     
    〈Beginning of Grinding〉

    〈Gooey State〉

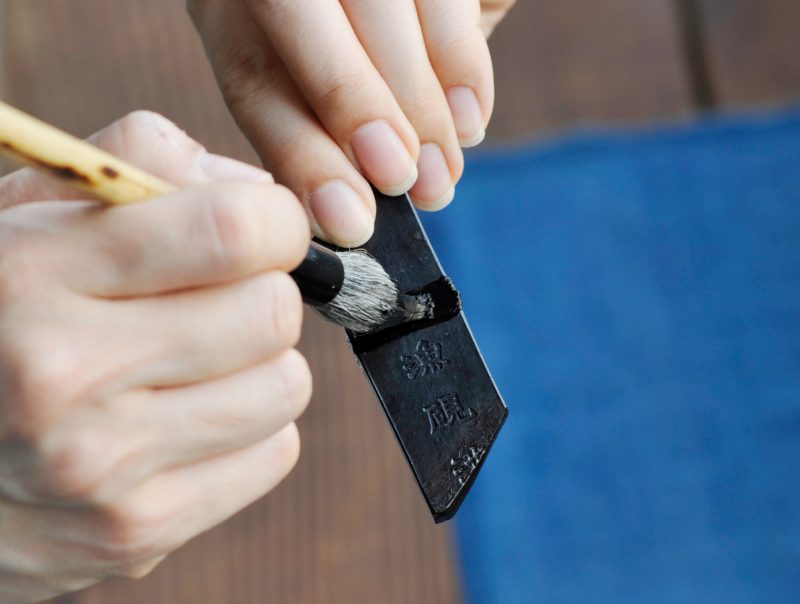
    ④Dip the thick, gooey ink mixture you’ve ground into the flat grinding surface of the ink stick you prepared in step 2. You don’t need to apply too much, but make sure to evenly coat the grinding surface.

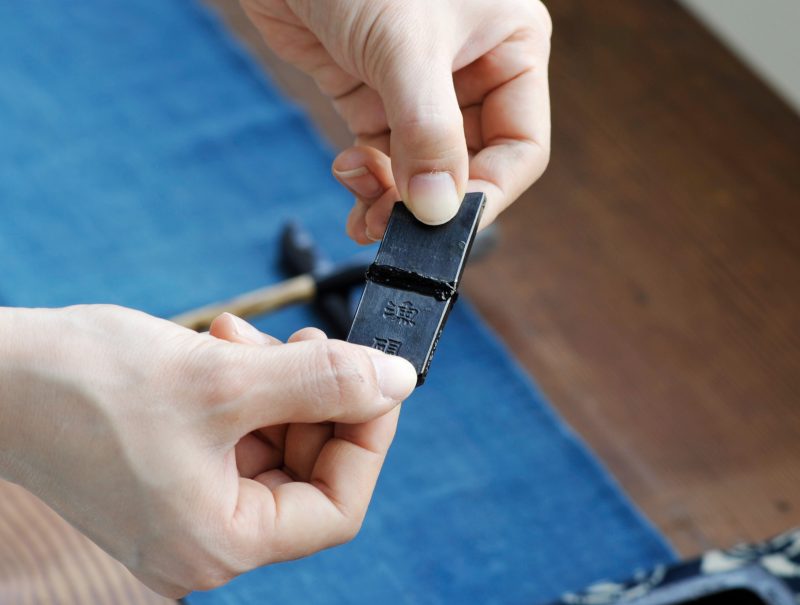
    ⑤Press the bonding surfaces together to connect them. Be careful to align them properly, and press both ink sticks firmly together with both hands. Apply pressure for about a minute if possible. As the adhesive ink dries, it will shrink slightly, so it’s okay if some ink oozes out from the bonded area. After pressing, use a brush or your finger to spread the gooey ink you used for bonding around the bonded area.

    ⑥Allow the bonded area to dry naturally until it’s completely dry. Even for small items, it may take several days to dry completely, so let it dry for at least 3 days.

    With this, the ink stick extension is complete. Please continue to attach your small ink sticks together and make sure to use them carefully until the very end.


    Using Ink Adhesive

    When you’re busy and don’t have time, another option is to use ink-specific adhesive to connect ink sticks. Convenient ink adhesives are also available for purchase, so choose according to your needs.

  • Introducing Backing Methods and Special Backing Paper!

    Introducing Backing Methods and Special Backing Paper!

    We’ve received a new stock of special backing paper that allows for easy backing using just an iron and a spray bottle. Backing helps prevent wrinkles and sagging in your artworks, providing reinforcement. Have you ever created a piece of art that turned out beautifully but is just sitting there untouched? Well, if you back your well-done artworks, you can display them whenever you like. In this guide, we’ll introduce how to use backing paper, so please give it a try.

    What You’ll Need:

    • Backing Paper (For framing, we recommend thick paper; for scroll mounting, thin paper)
    • Iron
    • Spray bottle
    • Utility knife
    • A surface to use while spraying and ironing

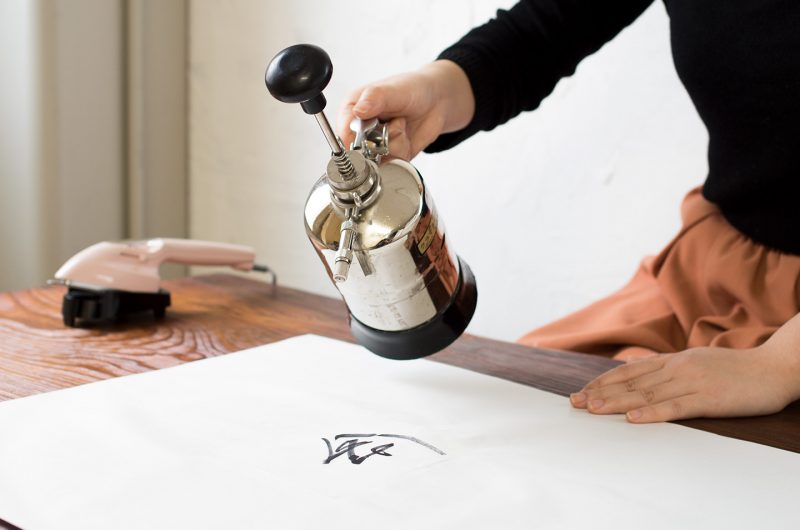
    1. Stretch Your Artwork Flip your artwork over and evenly mist it with the spray bottle to ensure no unevenness. Allow it to dry until wrinkles are no longer present (about 10-15 minutes).

    2. Attach the Backing Paper With the artwork still facing down, move it to an ironing board. Prepare a piece of backing paper the same size as your artwork or slightly larger, ensuring the glossy side is facing the back of your artwork.

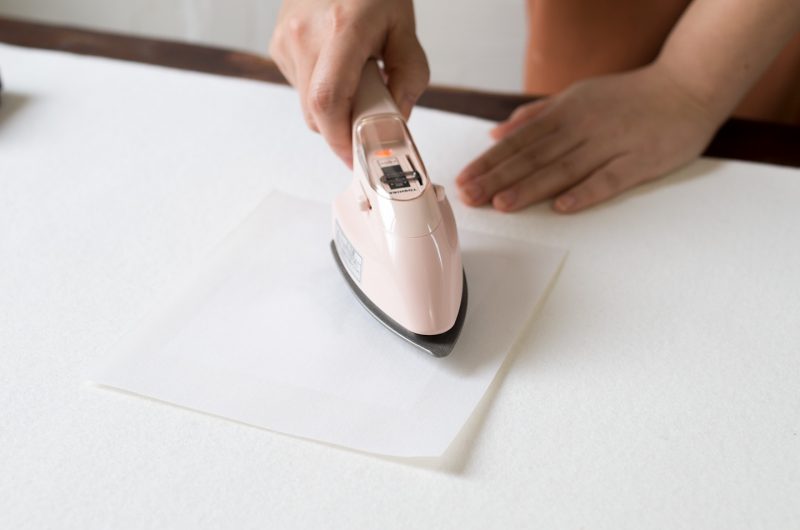
    3.Iron It On Use a Teflon-coated iron set to medium to high heat (around 130 degrees Celsius). Starting from the center of the paper, gently press from the center towards the right and then from the center towards the left, ensuring there are no air bubbles or shifting. After one pass, iron again to prevent unevenness. Once finished, let it sit for about 5 minutes until the temperature cools down.

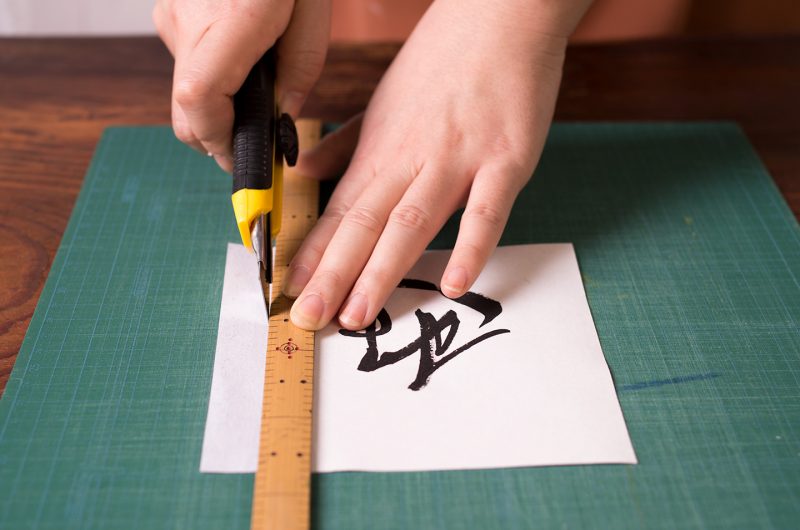
    4.Finish It Up Trim any excess paper using a utility knife. If you plan to display your artwork, place it in a scroll mounting or a frame, and it’s ready! Note: If you don’t allow the artwork to dry properly after misting, it may lead to damage or poor adhesion. Be careful not to over-dry, as this can cause wrinkles. If warping or bending occurs after adhesion, apply weight using books or similar items. It should flatten out and look clean after about 3 hours.


    You can find a complete list of art materials here.

  • Cleaning and Grinding an Inkstone

    Cleaning and Grinding an Inkstone

    The inkstone, as a tool for grinding ink, has its origins dating back to the Yin Dynasty, around 2,000 years before the common era. It was introduced to Japan during the Asuka period. In ancient times, inkstones were crafted from various materials, including stone, clay, tiles, jade, and pottery. Over time, with the discovery of stone materials known as “Meikens,” and the skillful work of sculptors, inkstones evolved from utilitarian objects to items appreciated for their artistic value.

    Calligraphy is said to begin with the grinding of ink, so the process of grinding ink is highly regarded. It’s a practice of cleansing the heart and mind while using a clean and well-maintained inkstone.

    Failure to keep your inkstone clean can have detrimental effects. Accumulated ink can degrade the quality of ink and even produce unpleasant odors. Furthermore, the decay of encrusted ink can lead to issues during mounting processes.

    To maintain your inkstone, it’s essential to diligently clean it each time you use it. By doing so, you can keep it in pristine condition and enjoy its use for a long time. Here, we’ll introduce the proper care methods for your cherished “inkstone.”


    How to Clean an Inkstone

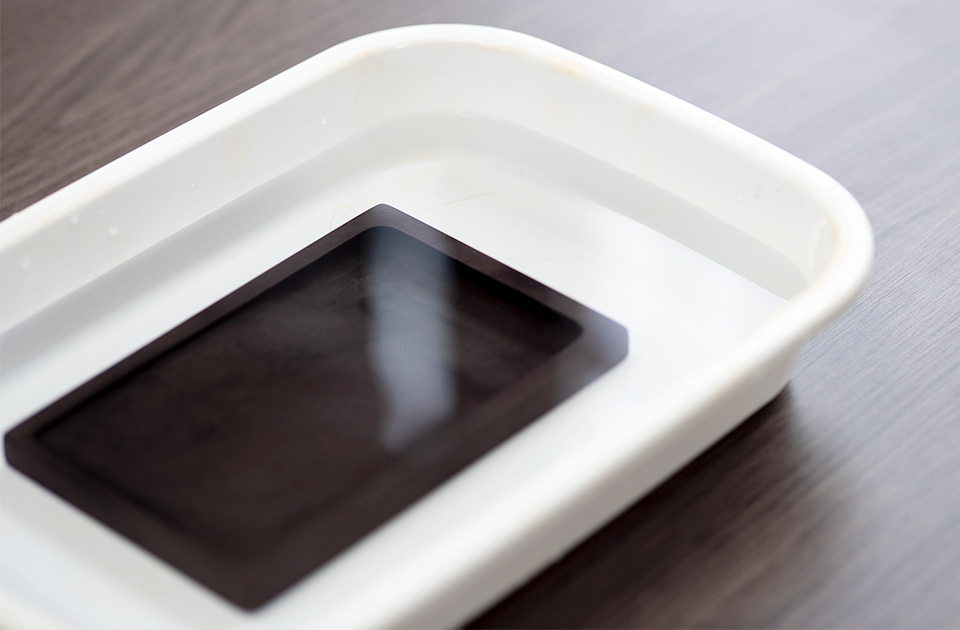
    1.Soak the inkstone in hot water for about 20 to 30 minutes.

    The glue, which is the main ingredient in ink, can be dissolved in hot water. The optimal temperature for dissolving the glue is around 70°C. Soaking the inkstone in water at about 70°C makes it easier to remove accumulated soot and glue residue, and it helps to clear any blockages.

    硯をお湯につけ置きする

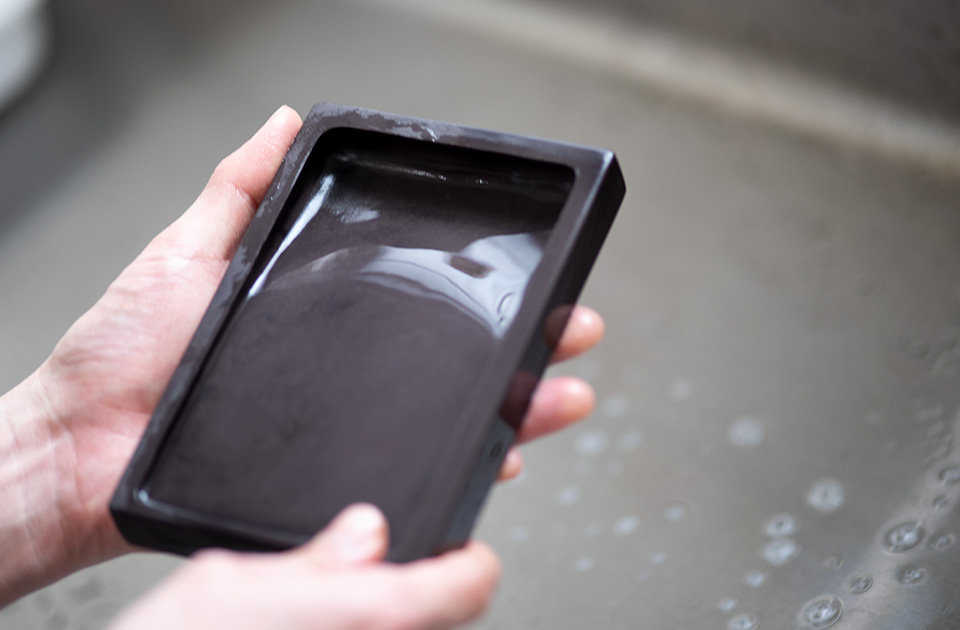
    2.Gently clean the inkstone with a soft material.

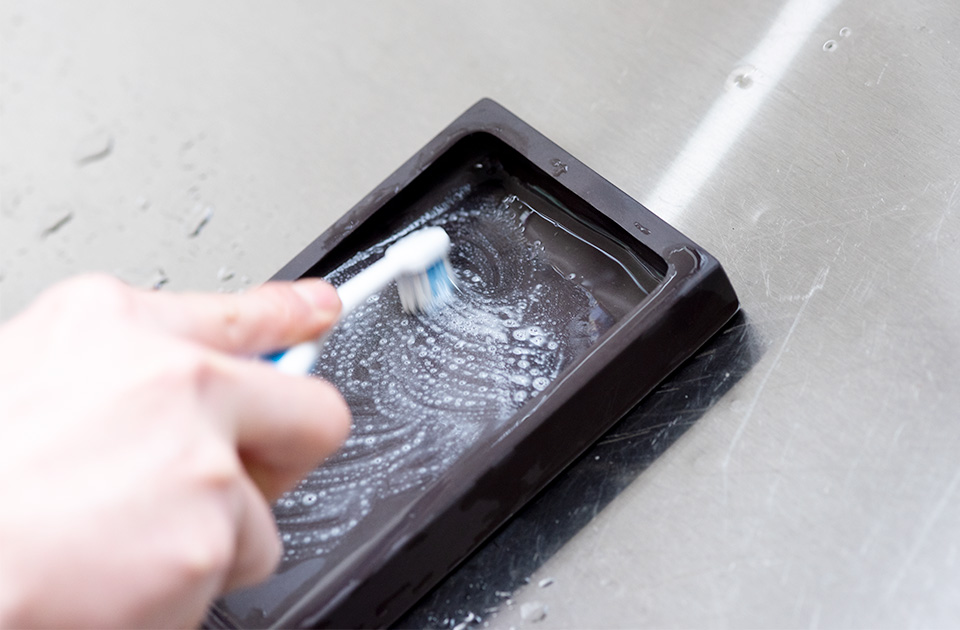
    To prevent scratching the inkstone, use a soft sponge or a toothbrush with soft bristles to gently and thoroughly rinse it with water. Pay special attention to areas around the edges and corners of the inkstone that may be hard to clean.

    やわらかい素材で硯を洗う

    3.Remove excess moisture and allow it to air dry.

    After washing, use a cloth or similar material to remove excess moisture, and then let the inkstone air dry. Avoid rapid drying methods.

    硯を乾かす

    If the ink has hardened and is difficult to remove:

    When you need to remove stubbornly adhered ink, you can follow the same steps as mentioned above (1, 2, 3) for cleaning. If the ink stains still persist, try soaking the inkstone in hot water for a longer period and repeat the previous steps patiently.

    If you find it difficult to grind the ink:

    Some may have experienced difficulty in grinding ink, feeling that it’s not grinding well or not achieving the desired consistency. The process of grinding ink on the inkstone relies on the fine irregularities on the inkstone’s surface called “Hobo” (鋒鋩). These irregularities act like abrasive surfaces, aiding in the grinding process. However, over time, these irregularities can wear down, making it harder to grind ink.

    If you encounter difficulty in grinding ink, here are some methods to try:

    1.Clean the Inkstone Thoroughly:

    Even if the surface of the inkstone appears clean, there might be soot or glue residue clogging the Hobo’s irregularities, preventing proper grinding. To address this, soak the inkstone in water at around 70°C for 20 to 30 minutes, then gently and thoroughly wash it with a soft sponge or a toothbrush with soft bristles. This process may need to be repeated several times if it hasn’t been done before.

    2.Check the Type of Ink:

    While it’s uncommon for Japanese ink (Sumi) to be difficult to grind, Chinese ink (Tosho) tends to be less easy to grind (resulting in a lighter black). If you are using Chinese ink and are having trouble grinding it to your liking, consider switching to Japanese ink as an alternative.

    3.Resharpen the Inkstone (Hone the Hobo):

    If washing the inkstone and changing the type of ink do not yield satisfactory results, the final option is to resharpen the Hobo, a process known as “Metate” (目立て). This involves carefully re-sharpening the fine irregularities on the inkstone’s surface to restore its grinding efficiency. However, this is a delicate process and should be approached with caution. Please refer to detailed instructions for Metate for specific guidance.

    Metate is a skilled technique and should only be used as a last resort. Proceed with great care and, if unsure, seek guidance from experts in the field.

    Method for Resharpening the Inkstone (Honing)

    There are two main methods for resharpening the inkstone:
    1.Using a cream abrasive
    2.Using a cream abrasive and waterproof sandpaper
    3.Using a dedicated inkstone sharpening stone

    I’ll explain each method in order, but before that, let’s cover some preliminary information.

    High-quality inkstones typically do not experience significant wear from regular use. Therefore, it’s often unnecessary to resharpen a high-quality inkstone. In fact, attempting to resharpen an inkstone can, in some cases, alter its surface color or even lead to damage, as shown in the image below. It is generally recommended only as a last resort for those who are confident in their inkstone care and willing to take full responsibility.

    1.Using a cream abrasive

    For this method, you’ll use a well-known cream cleanser like “Jif.” Jif is an alkaline cream cleanser that combines surfactants to lift dirt and abrasive materials to remove stains. The abrasive used in Jif is natural calcite, which is softer than glass or stainless steel and won’t scratch the inkstone’s surface while effectively cleaning it.

    クリーム状の研磨剤を使用する

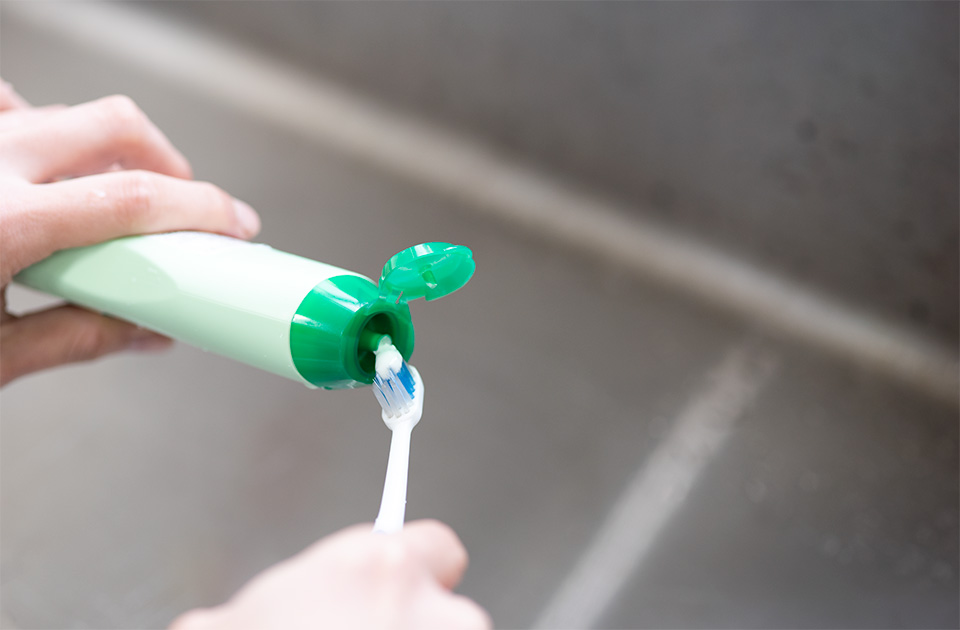
    The usage is quite simple. You soak the inkstone in water at around 70°C, which is said to be ideal for dissolving glue, for about 20 to 30 minutes. The heat from the water helps dissolve any glue that has adhered to the inkstone. After removing the inkstone from the water, apply Jif to a toothbrush and gently rub it in a circular motion as if you were grinding ink. (Be sure not to scrub too vigorously.) Make sure to rub not only the inkwell (hill) where you grind ink but also the corners and hard-to-reach places where ink tends to accumulate. By repeating this process all over the inkstone multiple times, the coarse particles of Jif’s abrasive will gradually become finer. So, be patient and make it clean.


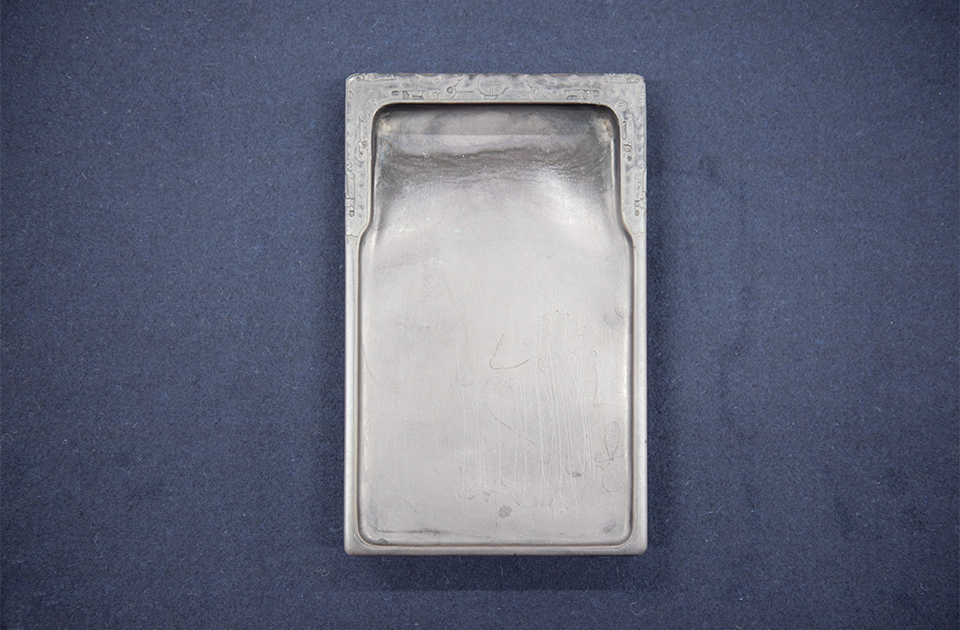
    Once it’s clean, rinse the inkstone thoroughly with water at about 40°C and wipe away any excess moisture. Due to the surface being worn down by the Jif, the inkstone’s color may change to its original bright stone color, but don’t worry. It will naturally blend in as you continue to use and clean the inkstone.

    硯をジフでやさしくこする
    ジフ研磨後

    Here’s the state after Jif polishing.
    Please note that when you perform this polishing, the color of the inkstone will inevitably change as shown in the post-polishing image. If you prefer not to change the color of your inkstone, it’s advisable not to proceed with the honing.

    2.Using a Cream Abrasive and Waterproof Sandpaper

    If the inkstone honed with Jif in the previous step feels like the irregularities (Hobo) are too pronounced, you can use waterproof sandpaper (refer to *Note 1 for the grit size) to fine-tune it.

    Start by thoroughly wetting the inkstone and then use waterproof sandpaper to polish the entire inkwell (hill) where you grind ink. This will help to remove excess parts around the Hobo while keeping the Hobo itself intact, improving the grinding experience.

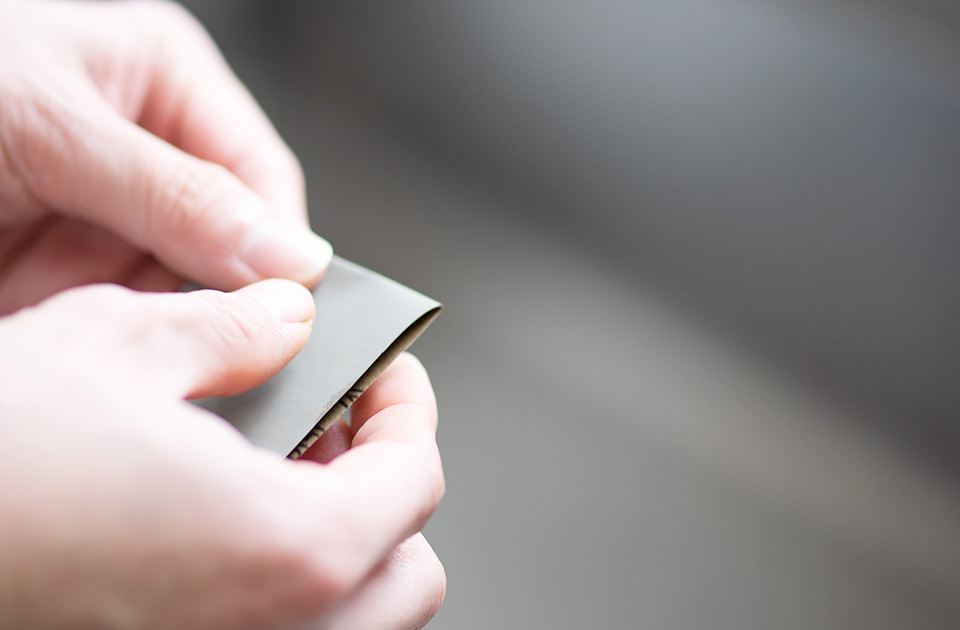
    Cut the waterproof sandpaper into small pieces, fold them, and place them on your fingertip. Imagine making circular motions as you would when grinding ink, and rub the entire surface evenly. Rather than pressing the sandpaper onto the inkstone with force, apply gentle, even pressure across the surface. Keep in mind that waterproof sandpaper tends to clog quickly, so replace it a few times as you sense resistance to maintain consistent performance.

    耐水ペーパーを使用する

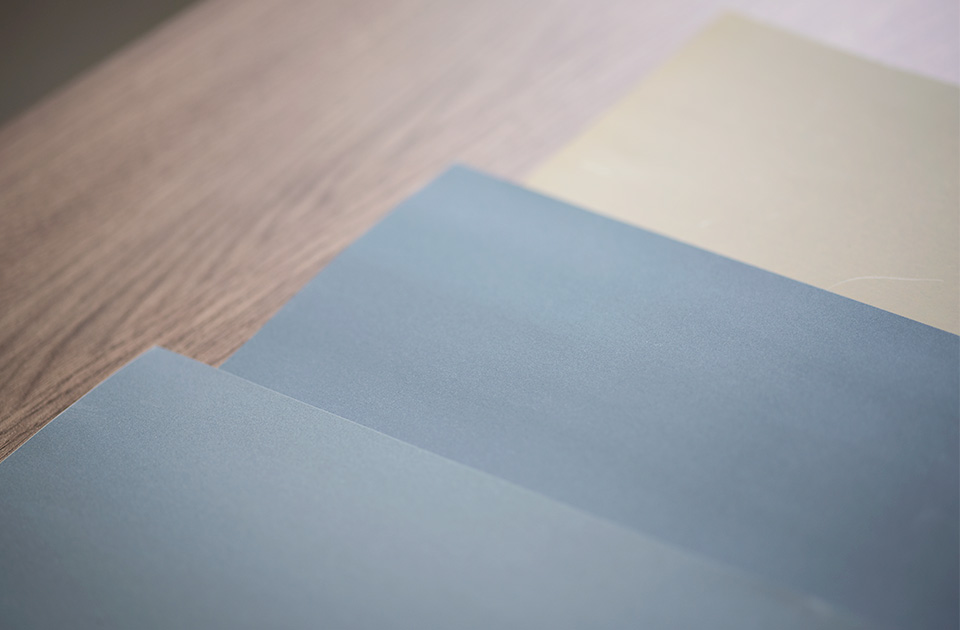
    (*Note 1) The grit size of the waterproof sandpaper may need to be adjusted based on the type of inkstone you have. Here are rough guidelines for the grit size of waterproof sandpaper:

    For Enden Inkstones: #2000 to #3000 For Keisyu Inkstones: #800 to #1000 For Romen Inkstones: #600 to #700 For Student Romen Inkstones: #400 to #500 *Note that the higher the number, the finer the grit. If you seek a finer polishing texture, you can use #3000 or #4000 waterproof sandpaper.


    As previously mentioned, it’s generally not necessary to hone a well-maintained inkstone. Honing should only be considered as a last resort, and it should be undertaken with self-responsibility, keeping in mind that it can change the inkstone’s appearance.

    耐水ペーパーの種類

    *Please note that when polishing, the color of the inkstone will inevitably change as shown in the post-polishing image. If you prefer not to change the color of your inkstone, it’s advisable not to proceed with the honing.

    3.Using a Dedicated Inkstone Sharpening Stone

    One well-known method for honing an inkstone is to use a dedicated inkstone sharpening stone. These stones are typically made by cutting solidified layers of clay. However, since clay sharpening stones may contain ultra-fine impurities like metal, gravel, or glass, there is a possibility that they can scratch the inkstone when used.

    Now, let’s discuss how to use the sharpening stone on the inkstone. When using a clay sharpening stone, it’s essential to soak the inkstone in water beforehand and then gently apply the sharpening stone as if you were grinding ink.

    For the corners of the inkstone or hard-to-reach areas, consider breaking the sharpening stone into smaller pieces and using these fragments for sharpening.

    It’s crucial to understand that when applying the sharpening stone, the goal is not to correct the irregularities on the inkstone’s surface but rather to perform honing. Therefore, instead of exerting force while using the sharpening stone, apply gentle pressure similar to how you would when grinding ink.

    Once you’ve finished using the sharpening stone, thoroughly rinse the inkstone, and wipe away any excess moisture.

    Using the Sharpening Stone on Suitable and Unsuitable Inkstones

    Since clay sharpening stones are made from natural materials, there’s a possibility that the ultra-fine gravel contained in them can damage the inkstone. Therefore, if you’re wondering which inkstones are suitable for clay sharpening stone use, the honest answer is that “in general, it’s wise to avoid using clay sharpening stones on any inkstone.” Because clay sharpening stones are made from natural materials, it’s possible for the tiny gravel to damage the inkstone. If you absolutely need to use a clay sharpening stone, it’s recommended to do so only on an inkstone you can accept potential damage on.

    When Ink Doesn’t Grind Well Right After Purchase

    This is a phenomenon often observed with Chinese inkstones. Newly purchased inkstones are sometimes coated on the surface to maintain their visual appeal. However, these coated inkstones may not perform well when grinding ink, with the ink appearing resistant and sliding on the inkstone’s surface, sometimes even repelling water.

    In such cases, follow the instructions for “Cleaning the Inkstone.” Soak the inkstone in water at around 70°C for about 20 to 30 minutes, then gently clean it with a soft material, repeating this process several times. This will remove the coating, allowing the ink to grind effectively. (Since the coating on the inkstone is often made of wax, the ideal temperature for dissolving wax is similar to the temperature for dissolving glue, around 70°C.)

    If you still feel some discomfort even after multiple cleanings, simply continue using the inkstone for grinding ink and cleaning it as you would normally. Over time, the coating will naturally wear off, and the inkstone will return to its original grinding condition.
  • Caring for and Cleaning Brushes

    Caring for and Cleaning Brushes

    Taking care of your calligraphy tools is incredibly important. Good brushes can quickly deteriorate if not properly maintained on a daily basis. We’ll introduce you to the proper care methods, so whether you’re new to this or experienced, take a moment to review.

    How to Clean Brushes

    Calligraphy brushes come in various bristle types, sizes, and thicknesses, tailored for different purposes. Here, we’ll outline the cleaning process for two fundamental types: large and small brushes. If you’re interested in learning about how to prepare new brushes, we also have a separate guide for that.

    Cleaning a Large Brush

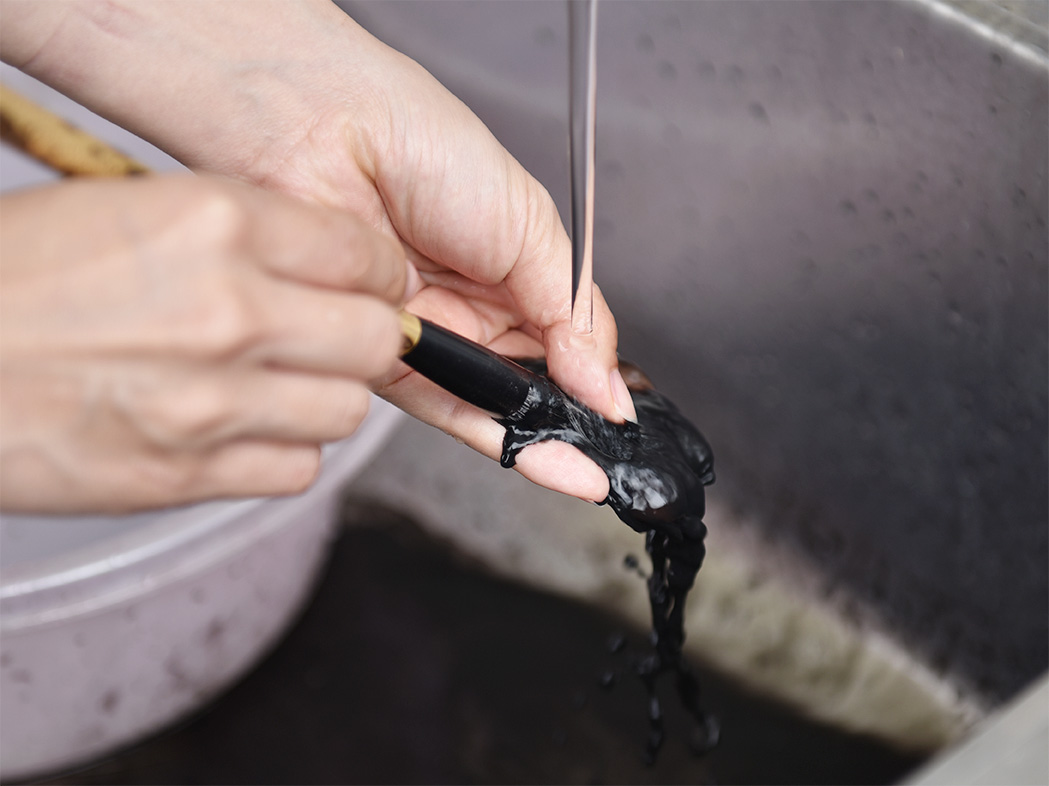
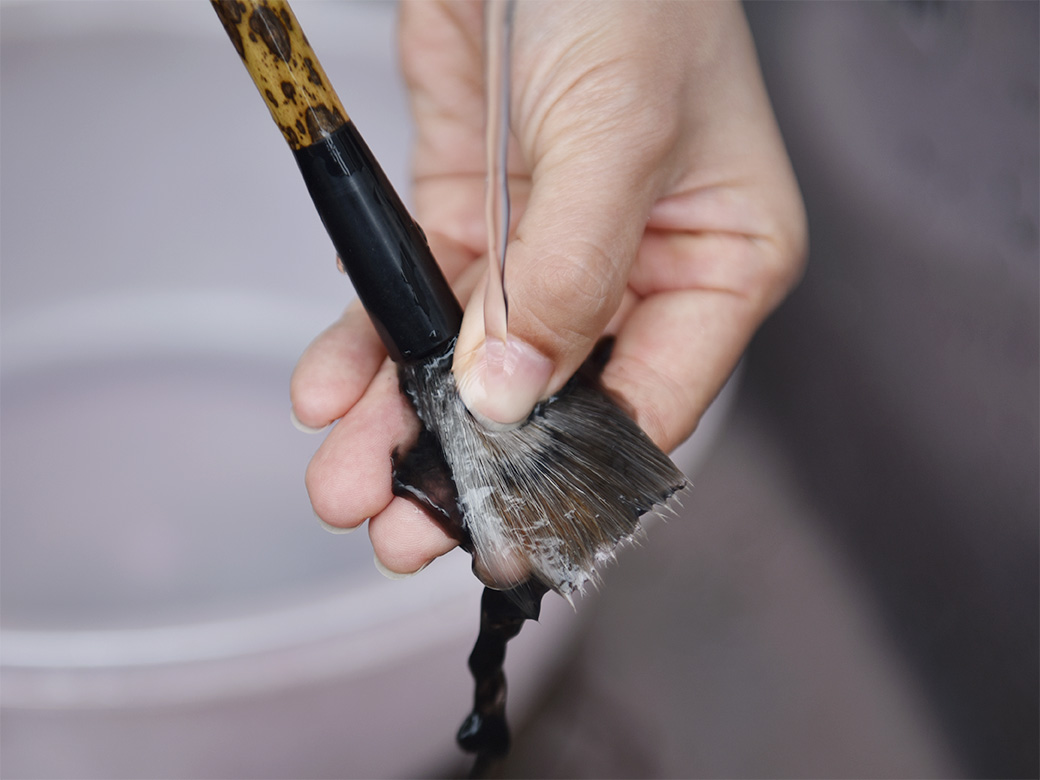
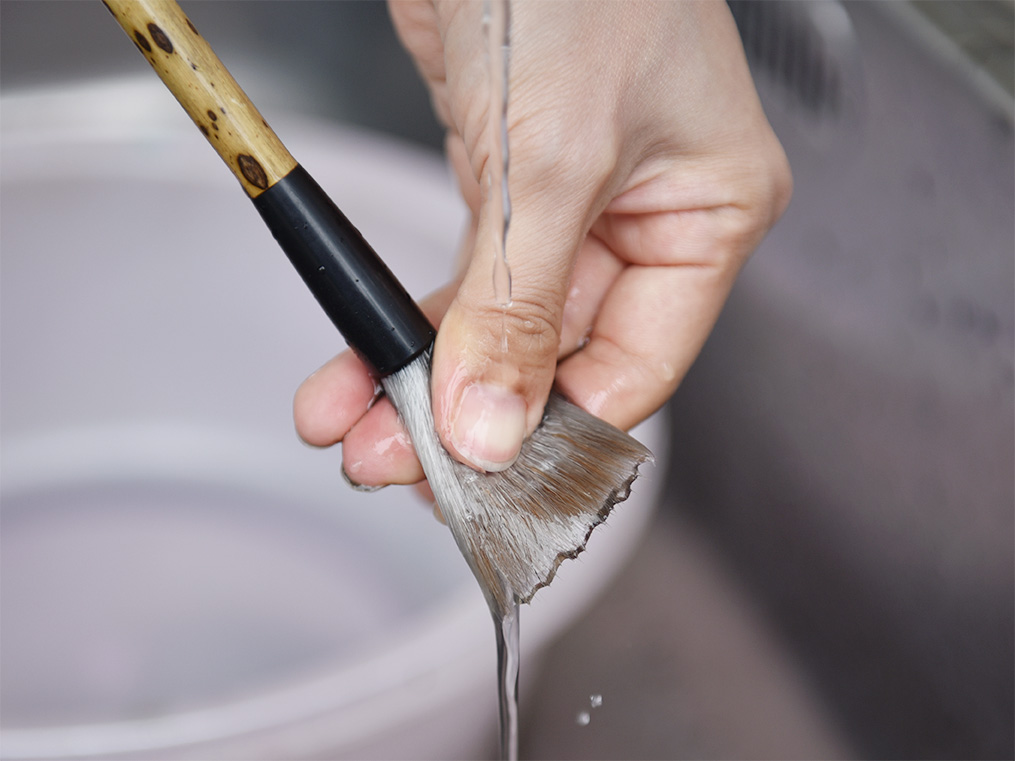
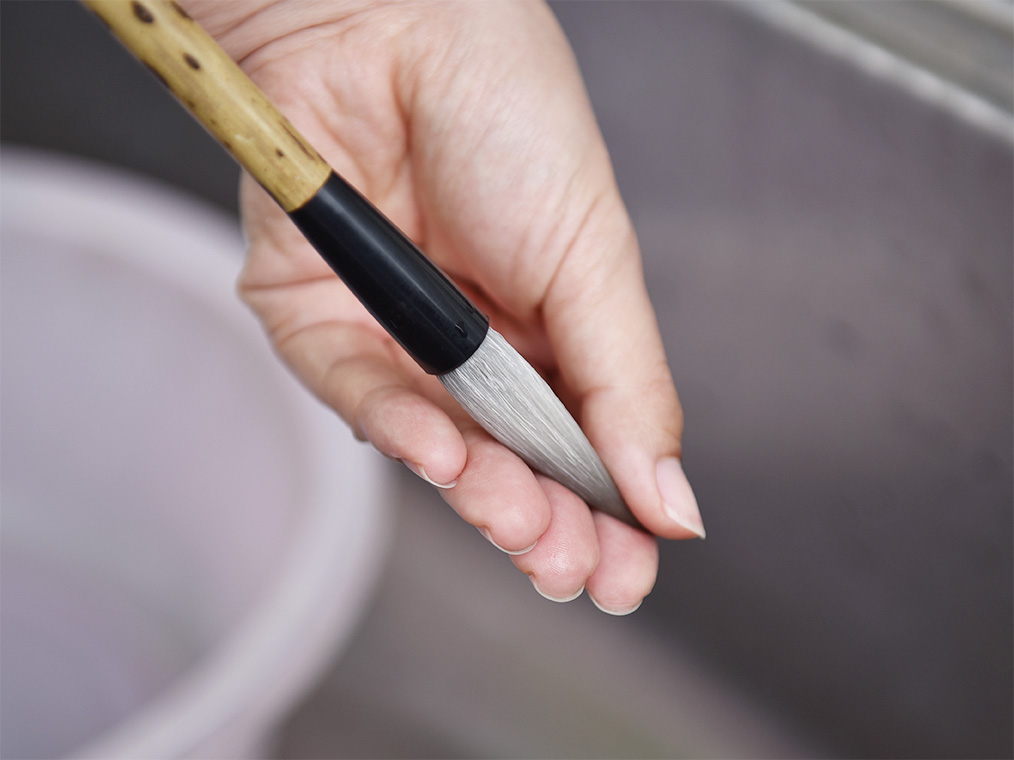
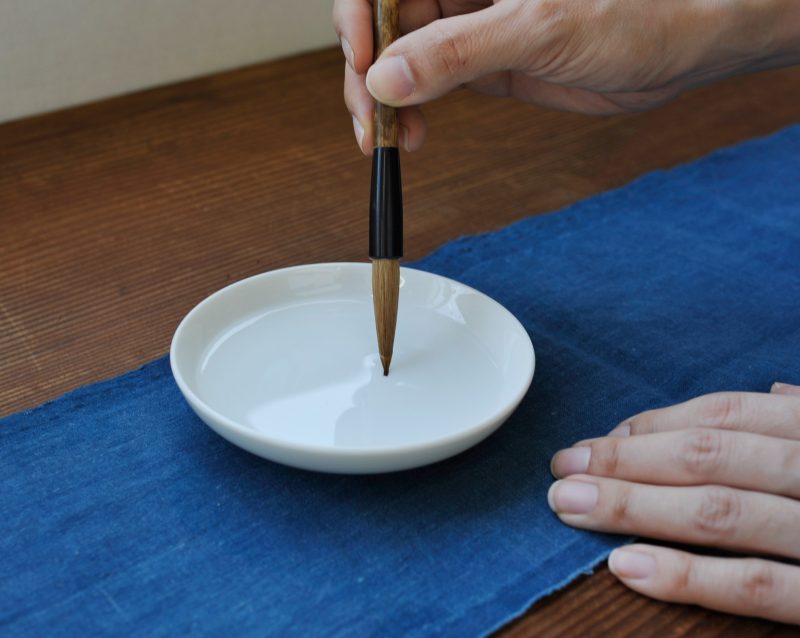
    ①Thoroughly rinse the base of the bristles under lukewarm water, gently massaging them to untangle any knots. You can use either running water or still water for this, but ensure the temperature is around 30 to 40°C (86 to 104°F).


    The bristles of a brush are not visible, but they extend deep into the base where they are inserted. If you can remove the ink that has penetrated into these hidden parts, the bristles are less likely to be damaged, and issues like bristle decay, shedding, or brush cracking are minimized. However, since it’s not possible to directly wash the inner parts, focus on gently massaging the base of the bristles. If you touch it, you might feel some stiffness or resistance. While it might seem like the ink isn’t coming off at first glance, it’s crucial to wash the brush repeatedly multiple times.


    Although you wash it over and over, ink will continue to come out. Please wash it persistently to remove the ink as much as possible.

    ②After finishing the washing, gently squeeze the bristles to remove excess water.


    ③ Use your fingers to tidy up the tip of the bristles. Additionally, you can use a brush comb to groom any damaged bristles, which will help the brush look neater after drying.

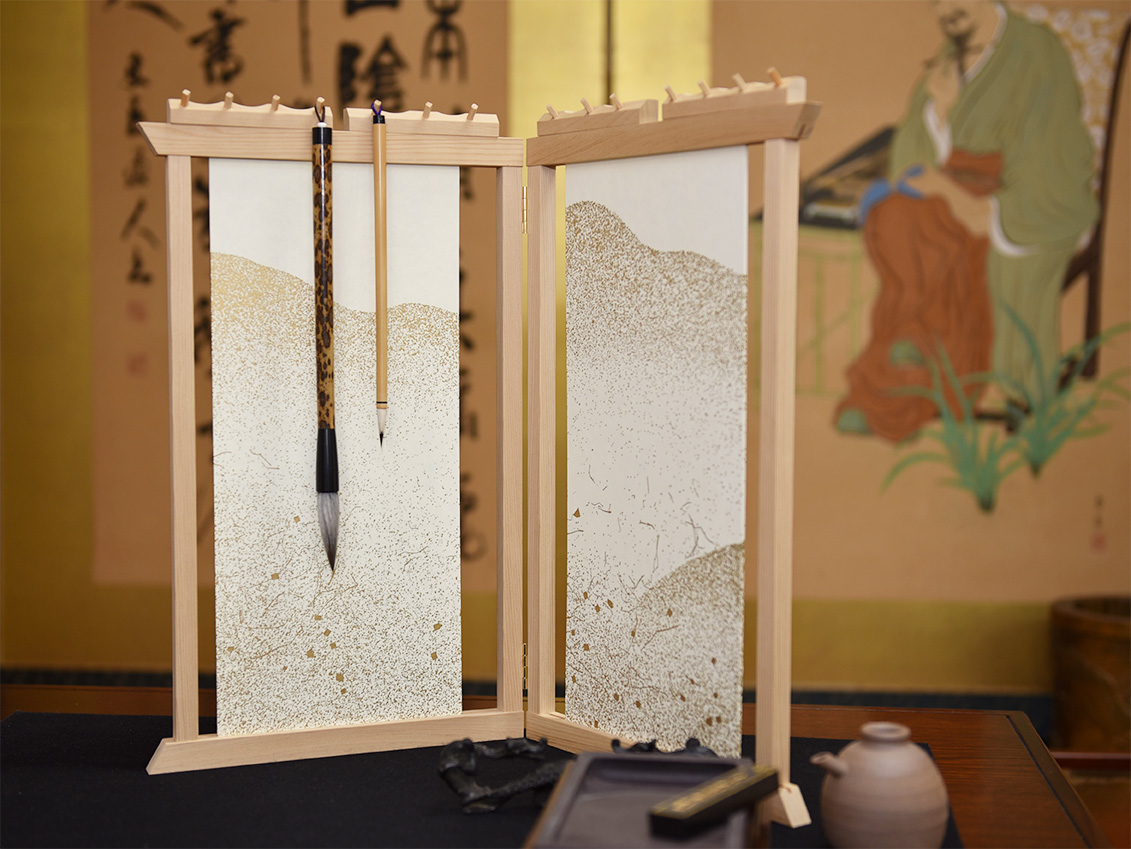
    ④ After finishing the washing, hang the brush on a brush hanger or similar tool to let it air dry naturally. If you start using the brush again before it’s completely dry, the bristle base will remain damp, which can lead to bristle decay. When the bristles decay, shedding and splitting are more likely to occur, and the bristles might even fall out entirely or crack, so please be cautious.


    Cleaning Small Brushes

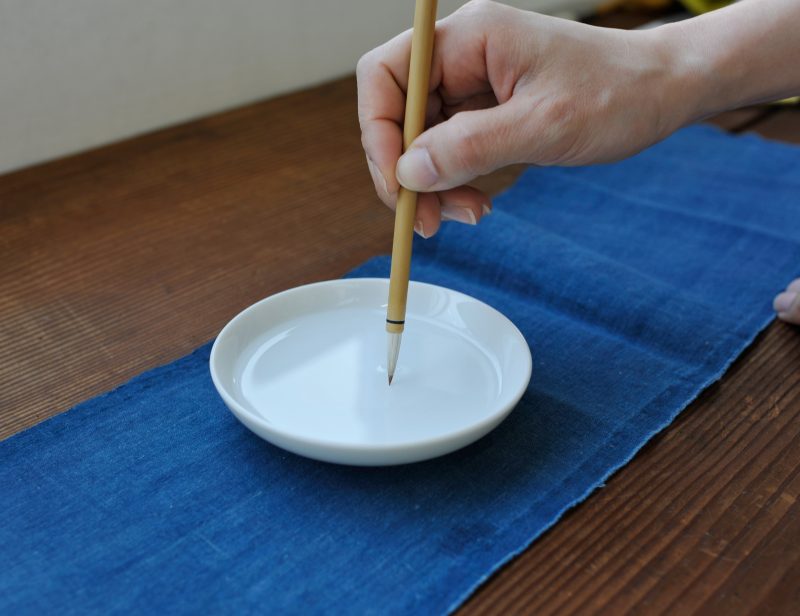
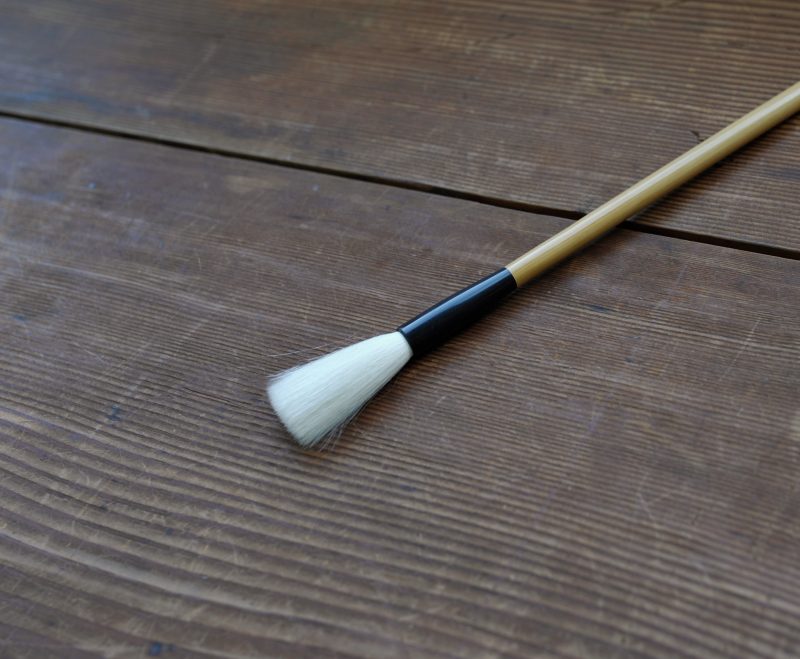
    Small brushes are typically sold in a state called “gatame fude,” where the bristles are originally bound together with glue. Since only about one-third of the bristles are used for small brushes, there’s no need to wash them after use. Let’s perform maintenance without washing.

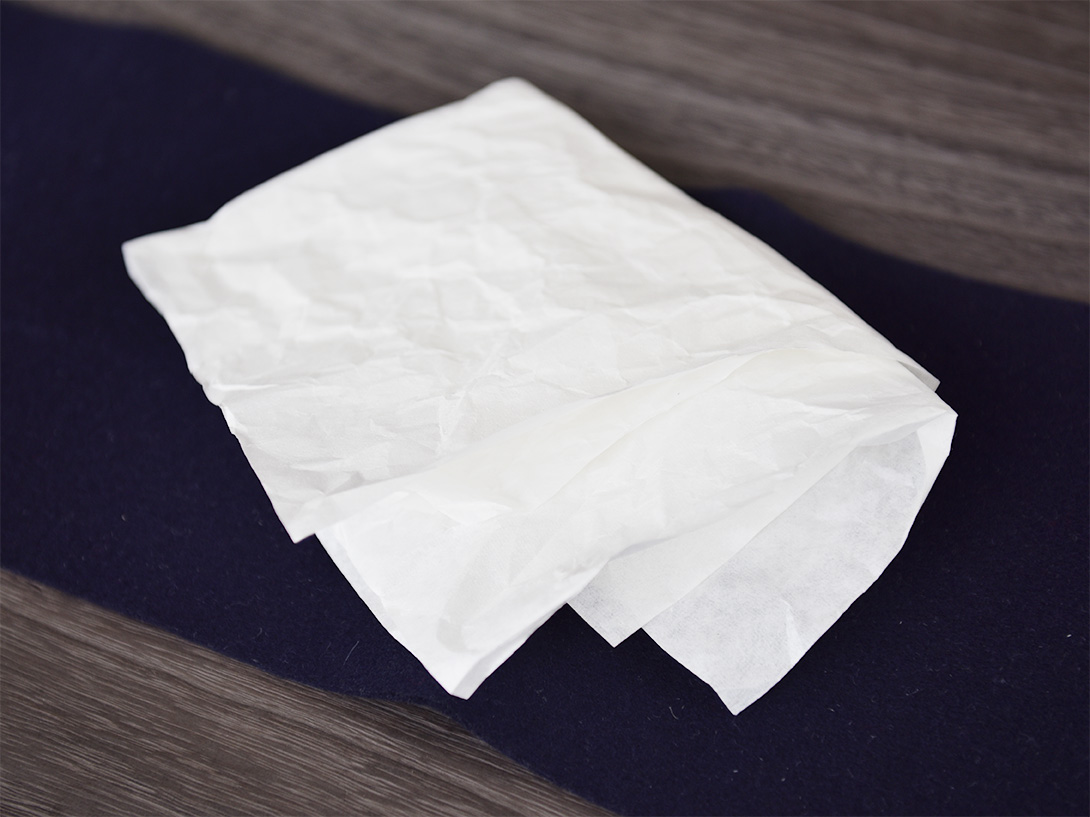
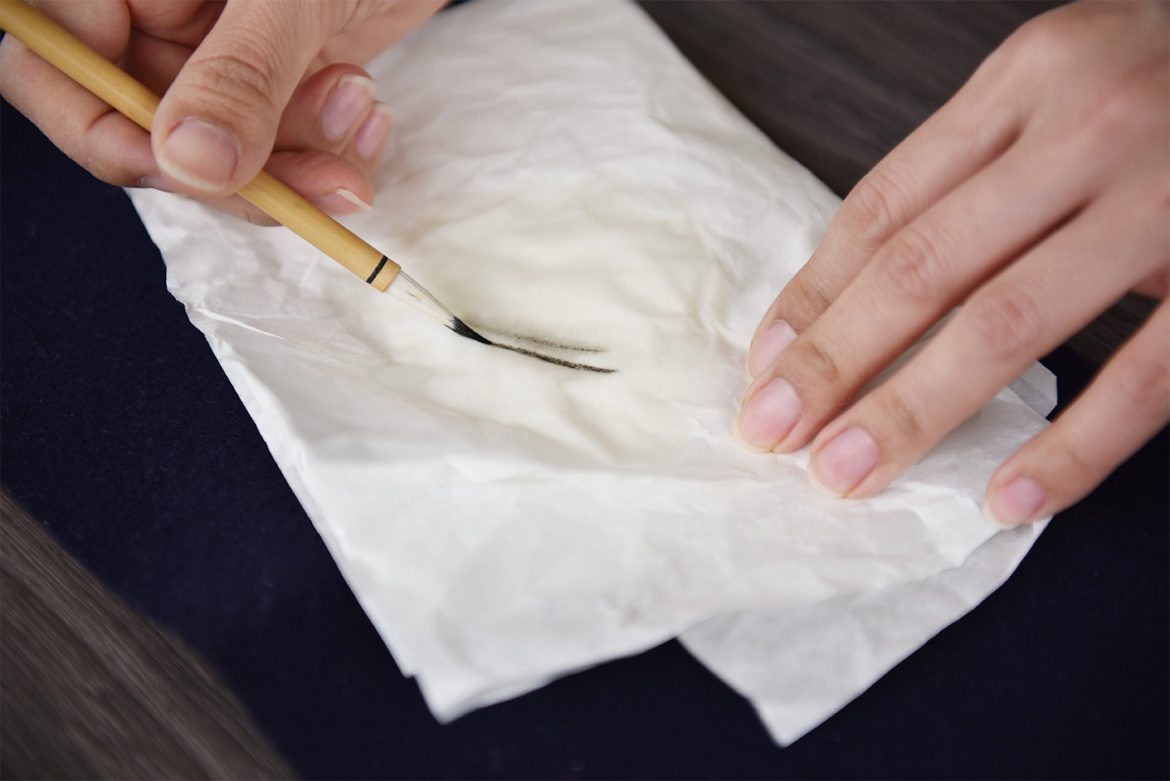
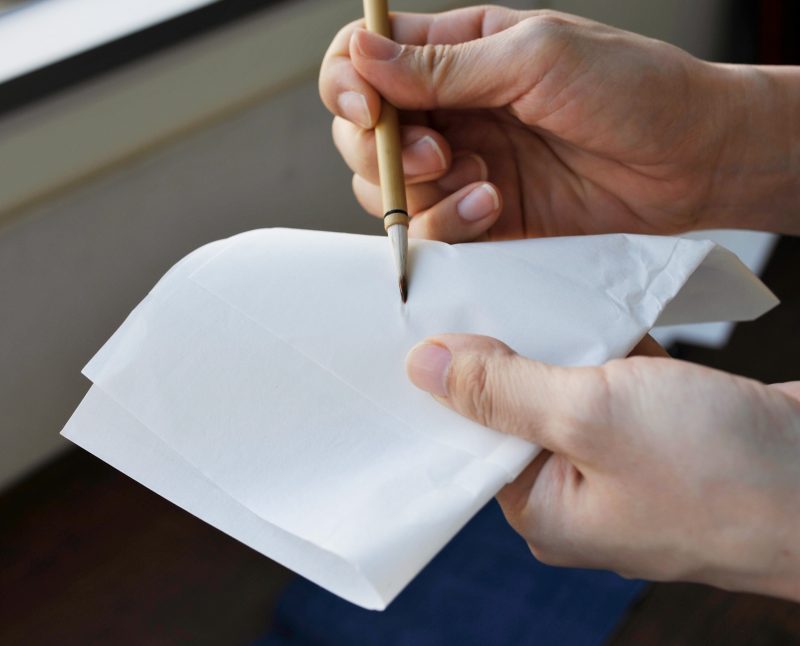
    ① Prepare absorbent paper such as unwanted hanshi paper or tissue paper to soak up moisture.


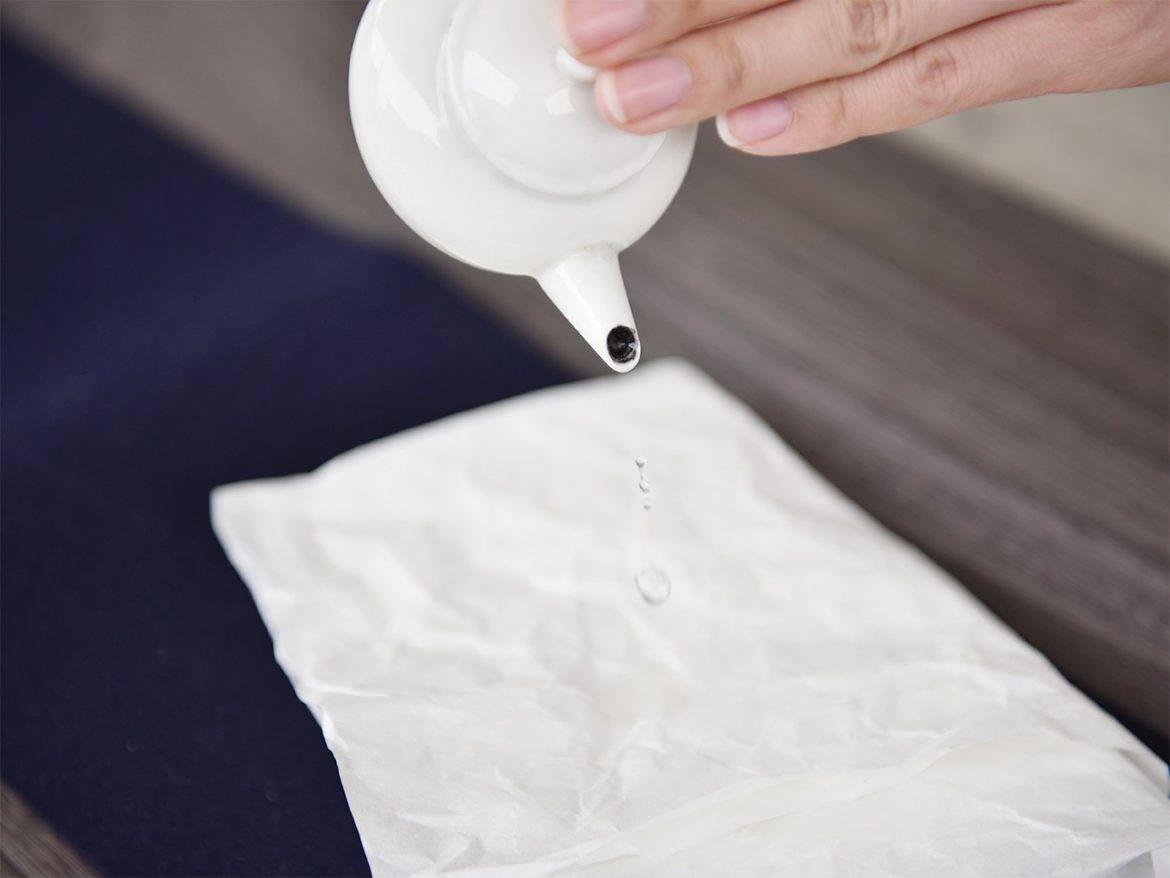
    ② Place a few drops of water onto the prepared paper.


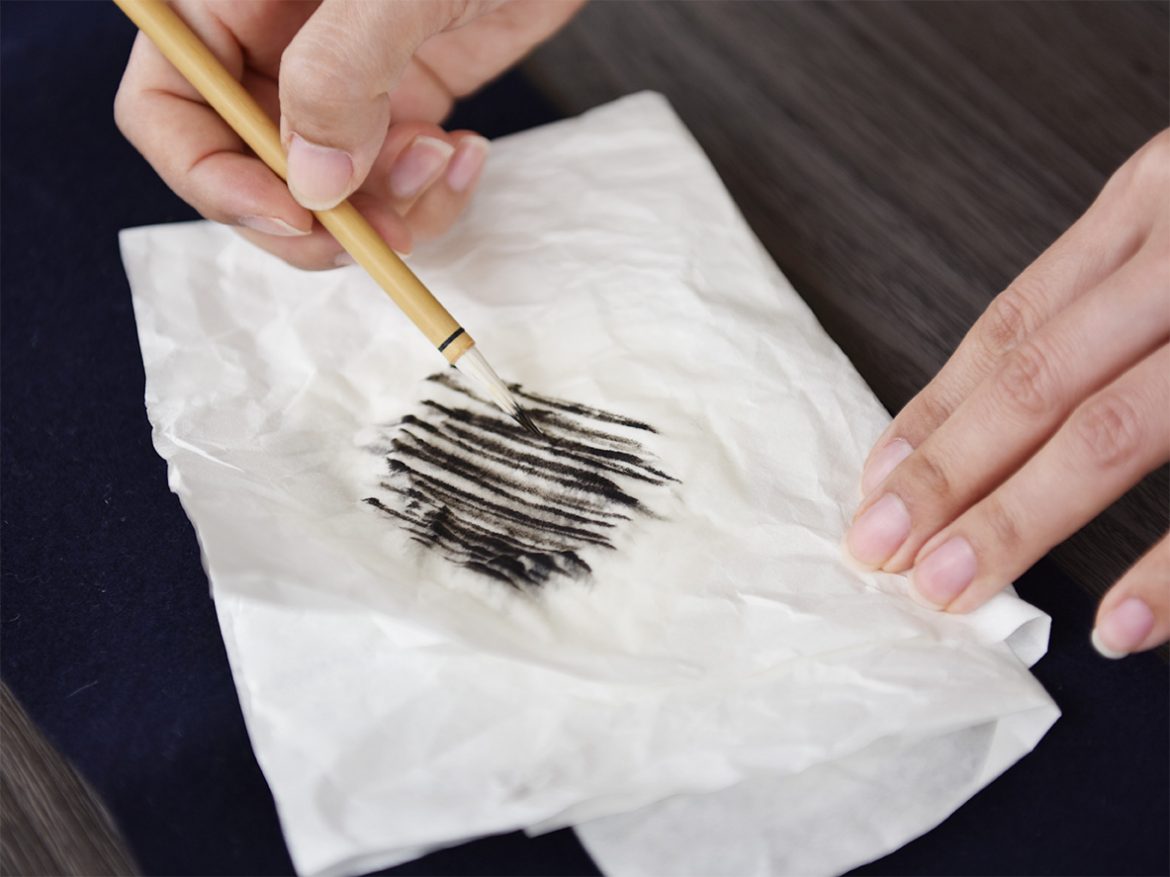
    ③ Lay the tip of the brush on the dampened paper from step ② and gently wipe off the ink. While rotating the brush as if adjusting the tip by resting it on the paper, slowly and carefully wipe off the ink. Ink tends to accumulate at the boundary between the bristles that have been used and the ones that are still bound together, so be cautious while wiping to prevent the bound portion from coming apart. Finish when the ink becomes faint.


    ④Use your fingers to tidy up the tip of the bristles.


    ⑤After finishing the washing, hang the brush on a brush hanger or similar tool to let it air dry naturally.


    If the small brush becomes too split during maintenance…

    While performing repeated maintenance on small brushes, the bristles can become split all the way down to the base. When this happens, it becomes difficult to write small or thin characters using just the tip of the bristles. In such cases, it’s advisable to wash the entire bristle, and then either use it for other purposes or reapply “brush fixing glue” to solidify the bristles before use.

    Points to note when handling brushes:

    • After using or washing a brush, refrain from capping it as the bristles can deteriorate.
    • Avoid using detergents or other cleaning agents when washing the brush.
    • Handle the brush with care while washing.
    • After finishing washing, ensure the brush is completely dry before using it.
    • It’s advisable to allow the brush to rest intermittently during use.

    To extend the lifespan of your brush, it’s a good idea to have 2 to 3 favorite brushes on hand and rotate their usage. Proper maintenance and treating your cherished brushes with care will ensure their longevity.

  • How to grind ink

    How to grind ink

    Beautiful ink is created by gently and slowly grinding it with a weak force.

    To bring out the true color of the ink, it is considered most important to use freshly drawn water and gently grind the ink with only the weight of the ink on the inkstone, slowly and with a weak force.

    The act of “grinding ink” is not merely about creating ink liquid but also regarded as an important practice that allows one to find tranquility through the pleasant fragrance and faint grinding sound of the ink. It offers a chance to calm the mind and experience a serene excitement while contemplating the ink color, brushes, and paper, nurturing creative ideas.

    Throughout history, it has been said that “it is good for the sick and young girls to grind ink” and “ink should be ground with the weight of the ink only.” These statements reflect the idea that enjoying the tactile sensation of ink and inkstone without exerting force is desirable.

    This appreciation for the joy of carefully grinding ink is believed to have been cherished by our ancestors, who deeply loved the four treasures of the study (writing brush, ink stick, inkstone, and paper) and understood the value of spending time to relish the process.

    How to grind ink

    There are actually several methods of grinding ink, and they can be divided into three categories based on their purpose. Let me explain them in a straightforward manner. Each method has slightly different characteristics, so consider the type of ink you want to create and choose the appropriate grinding method.

    General Ink Grinding Method:

    In daily calligraphy practice, it would be ideal to take your time and carefully grind good-quality ink. However, we understand that it might not always be possible. Therefore, let us introduce a common and efficient method for grinding ink.

    〈The steps are as follows:〉

    Step 1: Drop water on the surface of the inkstone, about the size of a 10 yen coin.

    Step 2: Calm your mind and start grinding the ink slowly.

    Allow the water droplet and the ink to gradually mix together, and continue patiently until it reaches a certain level of concentration. As you progress with the grinding, the ink will become sticky, and there will be a moment when a pleasant fragrance of ink wafts up. This is said to be an indication of the completion of the grinding, but it’s best to adjust the concentration to your preference.
    Step 3: Once the ink has been ground, add a small amount of water again and continue grinding. Repeat this process until the ink naturally flows away into the “sea” of the inkstone. The “sea” of the inkstone is the place for mixing, so be sure not to grind the ink in the “sea.”

    Step 4: Repeat steps ① to ③ until you have the required amount of ink. Add water gradually and create the desired consistency while controlling the brush strokes.

    Once you finish grinding the ink, carefully wipe off any remaining moisture from the inkstone using a cloth or paper. After cleaning it, store the ink properly in a paulownia box for preservation.
     

    When you want to create light ink:

    Light-colored ink with a soft impression is also used in watercolor painting. Here’s how to grind ink when you want to create light ink.

    〈Procedure〉

    ① Drop a small droplet of water on the surface of the inkstone. When you want to create light ink, a very small amount of water is sufficient.

    Step 2: Calm your mind and start grinding the ink slowly. Allow the water droplet and the ink to gradually mix together, and continue patiently until it transforms from a muddy consistency to a sticky state. As you progress with the grinding, there will be a moment when a pleasant fragrance of ink wafts up. Enjoy the various transformations of the ink. Once it reaches the sticky state, the process is complete.

    〈Grinding Process〉

    〈Muddy state〉


    〈Sticky state〉

    Step 3: Prepare a sufficient amount of water in a separate container for dilution. A plate or dish can be used as a container. The required amount may vary depending on what you are writing, so it’s good to consider the overall quantity needed and prepare the container accordingly. Step 4: Drop the concentrated ink from Step 2 into the container with water and mix it well. Gradually add the concentrated ink and adjust while checking the color to create light ink.
    Step 5: Once you achieve your preferred level of concentration, your light ink is complete.

    After finishing the grinding process, carefully wipe off any remaining moisture from the inkstone using a cloth or paper. Then, store the ink properly in a paulownia box after proper maintenance.


    When you want to make good ink:

    To bring out the true color of the ink, it is essential to create fine particles of ink. Fine particles of ink spread delicately in water and blend easily. They also influence the color of the ink when applied to paper. It is important to aim for creating the highest quality ink possible.

    〈Procedure〉

    ① Drop water on the surface of the inkstone, about the size of a 10 yen coin.

    Step 2: Calm your mind and start grinding the ink slowly. Allow the water droplet and the ink to gradually mix together, and continue patiently until it transforms from a muddy consistency to a sticky state. As you progress with the grinding, there will be a moment when a pleasant fragrance of ink wafts up. Enjoy the various transformations of the ink. The ink you ground on the inkstone will naturally flow away into the “sea,” which indicates the completion of the grinding process.


    〈Grinding Process:〉


    〈Muddy state〉


    〈Sticky state〉

    Step 3: Add a small amount of water and mix. At this stage, add water in small amounts at a time to achieve your preferred level of concentration, as adding too much water at once might dilute the ink excessively.

    Step 4: Pour the ink into the “sea” (inkwell) and mix it thoroughly.

    If you are using a flat inkstone without an “inkwell,” you can transfer the ink to a separate container and mix it there. When diluting ultra-concentrated ink to achieve the desired concentration, it is essential to dilute it gradually and mix it thoroughly. Avoid diluting it all at once.

    The ultra-high concentration ink created in this way has very fine particles, blends well with water, and makes adjusting the concentration much easier. This method can be considered the most desirable. After finishing the grinding process, carefully wipe off any remaining moisture from the inkstone using a cloth or paper. Then, store the ink properly in a paulownia box after proper maintenance.

    How to grind the ink:

    There are two main methods for grinding ink.

    A: Grinding in a circular motion, similar to drawing the character “の” (no).

    This method of grinding in circular motions is said to allow the force to naturally flow out, but it is also known to accumulate ink residue on the inkstone.

    B: Grinding in a linear motion, similar to drawing the character “N” (N).

    Grinding in a linear motion is said to be prone to exerting too much force, but it is less likely to accumulate ink residue on the inkstone.

    Some say that grinding in a linear motion brings out the true color of the ink, while others may argue differently. There is no definitive answer as to which method is correct. What is important is to grind in a way that feels comfortable for you.

    Holding the Ink:

    You may wonder about the best angle to place the ink on the inkstone. There are two main ways of holding the ink: at a perpendicular angle and at an inclined angle to the inkstone. When time is limited, and you want to grind the ink quickly, it becomes essential to increase the contact area between the ink and the inkstone. A larger grinding surface allows for faster grinding.

    A: Holding the ink straight up

    This method involves placing the ink perpendicular to the inkstone and leveling the grinding surface. The size of the grinding surface remains the same throughout, but the initial contact area with the inkstone is larger compared to B.

    〈Leveling the grinding surface〉

    B: Holding the ink at an inclined angle

    This method involves placing the ink on the inkstone at an inclined angle. There are two variations to this method: one involves grinding the ink on both sides alternately to create a V-shaped grinding surface, and the other involves grinding only one side to create an acute angle grinding surface. The initial contact area with the inkstone is small, but as you continue grinding, it gradually expands and becomes an acute angle, resulting in the largest grinding surface.


    〈Creating a V-shaped grinding surface〉


    〈Creating an acute angle grinding surface〉

    We have introduced three different methods of holding the ink, and you are free to choose any of them. While it is unlikely that the method of holding the ink will significantly affect the ink color, what is

    essential is to select a method that feels comfortable for you and to grind skillfully.

    Method for Grinding Ink Quickly

    As a busy modern individual, it is understandable that you would prefer to grind the ink quickly. So, how can you achieve that? The answer is quite simple.

    Increase the contact area between the ink and the inkstone. In terms of grinding ink quickly, method B (holding the ink at an inclined angle and grinding only one side to create an acute angle grinding surface) is recommended. It may take some time to achieve a complete incline, but a larger contact area with the inkstone will result in faster grinding.

    Another method is to stack 2-3 pieces of ink on a large inkstone and grind them together, which also increases the contact area and allows for quicker grinding. However, this approach may not be very practical.

    If you are short on time, using an “ink grinding machine” that grinds the ink for you is also recommended. This can be especially useful when you need a large amount of ink for creating significant works.

  • How to prepare the brush (fude) with ink:

    How to prepare the brush (fude) with ink:

    Taking care of calligraphy tools is extremely important. With proper care, even a good brush can quickly become unusable. Let me introduce you to the first step in using the brush with care.

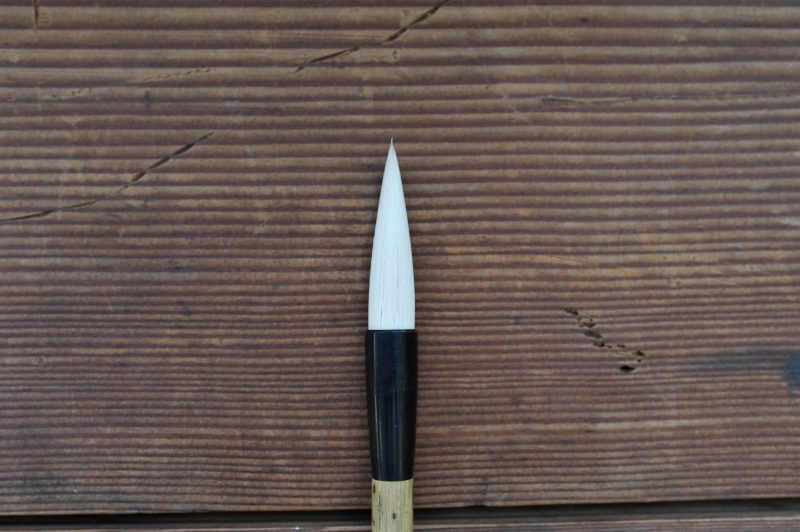
    When you purchase a new brush, it may come with the bristles pre-prepared, but most brushes are coated with glue. Brushes with pre-prepared bristles can be used as they are, but for those with glue, you need to remove the glue before the ink can adhere to the bristles. Therefore, if you don’t do this properly, you won’t be able to use the brush effectively.

    1. I will now provide you with easy-to-understand maintenance methods, so you can choose the appropriate way to prepare your brush based on your needs.

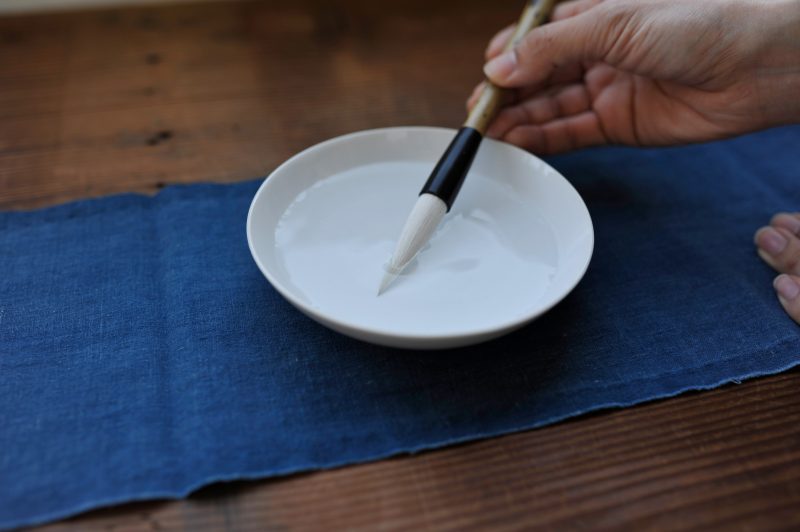
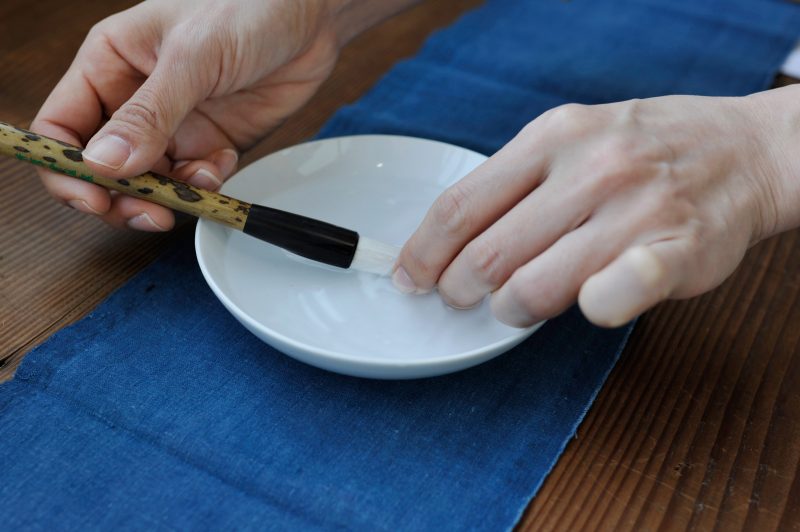
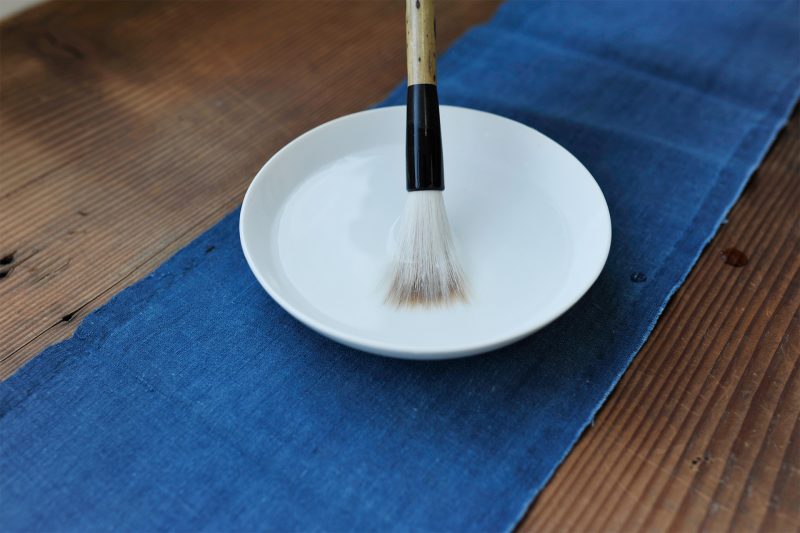
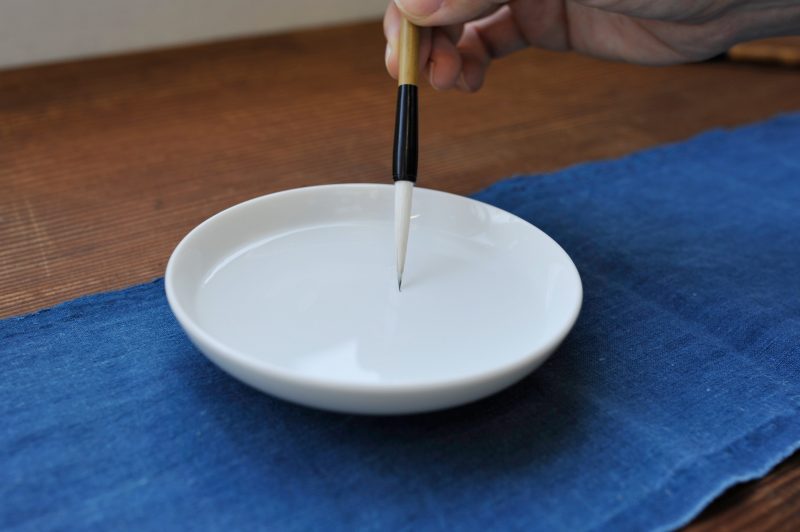
    ① Prepare lukewarm water and moisten the brush tip in it.

    ② Gently untangle the bristles from the tip to the base using your fingers.

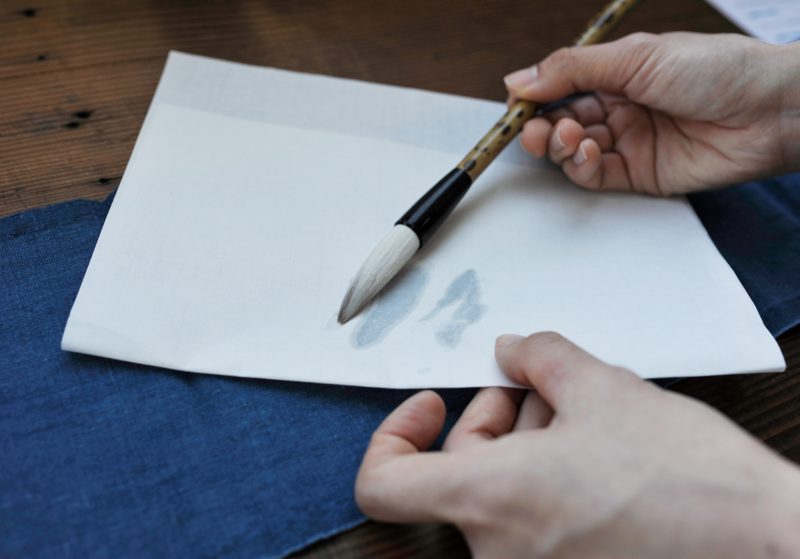
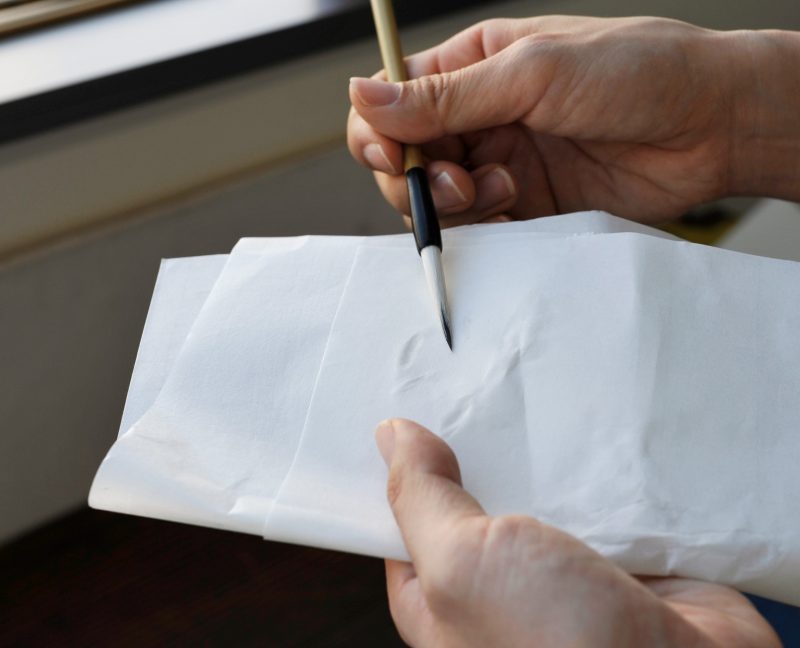
    ③ The lukewarm water may become murky. Make sure to remove the glue inside the brush (if applicable) thoroughly, and use paper or cloth to wipe away the moisture. (Please remove any loose or fine hairs that may come off during this process.)

    Method of using only the tip of the brush:

    For fine writing such as Shakyō, Kana characters, and name writing, you use only the tip of the brush. Instead of fully submerging the brush, you dip only the tip in ink. The length of the exposed tip affects the thickness and style of the characters. Adjusting the length of the tip allows you to bring out the unique characteristics of the brush strokes.

    Even with stiffer brushes, such as those with coarse hair, you may choose to use only the tip to better utilize its potential. Adjust the length to suit your purpose and the type of characters you wish to write.

    How to Prepare the Brush:

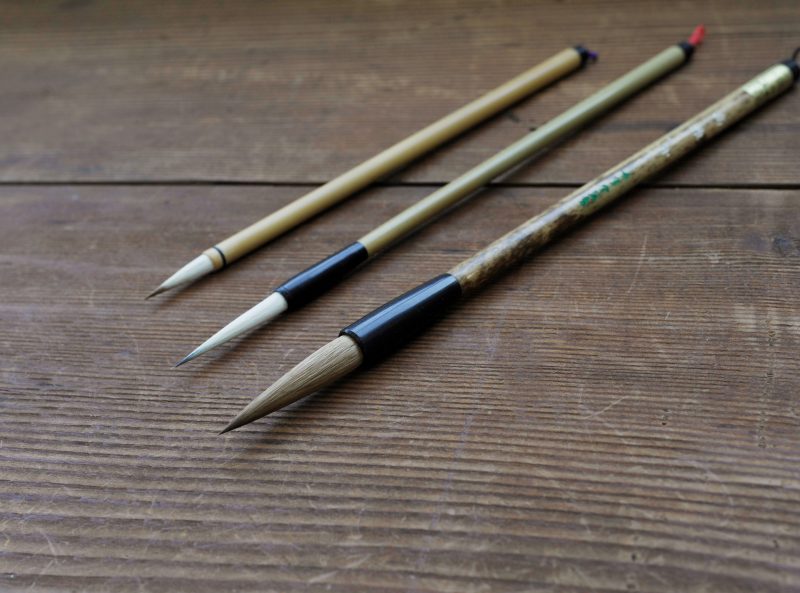
    Depending on the type of brush—fine brush, Kana brush, or large brush—please refer to the respective methods below:

    【For a Fine Brush】

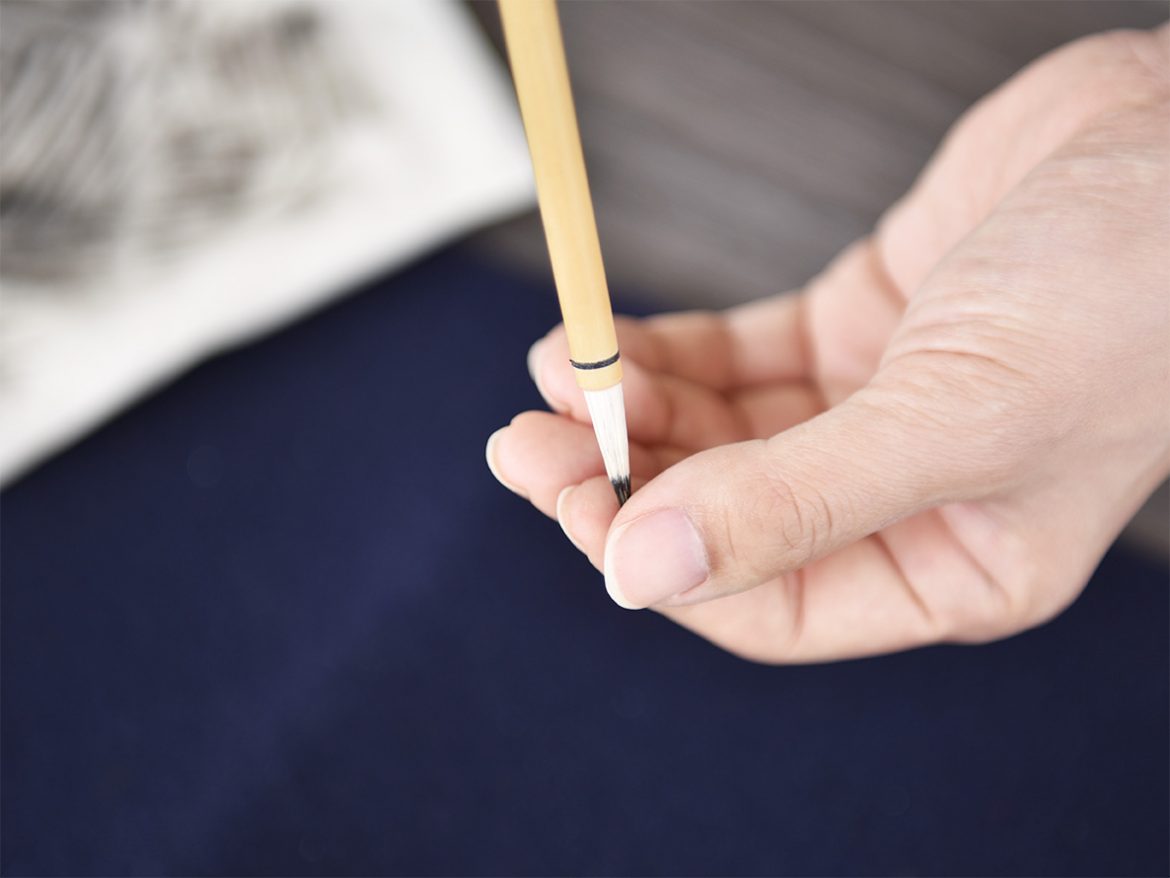
    Prepare lukewarm water and moisten about one-third of the brush tip. Envision the type of characters you want to write, and then adjust the length of the exposed brush tip accordingly.

    【For a Kana Brush】 

    Prepare lukewarm water and moisten about one-third of the brush tip. Envision the Kana characters you want to write, and then adjust the length of the exposed brush tip accordingly.

    【For a Large Brush】 

    Prepare lukewarm water and moisten about one-third of the brush tip. If necessary, gently untangle the brush tip without dipping it in water. Then, expose about one-fourth of the brush tip. Be cautious with brushes that have different-colored decorative bristles, as overexposing the brush may cause the decorative bristles to become untidy.

    For a “Sabaki Fude” (捌き筆) or scatter brush, it is a brush without glue, also known as a loose-haired brush. In this case, you can use it as it is without any preparation. However, if you find it necessary, you can lightly rinse it with water before use.

    After finishing, it is best to wash the brush under running water, then use a brush comb to tidy up any unnecessary hairs. Once the brush is thoroughly dry, it is ready for use. It is recommended to let the brush dry after preparing it before using it. To improve air circulation, you can remove the cap, as it is usually sealed.

    While the method of preparing the brush may seem basic, it is a fundamental aspect that applies to all aspects of calligraphy. Treating each brush with care and using it diligently is essential to continue using them for a long time.