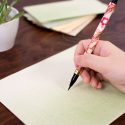
I’ve made a letter set using Japanese-style paper designed for writing in kana characters. These papers often feature beautiful patterns and have a calming atmosphere. If you can’t find a letter set that you like, I hope you’ll give this one a try.
■Materials Needed (Produces 4 Standard Size Envelopes and 3 Sheets of Writing Paper)
Japanese-style paper for kana writing: 2 sheets (Half-sized paper version)
Folding pattern (Please draft and create on a separate sheet as shown in the diagram below)
Simple backing paper: 1 sheet (Not necessary if using opaque paper like roll paper. Doubling up two sheets of paper is also acceptable.)
■Here’s how to make it:
Cut the half-sized paper in half. Out of the four resulting sheets, use three for writing paper and one for the envelope. (If the paper for writing is thin, you may want to reinforce it with backing paper.)
Fold along the fold lines drawn on the paper along with the folding instructions.
Apply glue to the envelope portion and seal it.
This time, I used the popular Asuka paper, which is also popular among calligraphers. It comes in 5 colors and 5 patterns, so you can make 5 different kinds of writing paper from one pack! I tried writing on it, and it was very easy to write with a ballpoint pen, brush pen, or small brush.
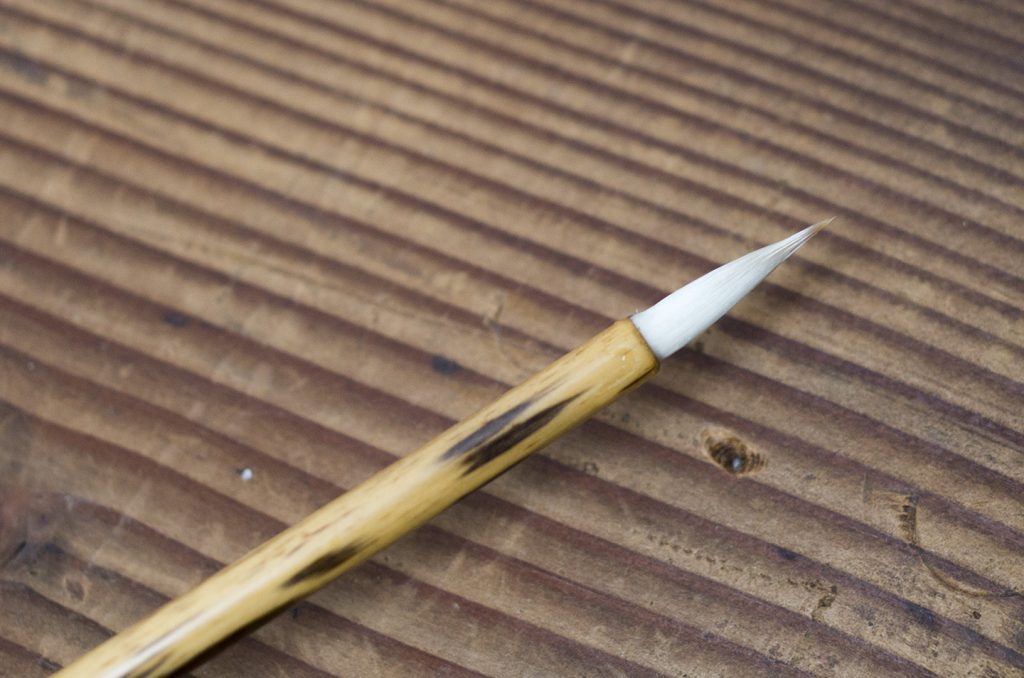
One method involves stiffening a frayed brush with specialized glue.
Taking care of and storing brushes is an essential task. While various methods exist for stiffening brushes after use without washing the base, using “specialized glue” as professionals do can restore the brush closer to its original condition.
Why Specialized Glue for Stiffening Brushes is Recommended by Experts
The advantage of this specialized glue is that it does not damage the brush. Using resin-based ink or similar substances to stiffen brushes can lead to damage, but using this “specialized glue” can preserve the bristles and extend the brush’s lifespan. Another point is the protection it offers for long-term storage of brushes. It can prevent issues such as insect damage and bristle splitting, even for large brushes stored for extended periods. Now, let’s introduce how to use it.
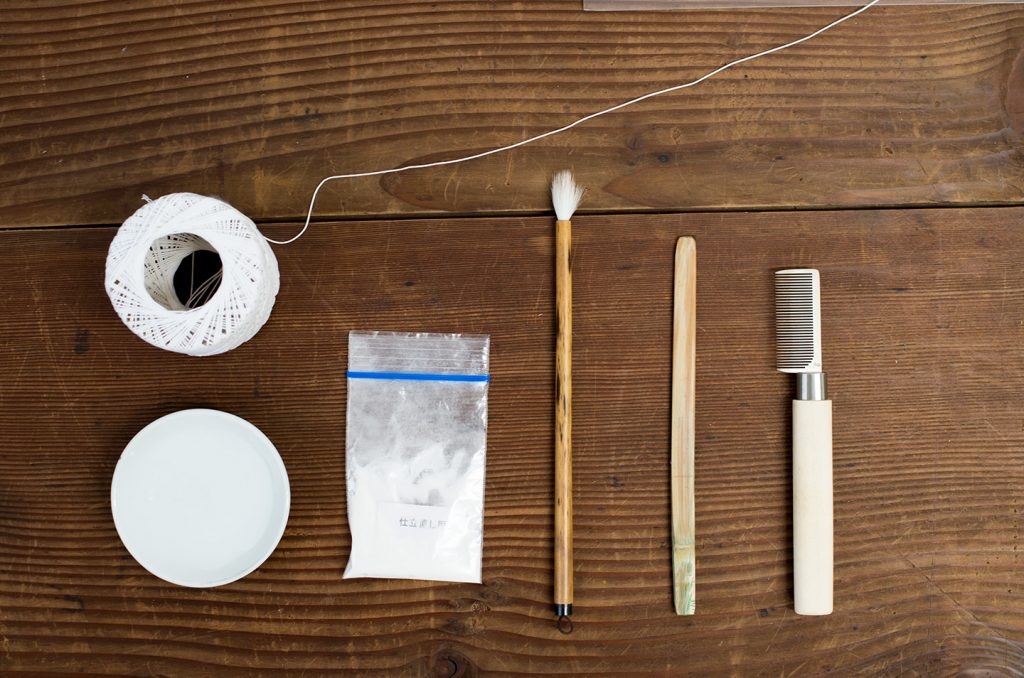
■準Items to Prepare
Specialized glue
・Water
・A flat board for mixing the glue
・A spatula
・A brush comb
・String (one end of the string should be fixed to a wall or stand)
*Please ensure that the brush to be stiffened is thoroughly washed and free from ink.
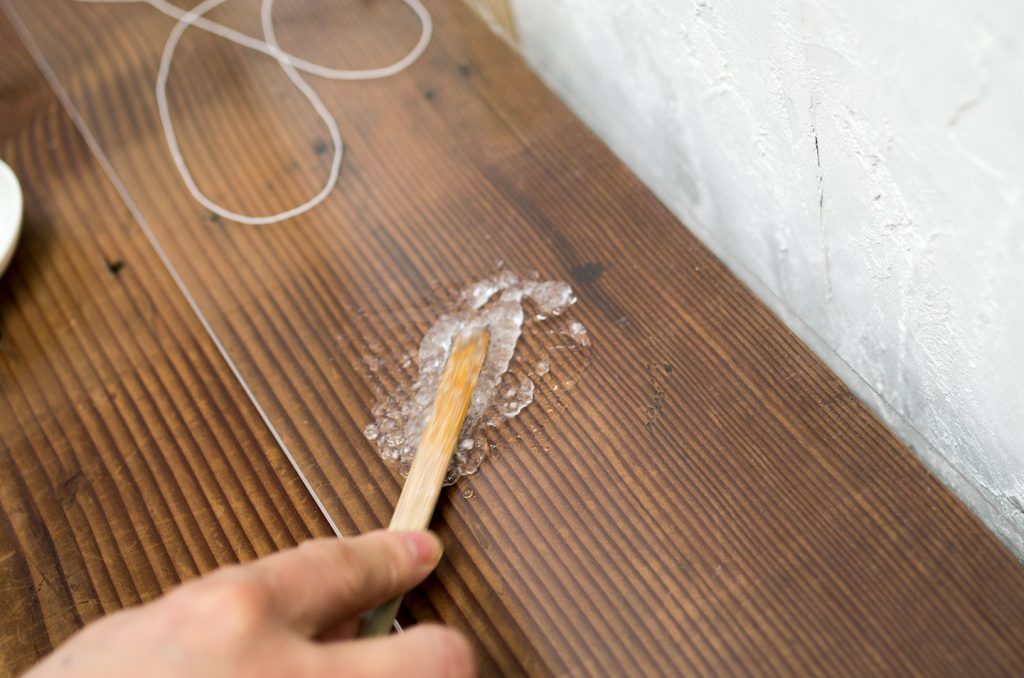
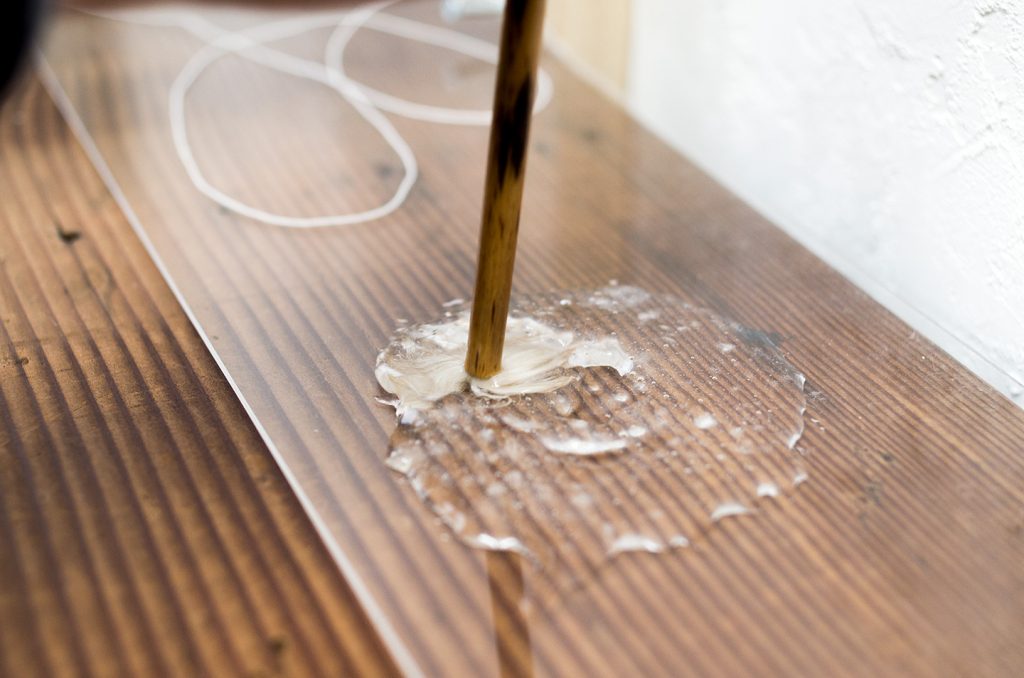
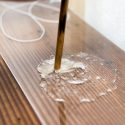
1.Place about a spoonful of glue on a flat surface, such as a glass plate. This amount should suffice for about ten small brushes. Add water in appropriate amounts until the glue becomes pasty, mixing as you go. It’s necessary to press down as you mix, so ensure you’re working on a flat surface.
2.Rotate the brush to open up the bristles and spread the glue throughout the entire brush, making sure the glue penetrates the center part of the brush thoroughly.
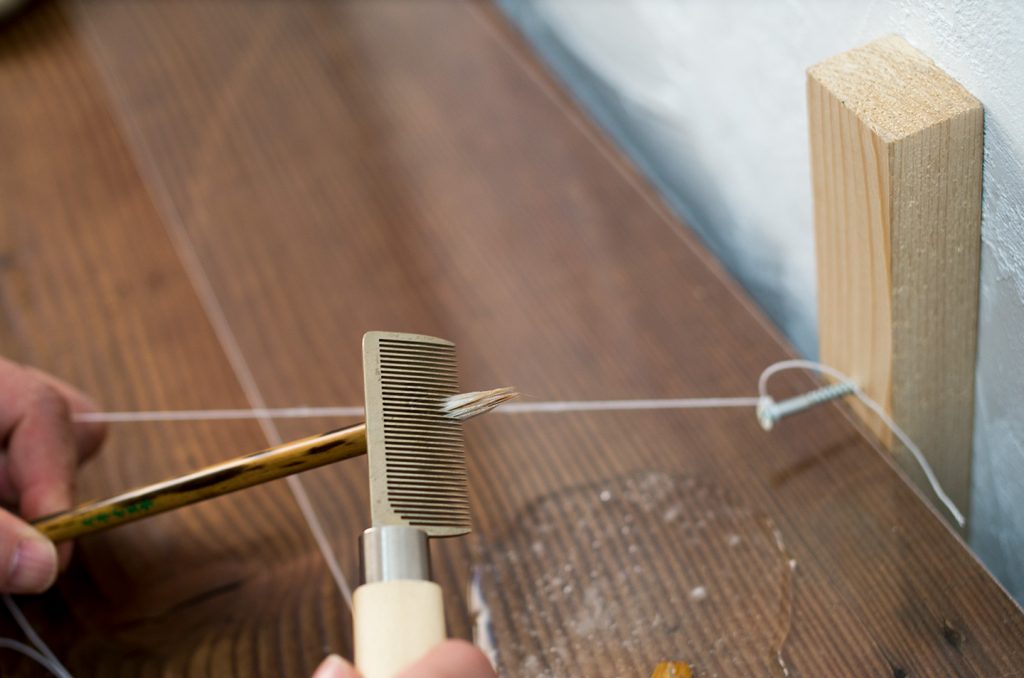
3.Remove any excess glue with a spatula, comb the bristles to arrange them neatly, and press down any stray hairs.
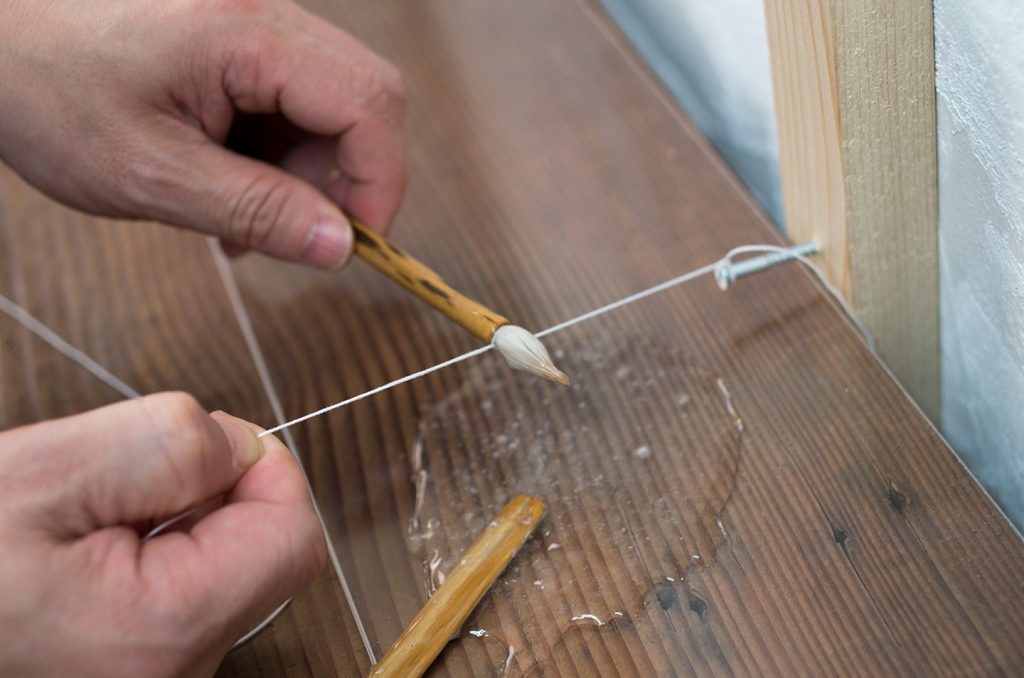
4.Use string to wring out any extra glue. Wrap the string once from the bottom up around the base of the brush tip. Hold the end of the string lightly with your right hand. Pulling the string too tightly will prevent the brush from rotating smoothly. While holding the brush between your thumb and index finger, rotate it in the counter-clockwise direction to wring out the excess glue. (Make sure the string stays straight towards you, and try to keep the brush handle as parallel to the string as possible for best results.)
5.Rotate the brush in a clockwise direction, and straighten any twists or bends with your fingertips. Be careful not to pinch too hard, or the bristles will not form a fine point. Dry the brush away from direct sunlight. A large brush may take about four days to dry, while a small brush may take about three days.
The step involving wringing out the glue with string may be a bit challenging, but once you get the hang of it, you can easily maintain your brushes at home. Please give it a try.
We’ve received a new stock of special backing paper that allows for easy backing using just an iron and a spray bottle. Backing helps prevent wrinkles and sagging in your artworks, providing reinforcement. Have you ever created a piece of art that turned out beautifully but is just sitting there untouched? Well, if you back your well-done artworks, you can display them whenever you like. In this guide, we’ll introduce how to use backing paper, so please give it a try.
What You’ll Need:
Backing Paper (For framing, we recommend thick paper; for scroll mounting, thin paper)
Iron
Spray bottle
Utility knife
A surface to use while spraying and ironing
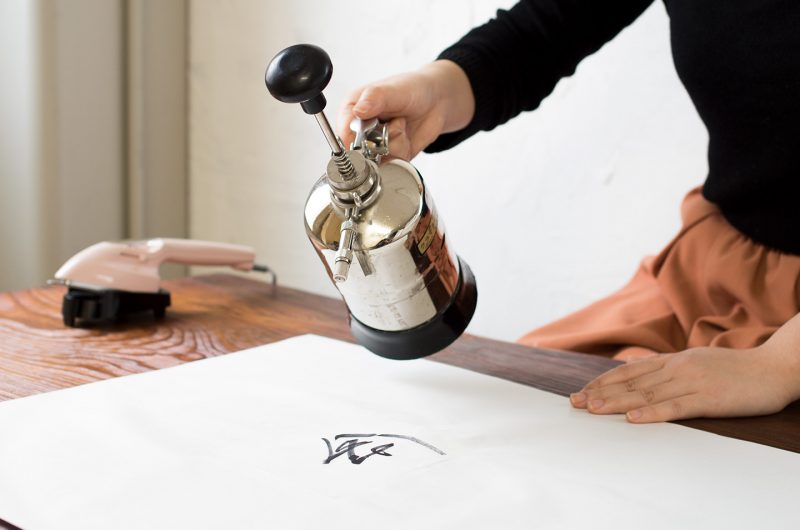
Stretch Your Artwork Flip your artwork over and evenly mist it with the spray bottle to ensure no unevenness. Allow it to dry until wrinkles are no longer present (about 10-15 minutes).
Attach the Backing Paper With the artwork still facing down, move it to an ironing board. Prepare a piece of backing paper the same size as your artwork or slightly larger, ensuring the glossy side is facing the back of your artwork.
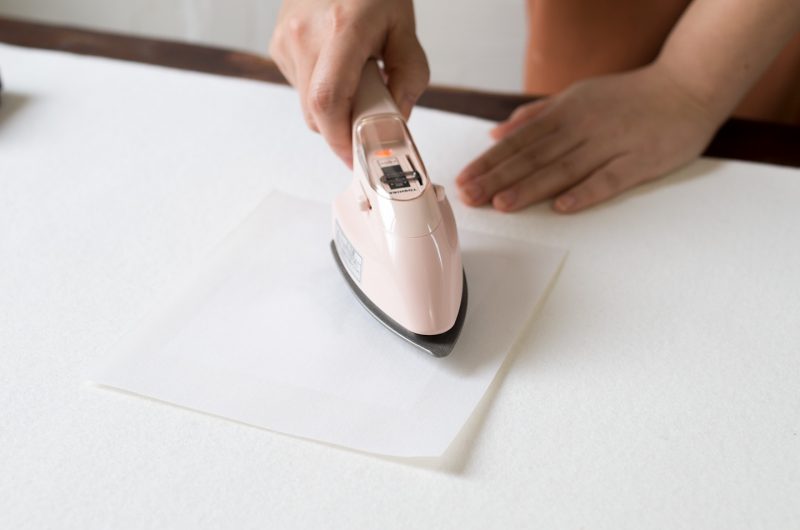
3.Iron It On Use a Teflon-coated iron set to medium to high heat (around 130 degrees Celsius). Starting from the center of the paper, gently press from the center towards the right and then from the center towards the left, ensuring there are no air bubbles or shifting. After one pass, iron again to prevent unevenness. Once finished, let it sit for about 5 minutes until the temperature cools down.
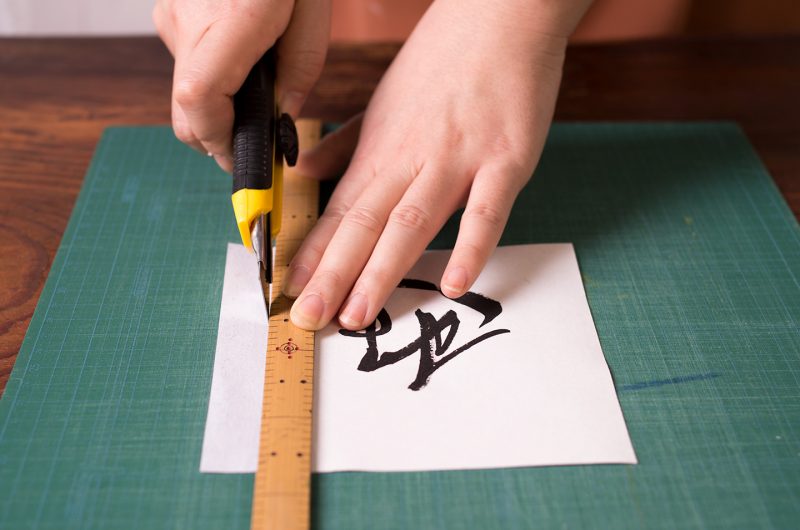
4.Finish It Up Trim any excess paper using a utility knife. If you plan to display your artwork, place it in a scroll mounting or a frame, and it’s ready! Note: If you don’t allow the artwork to dry properly after misting, it may lead to damage or poor adhesion. Be careful not to over-dry, as this can cause wrinkles. If warping or bending occurs after adhesion, apply weight using books or similar items. It should flatten out and look clean after about 3 hours.
You can find a complete list of art materials here.


 ■準Items to Prepare