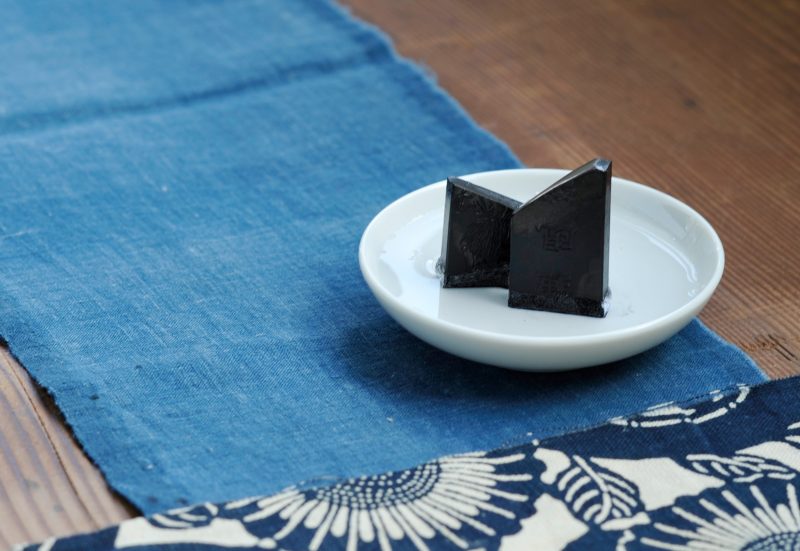
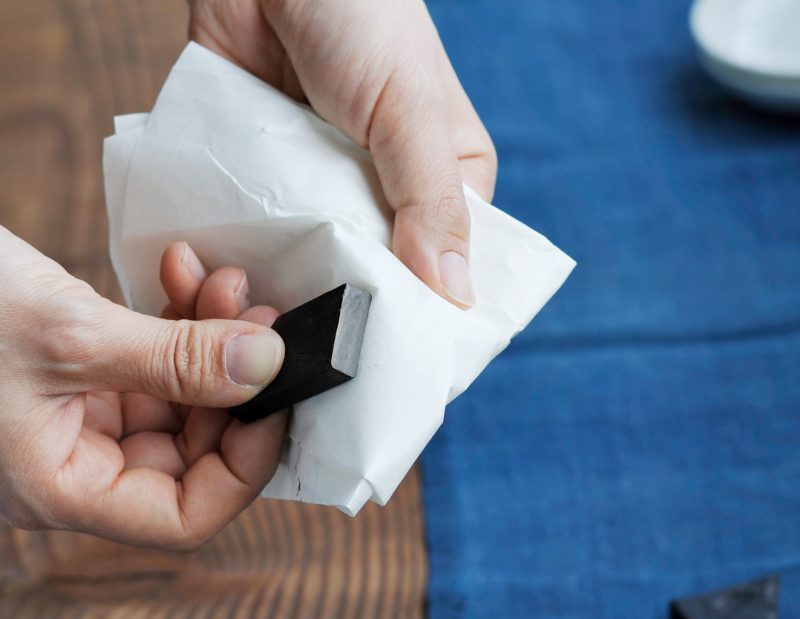
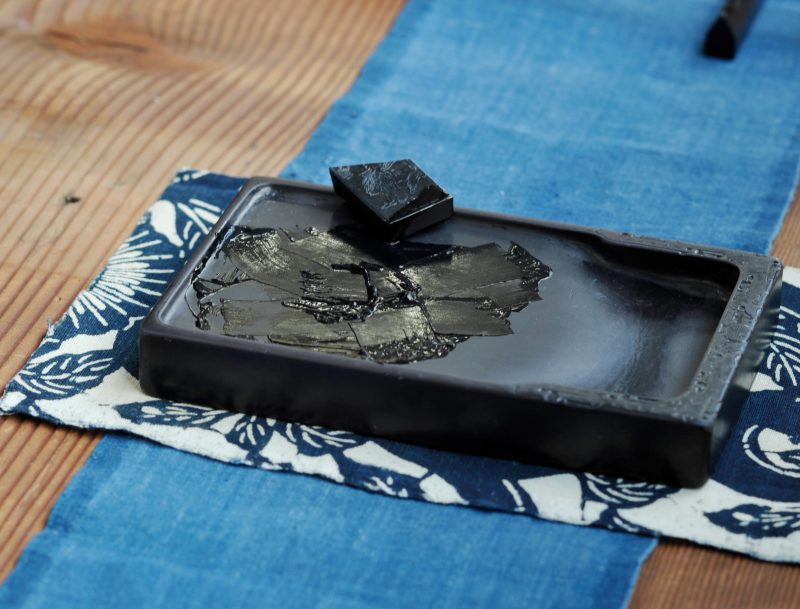
As you continue to grind solid ink sticks daily, they gradually diminish in size, making them harder to hold in your hand. When the ink stick becomes shorter, there are two methods to continue using it: using an ink stick holder to grind it or connecting it to another ink stick to grind. Ink sticks are meticulously handcrafted by artisans. Even as they diminish in size, it’s important to use them until the very end. Now, let’s introduce a recommended method for extending the life of ink sticks, which is surprisingly simple. If you’re struggling with small or broken ink sticks, give this method a try.
Connecting Ink Sticks
While there are adhesives available on the market, some may feel hesitant about using substances other than ink to connect ink sticks. However, ink sticks can be connected without using adhesive.
Ink sticks are made from gelatin, soot, and fragrances. Gelatin, one of the ingredients, serves as a natural adhesive, solidifying the ink. Therefore, by applying the ink stick that has been ground to a thick, sticky consistency to the ink sticks you want to connect, you can seamlessly extend the life of the ink sticks without altering their quality or color.
Procedure:
①Prepare the small or broken ink stick. It’s recommended to soak the bonding surfaces in lukewarm water for about 3 to 5 minutes beforehand.
②Grind both ink sticks until their grinding surfaces are flat. This applies even if the ink stick is broken, although it may require some patience to flatten uneven surfaces.
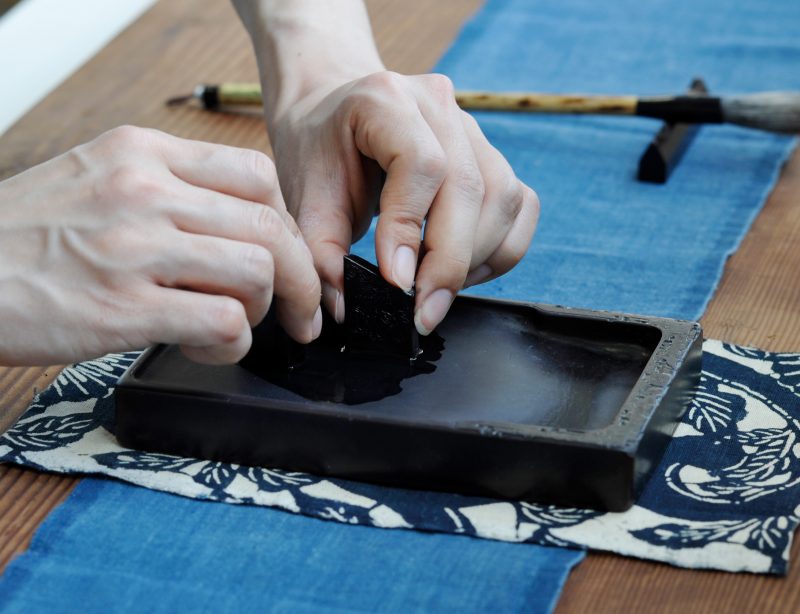
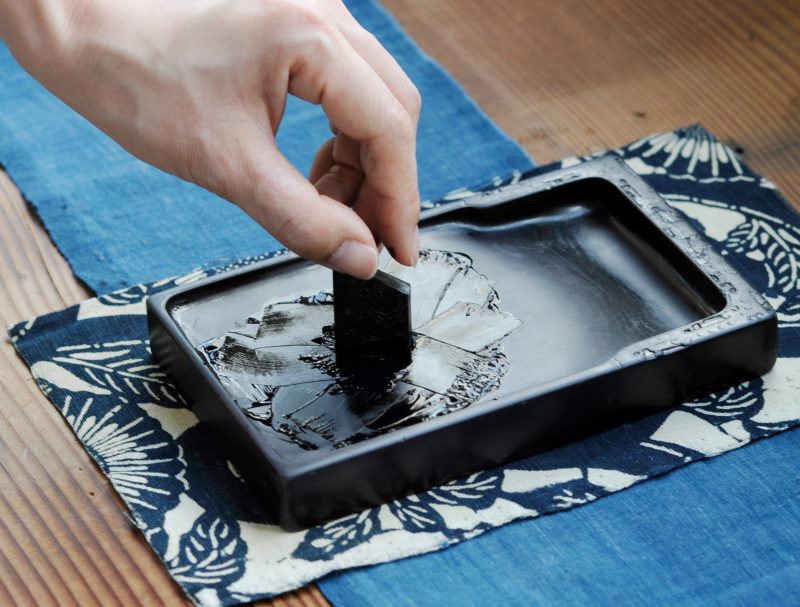
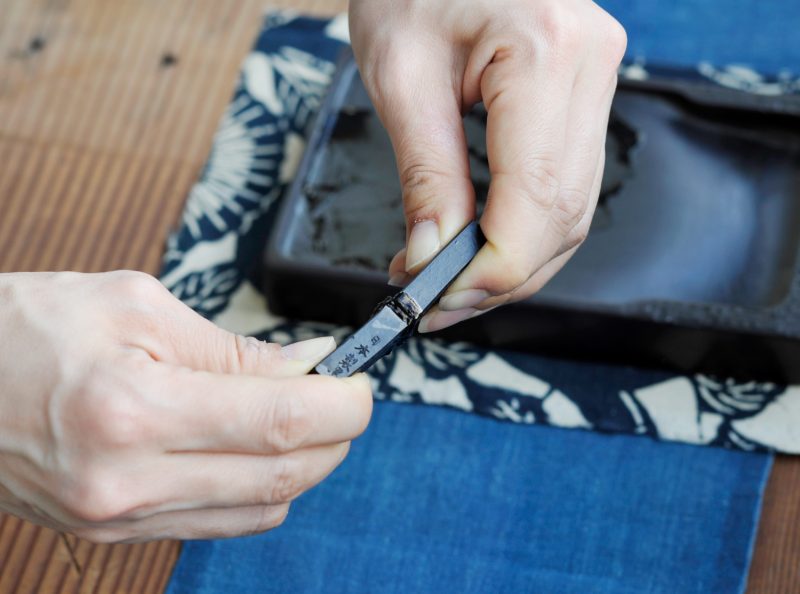
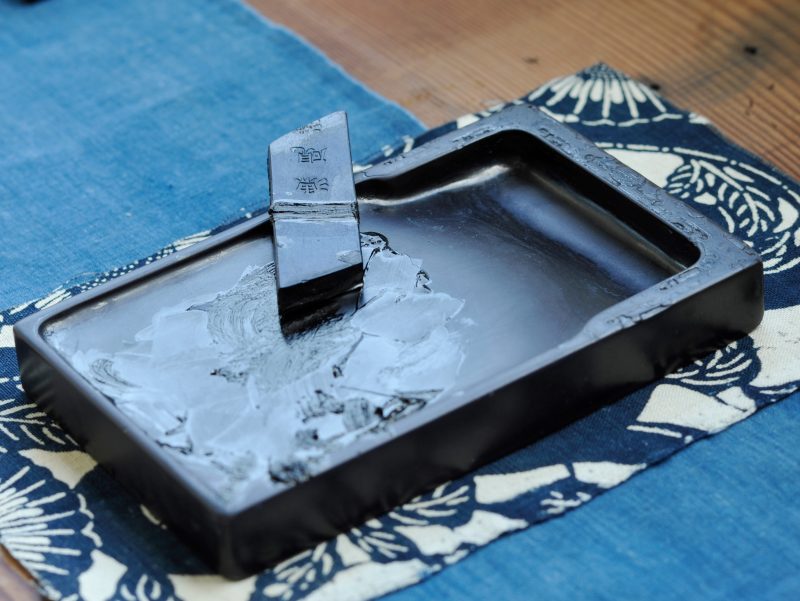
③Create a concentrated ink mixture that will serve as the adhesive. Prepare a small amount of ink that you’ve ground in step 2, and then create an extremely thick ink solution with the ink stick you want to connect. The concentration of the ink you grind here will determine the adhesive strength, so grind it as thick as possible until it becomes gooey or sticky.
〈Beginning of Grinding〉 〈Gooey State〉
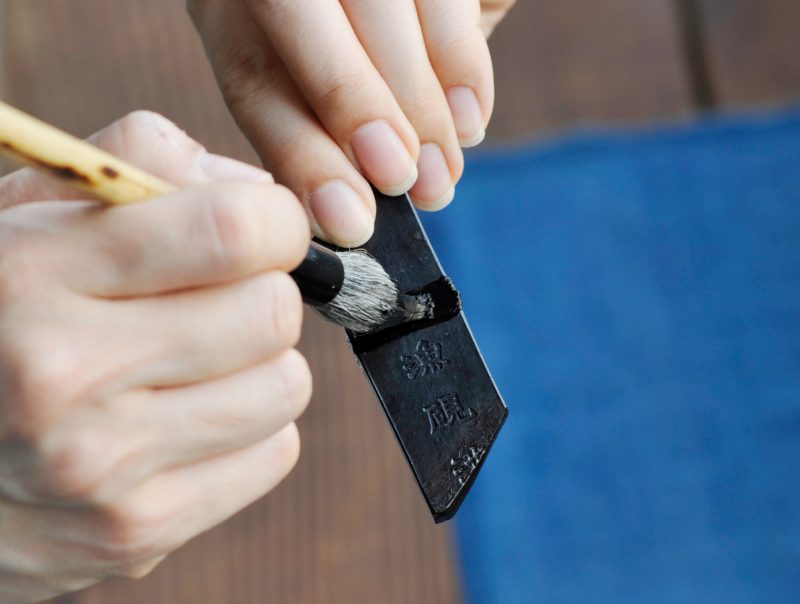
④Dip the thick, gooey ink mixture you’ve ground into the flat grinding surface of the ink stick you prepared in step 2. You don’t need to apply too much, but make sure to evenly coat the grinding surface.
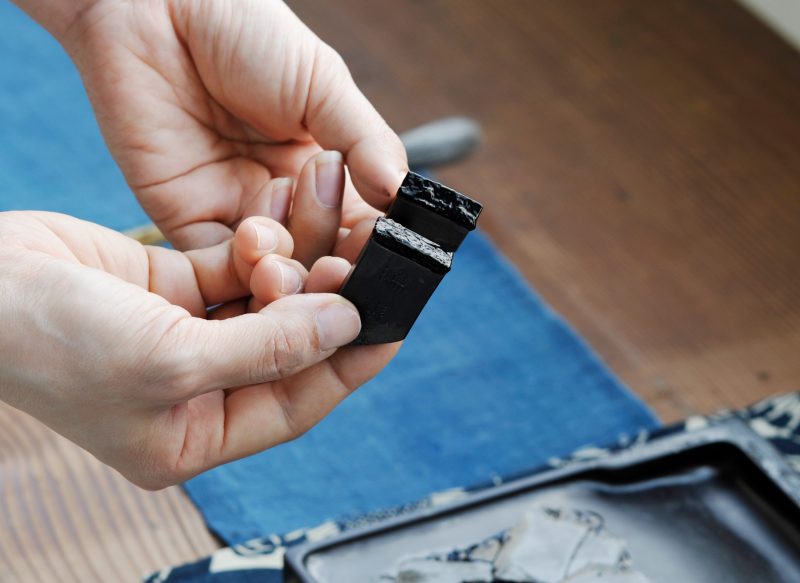
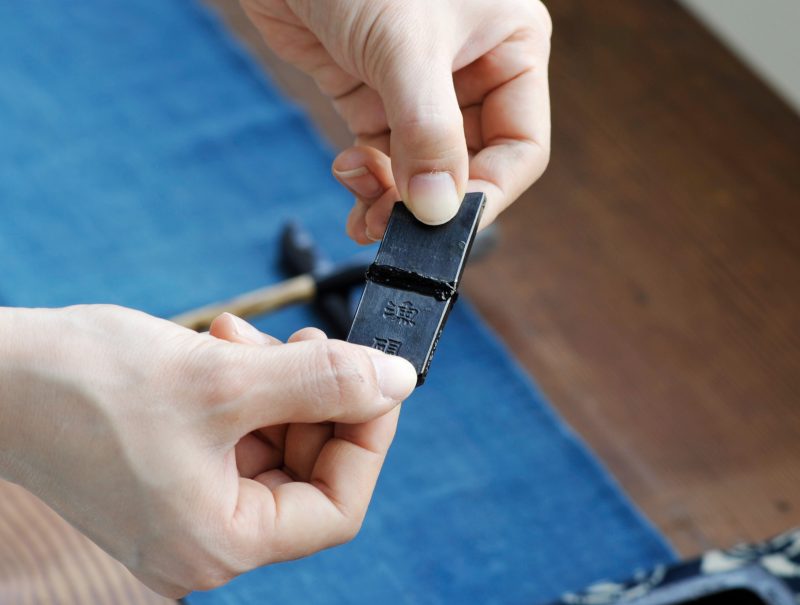
⑤Press the bonding surfaces together to connect them. Be careful to align them properly, and press both ink sticks firmly together with both hands. Apply pressure for about a minute if possible. As the adhesive ink dries, it will shrink slightly, so it’s okay if some ink oozes out from the bonded area. After pressing, use a brush or your finger to spread the gooey ink you used for bonding around the bonded area.
⑥Allow the bonded area to dry naturally until it’s completely dry. Even for small items, it may take several days to dry completely, so let it dry for at least 3 days.
With this, the ink stick extension is complete. Please continue to attach your small ink sticks together and make sure to use them carefully until the very end.
Using Ink Adhesive
When you’re busy and don’t have time, another option is to use ink-specific adhesive to connect ink sticks. Convenient ink adhesives are also available for purchase, so choose according to your needs.
Beautiful ink is created by gently and slowly grinding it with a weak force.
To bring out the true color of the ink, it is considered most important to use freshly drawn water and gently grind the ink with only the weight of the ink on the inkstone, slowly and with a weak force.
The act of “grinding ink” is not merely about creating ink liquid but also regarded as an important practice that allows one to find tranquility through the pleasant fragrance and faint grinding sound of the ink. It offers a chance to calm the mind and experience a serene excitement while contemplating the ink color, brushes, and paper, nurturing creative ideas.
Throughout history, it has been said that “it is good for the sick and young girls to grind ink” and “ink should be ground with the weight of the ink only.” These statements reflect the idea that enjoying the tactile sensation of ink and inkstone without exerting force is desirable.
This appreciation for the joy of carefully grinding ink is believed to have been cherished by our ancestors, who deeply loved the four treasures of the study (writing brush, ink stick, inkstone, and paper) and understood the value of spending time to relish the process.
How to grind ink
There are actually several methods of grinding ink, and they can be divided into three categories based on their purpose. Let me explain them in a straightforward manner. Each method has slightly different characteristics, so consider the type of ink you want to create and choose the appropriate grinding method.
General Ink Grinding Method:
In daily calligraphy practice, it would be ideal to take your time and carefully grind good-quality ink. However, we understand that it might not always be possible. Therefore, let us introduce a common and efficient method for grinding ink.
〈The steps are as follows:〉
Step 1: Drop water on the surface of the inkstone, about the size of a 10 yen coin.
Step 2: Calm your mind and start grinding the ink slowly.
Allow the water droplet and the ink to gradually mix together, and continue patiently until it reaches a certain level of concentration. As you progress with the grinding, the ink will become sticky, and there will be a moment when a pleasant fragrance of ink wafts up. This is said to be an indication of the completion of the grinding, but it’s best to adjust the concentration to your preference.
Step 3: Once the ink has been ground, add a small amount of water again and continue grinding. Repeat this process until the ink naturally flows away into the “sea” of the inkstone. The “sea” of the inkstone is the place for mixing, so be sure not to grind the ink in the “sea.”
Step 4: Repeat steps ① to ③ until you have the required amount of ink. Add water gradually and create the desired consistency while controlling the brush strokes.
Once you finish grinding the ink, carefully wipe off any remaining moisture from the inkstone using a cloth or paper. After cleaning it, store the ink properly in a paulownia box for preservation.
When you want to create light ink:
Light-colored ink with a soft impression is also used in watercolor painting. Here’s how to grind ink when you want to create light ink.
〈Procedure〉
① Drop a small droplet of water on the surface of the inkstone. When you want to create light ink, a very small amount of water is sufficient.
Step 2: Calm your mind and start grinding the ink slowly. Allow the water droplet and the ink to gradually mix together, and continue patiently until it transforms from a muddy consistency to a sticky state. As you progress with the grinding, there will be a moment when a pleasant fragrance of ink wafts up. Enjoy the various transformations of the ink. Once it reaches the sticky state, the process is complete.
〈Grinding Process〉
〈Muddy state〉
〈Sticky state〉
Step 3: Prepare a sufficient amount of water in a separate container for dilution. A plate or dish can be used as a container. The required amount may vary depending on what you are writing, so it’s good to consider the overall quantity needed and prepare the container accordingly. Step 4: Drop the concentrated ink from Step 2 into the container with water and mix it well. Gradually add the concentrated ink and adjust while checking the color to create light ink.
Step 5: Once you achieve your preferred level of concentration, your light ink is complete.
After finishing the grinding process, carefully wipe off any remaining moisture from the inkstone using a cloth or paper. Then, store the ink properly in a paulownia box after proper maintenance.
When you want to make good ink:
To bring out the true color of the ink, it is essential to create fine particles of ink. Fine particles of ink spread delicately in water and blend easily. They also influence the color of the ink when applied to paper. It is important to aim for creating the highest quality ink possible.
〈Procedure〉
① Drop water on the surface of the inkstone, about the size of a 10 yen coin.
Step 2: Calm your mind and start grinding the ink slowly. Allow the water droplet and the ink to gradually mix together, and continue patiently until it transforms from a muddy consistency to a sticky state. As you progress with the grinding, there will be a moment when a pleasant fragrance of ink wafts up. Enjoy the various transformations of the ink. The ink you ground on the inkstone will naturally flow away into the “sea,” which indicates the completion of the grinding process.
〈Grinding Process:〉
〈Muddy state〉
〈Sticky state〉
Step 3: Add a small amount of water and mix. At this stage, add water in small amounts at a time to achieve your preferred level of concentration, as adding too much water at once might dilute the ink excessively.
Step 4: Pour the ink into the “sea” (inkwell) and mix it thoroughly.
If you are using a flat inkstone without an “inkwell,” you can transfer the ink to a separate container and mix it there. When diluting ultra-concentrated ink to achieve the desired concentration, it is essential to dilute it gradually and mix it thoroughly. Avoid diluting it all at once.
The ultra-high concentration ink created in this way has very fine particles, blends well with water, and makes adjusting the concentration much easier. This method can be considered the most desirable. After finishing the grinding process, carefully wipe off any remaining moisture from the inkstone using a cloth or paper. Then, store the ink properly in a paulownia box after proper maintenance.
How to grind the ink:
There are two main methods for grinding ink.
A: Grinding in a circular motion, similar to drawing the character “の” (no).
This method of grinding in circular motions is said to allow the force to naturally flow out, but it is also known to accumulate ink residue on the inkstone.
B: Grinding in a linear motion, similar to drawing the character “N” (N).
Grinding in a linear motion is said to be prone to exerting too much force, but it is less likely to accumulate ink residue on the inkstone.
Some say that grinding in a linear motion brings out the true color of the ink, while others may argue differently. There is no definitive answer as to which method is correct. What is important is to grind in a way that feels comfortable for you.
Holding the Ink:
You may wonder about the best angle to place the ink on the inkstone. There are two main ways of holding the ink: at a perpendicular angle and at an inclined angle to the inkstone. When time is limited, and you want to grind the ink quickly, it becomes essential to increase the contact area between the ink and the inkstone. A larger grinding surface allows for faster grinding.
A: Holding the ink straight up
This method involves placing the ink perpendicular to the inkstone and leveling the grinding surface. The size of the grinding surface remains the same throughout, but the initial contact area with the inkstone is larger compared to B.
〈Leveling the grinding surface〉
B: Holding the ink at an inclined angle
This method involves placing the ink on the inkstone at an inclined angle. There are two variations to this method: one involves grinding the ink on both sides alternately to create a V-shaped grinding surface, and the other involves grinding only one side to create an acute angle grinding surface. The initial contact area with the inkstone is small, but as you continue grinding, it gradually expands and becomes an acute angle, resulting in the largest grinding surface.
〈Creating a V-shaped grinding surface〉
〈Creating an acute angle grinding surface〉
We have introduced three different methods of holding the ink, and you are free to choose any of them. While it is unlikely that the method of holding the ink will significantly affect the ink color, what is
essential is to select a method that feels comfortable for you and to grind skillfully.
Method for Grinding Ink Quickly
As a busy modern individual, it is understandable that you would prefer to grind the ink quickly. So, how can you achieve that? The answer is quite simple.
Increase the contact area between the ink and the inkstone. In terms of grinding ink quickly, method B (holding the ink at an inclined angle and grinding only one side to create an acute angle grinding surface) is recommended. It may take some time to achieve a complete incline, but a larger contact area with the inkstone will result in faster grinding.
Another method is to stack 2-3 pieces of ink on a large inkstone and grind them together, which also increases the contact area and allows for quicker grinding. However, this approach may not be very practical.
If you are short on time, using an “ink grinding machine” that grinds the ink for you is also recommended. This can be especially useful when you need a large amount of ink for creating significant works.